|
Hello Everyone, I wanted to share some beautiful Powderpuff flowers on the blog... Let me set the scene: I am coming home from being out all day and I have been expecting some flowers on my Powderpuff tree. I go over to check and see if it is dry (Which is was) and see a ton of flowers on the tree. I captured a picture of one very beautiful flower on the tree and did some magic to it. I think it looks really good! Below is the original photo (NO EDITING), color pop, and black and white. Here is the original (With No Editing): 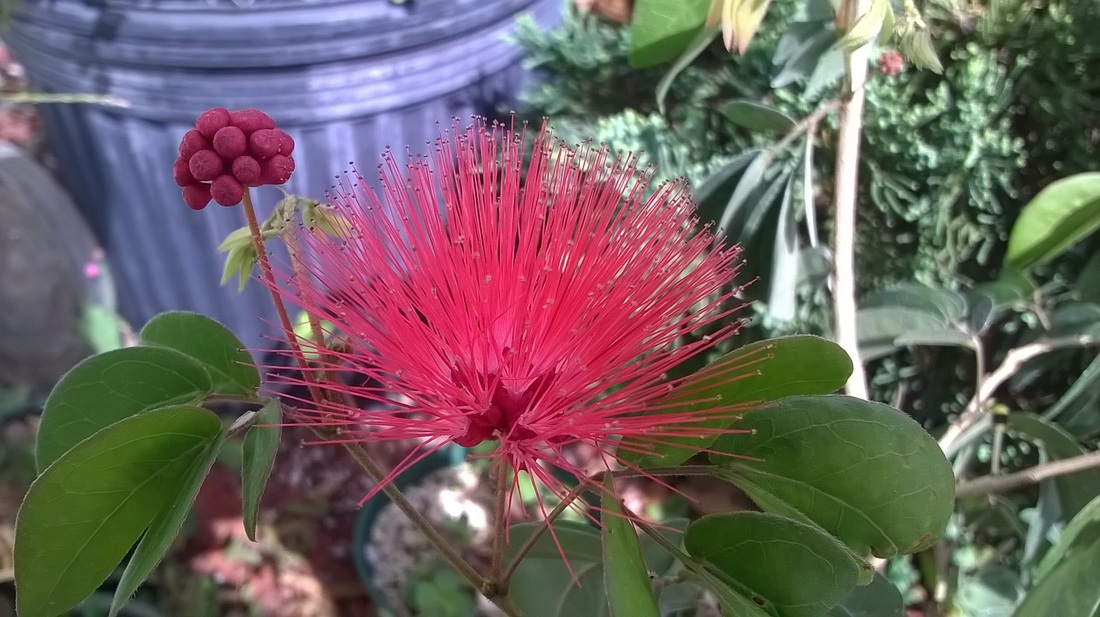 Here is the Color Pop: 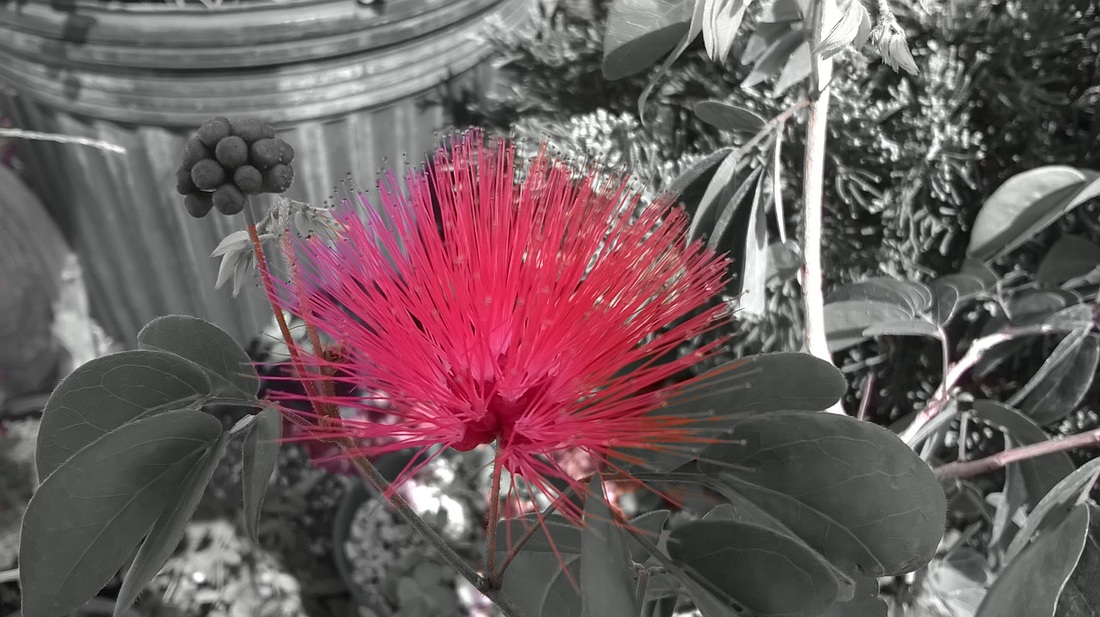 And Here is the Black and White (Which uses an effect called Ansel): 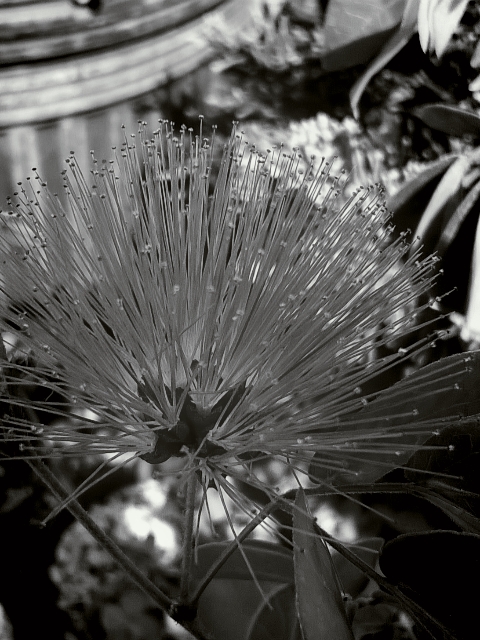 I really hope you enjoyed looking at the photos.
I took all of these photos and I'm very proud of them. Keep looking back because I have a couple of posts planned that you (the readers) will enjoy! Ben Jamin
0 Comments
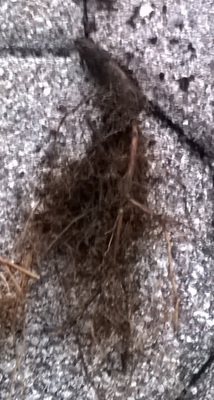
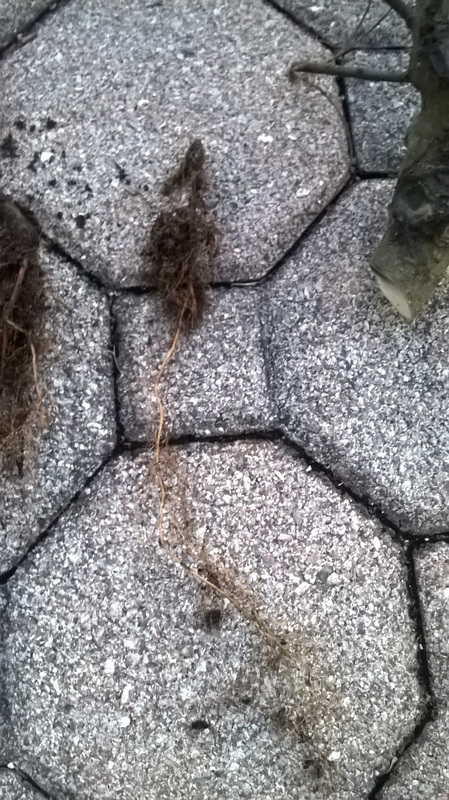
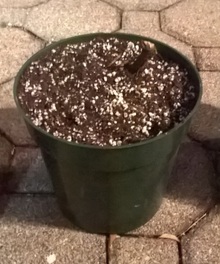
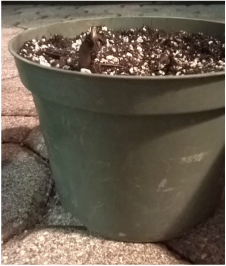
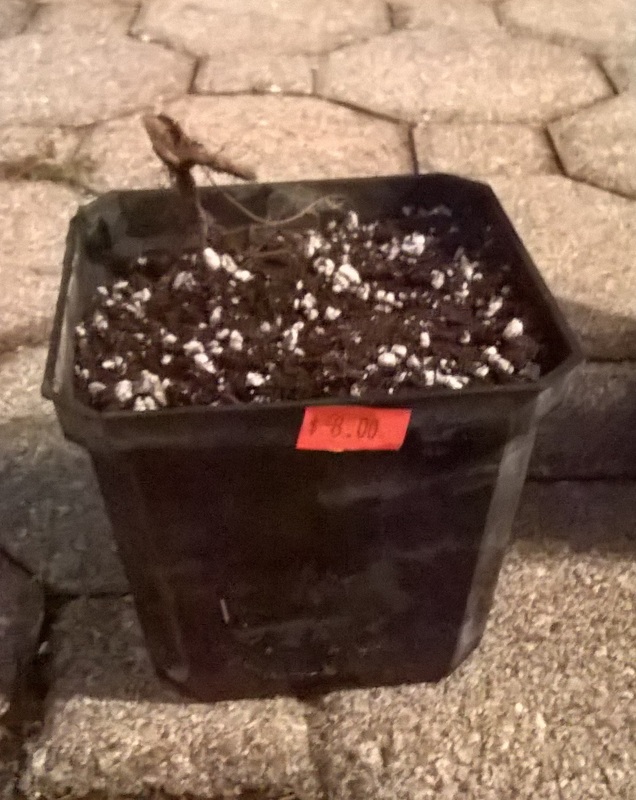
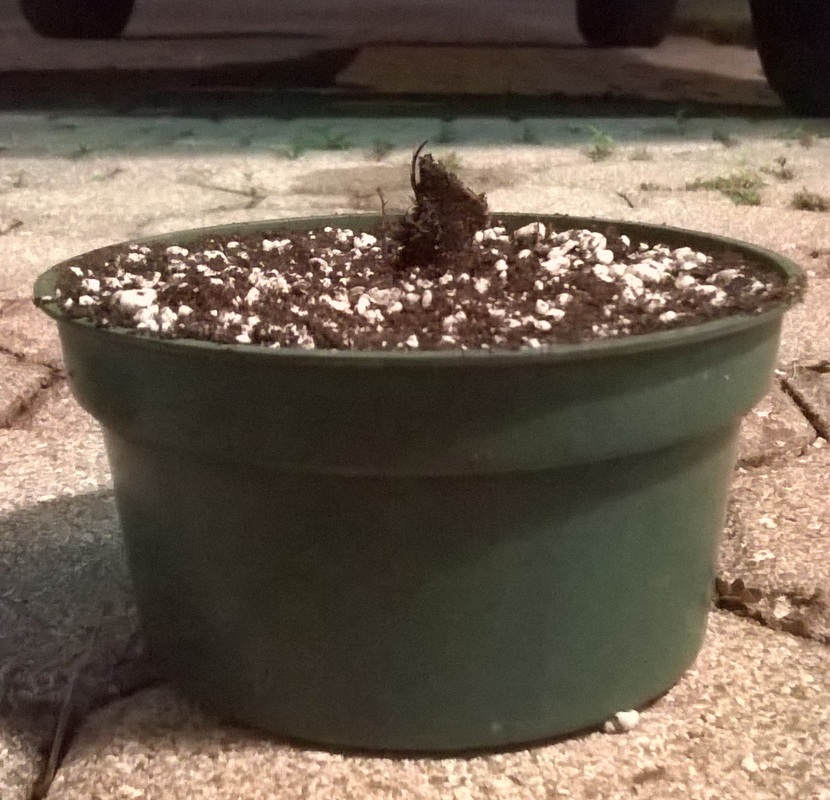
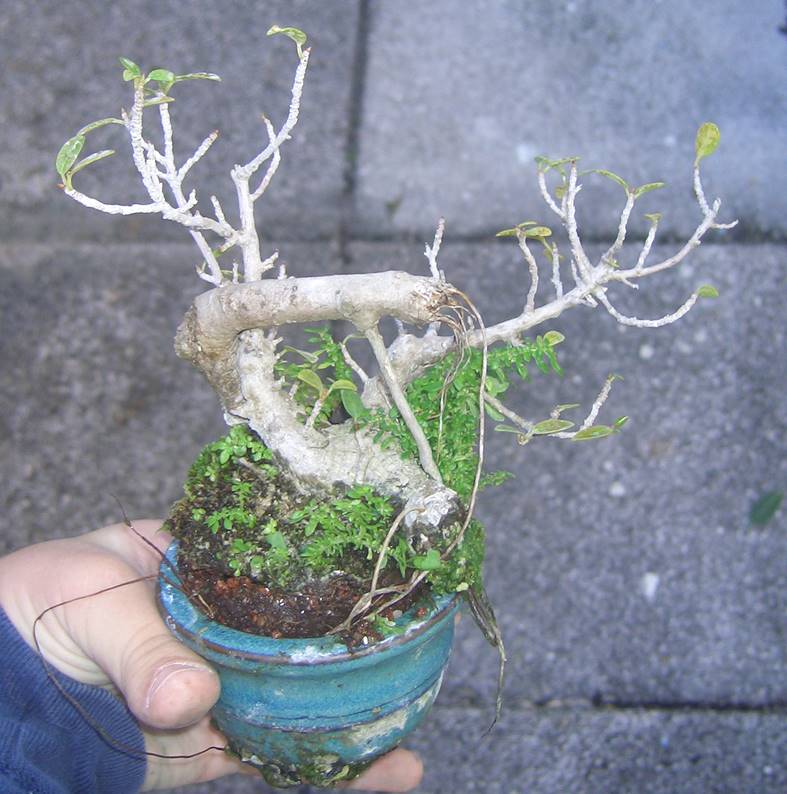
Hello Everyone! Yesterday, I was with my friend Adam and he was working on a big Hackberry. Click here to read about his big Hackberry.  When I was with him, he repotted the big Hackberry. He also took off a thick branch (shown in the picture above) that I ended up getting. When he repotted the tree, Adam of course cut roots off because it was pot-bound. I ended up taking home some roots and the thick branch Adam cut off. The next day, I got ready to put the trees in pots. The branch had no roots, but some buds that were getting ready to pop. The roots had no growth, but a ton of little roots. Below is what I took home from that tree. 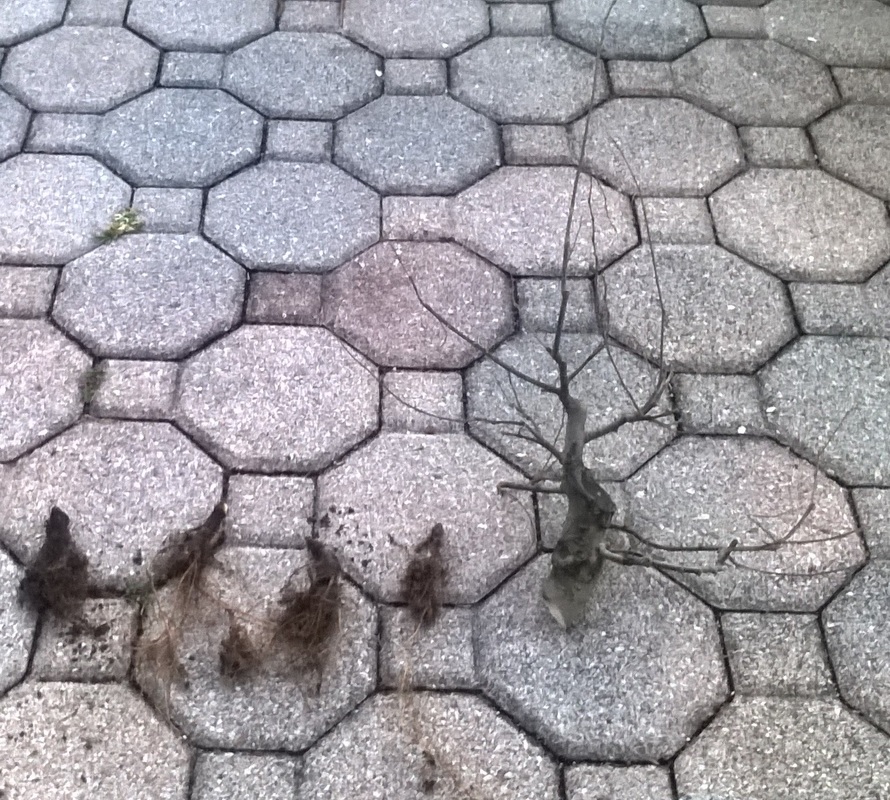 Below are closeups:
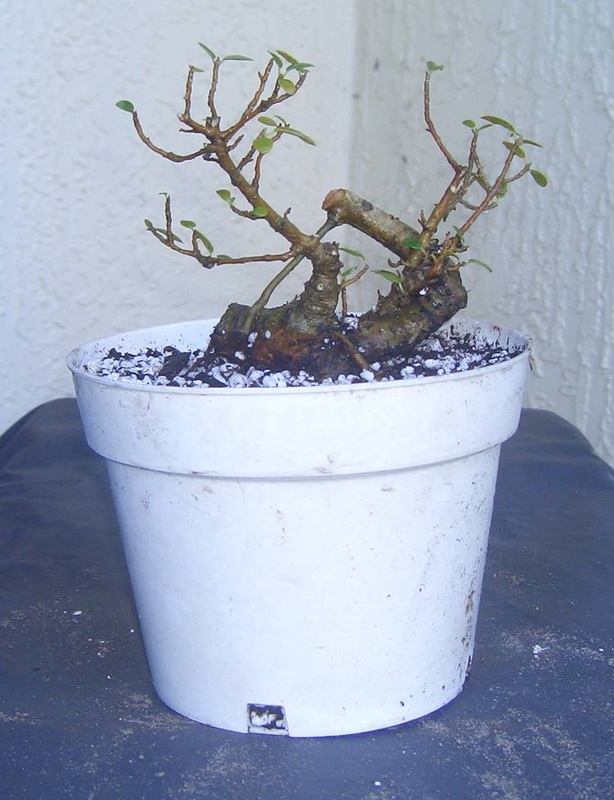
I had to do some work on the Cutting to fit it in the pot. 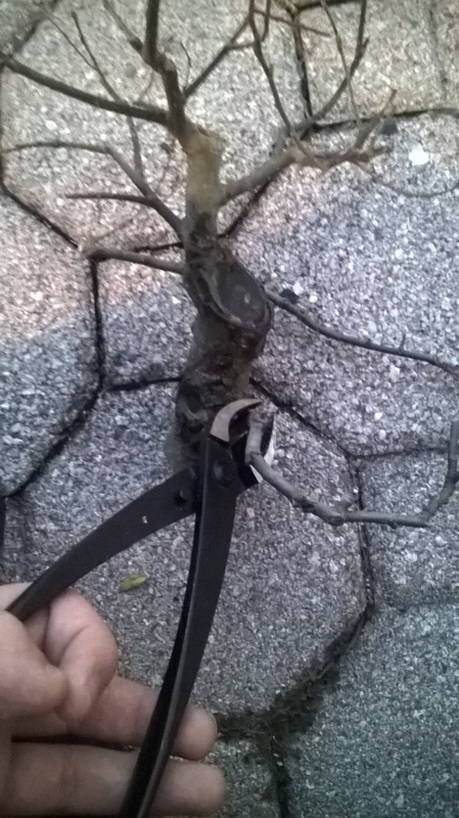 I pulled out my handy-dandy concaves to do the job! The cutting is all done. Below is what I did 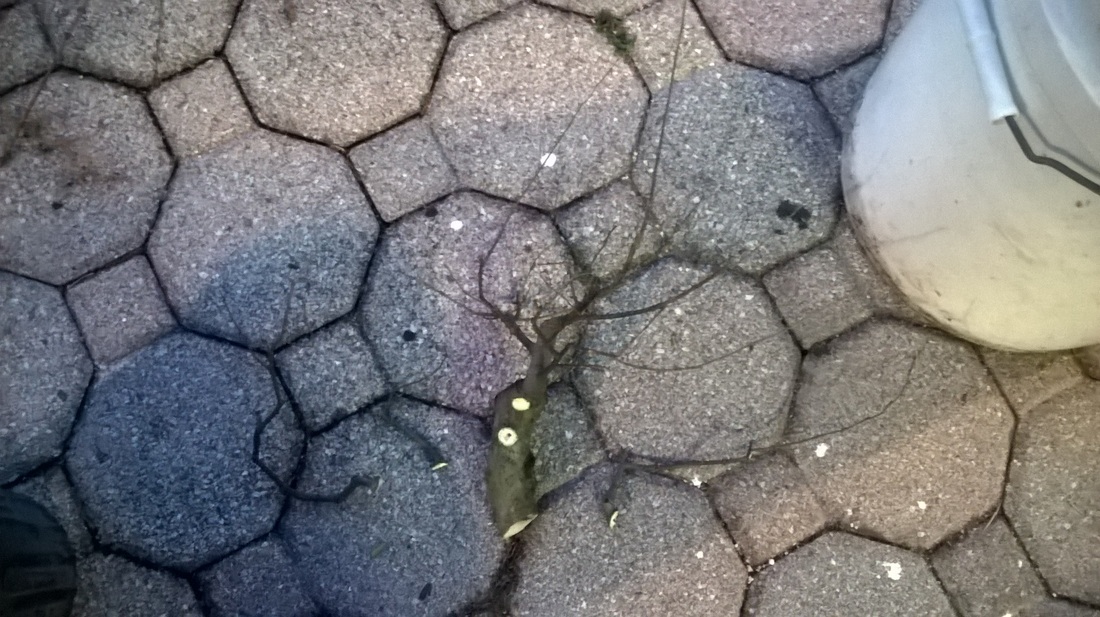 I only cut towards the bottom so it would fit in the pot good. Now it's time for potting!
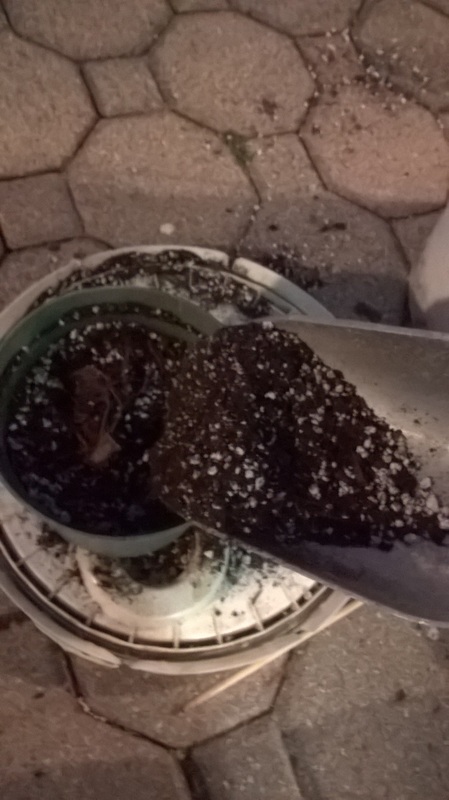
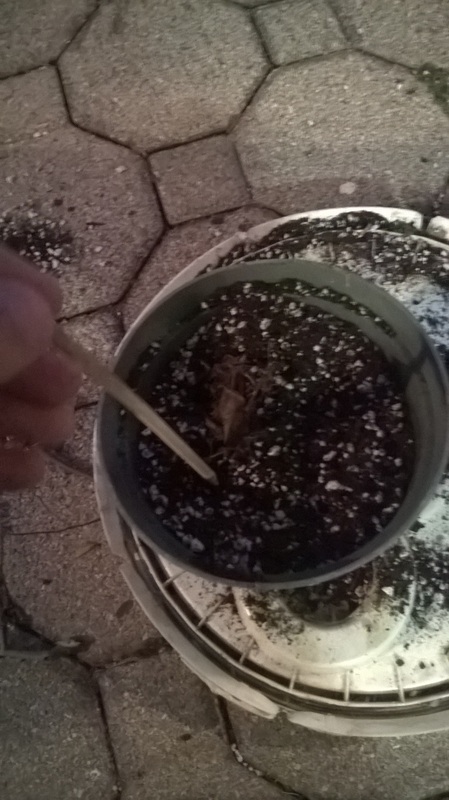
I filled each pot with soil, put the tree in it, and chopsticked the soil to airate the soil. Each tree got potted! Below is the closeups, then all together.
 If you would like to learn more about Hackberries, click here. If you don't want to click the link, here is some of the information: Hackberry is a common name for this species of tree. Celtis, is a Genus of about 60-70 species of deciduous trees widespread in warm temperature regions of the Northern hemisphere. The tree goes dormant in the winter and drops all of it’s leaves. It was previously included either in the elm family (Ulmaceae) or a separate family, Celtidaceae, the APG III system places Celtis in an expanded hemp family. ^I did not write all of that above. Credits to Wiki. Hope you have learned a lot about the Hackberry species of the tree and make sure you check out Adam’s post on the big Hackberry tree that is the mama to my trees. (His post is currently being written) Ben Jamin Lorber UPDATE: 2-2-15: The Hackberry Cuttings I’m trying to root ALL have green buds all over them. The root cuttings from Adam have not done anything on top of the soil, but I don’t know what is going on under the soil. I as well do not know what is going on under the soil for the cuttings I’m trying to root. 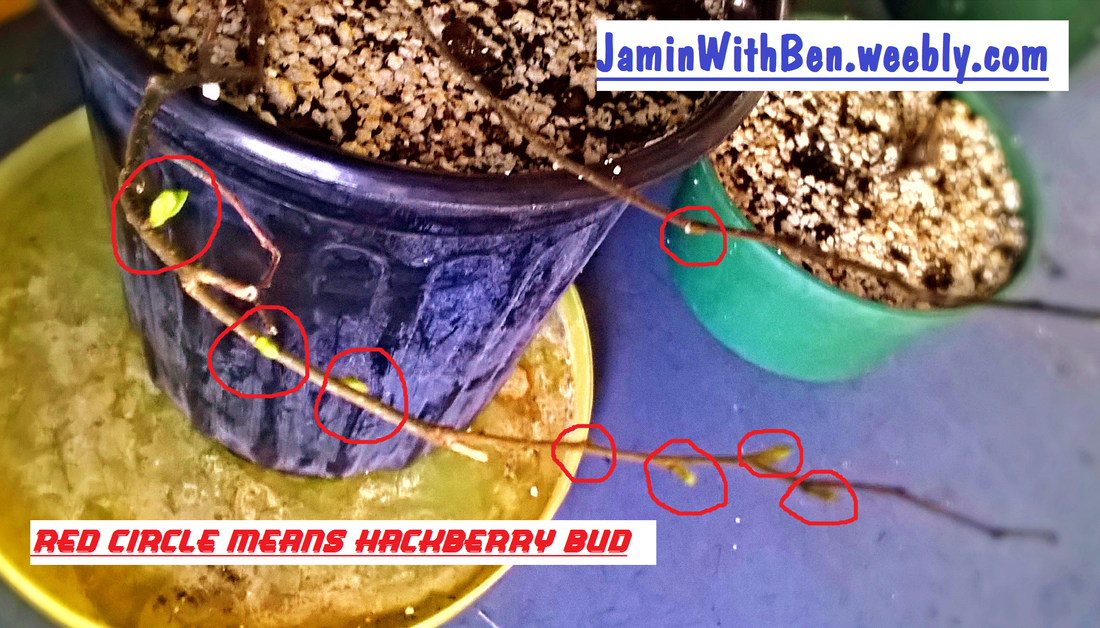 Where I live, the leaves on maples and elms are changing colors because of the cold weather.  It is the wrong time of year to repot a ficus because of this cold weather. A ficus is a tropical plant, which means you are suppose to repot it in the spring and summer. But I am going to take the risk of repotting it.. The tree I am repotting is a Ficus Burtt-Davyi. This tree has been in this tiny pot for many years. The tree is a relative of our original Ficus Burtt Davyi. Working on a baby from the original Burtt Davyi, Mike Cartrett suggested that this root be put in a pot and that if it is planted above ground, it will grow leaves and branches. The part that is underground will grow roots. The tree mostly grew roots above the pot. It grew some branches and leaves, but not many.  The reason I'm repotting this tree in this time of year is because it is not healthy. If I wait any longer to repot this tree, I could risk loosing this tree. Below is what a healthy Burtt-Davyi should look like:  Picture From Google. Search Ficus Burtt Davyi Picture From Google. Search Ficus Burtt Davyi Back to work. I rinsed off the broken down bonsai soil and got these roots. 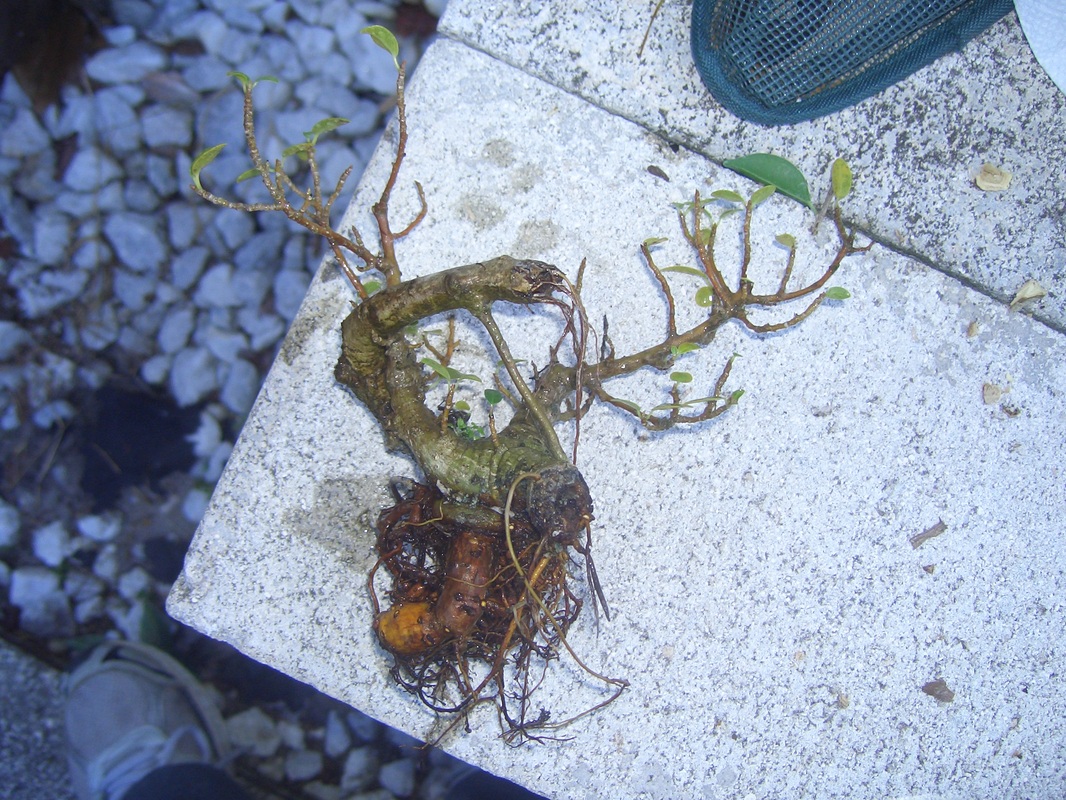 There are some big tap roots, but I am not going to mess with them because it is not the right time of year. I put the tree in a pot and added some fresh soil to it. I put the before picture next to the after picture so you the reader can compare.
Hope you have learned about Burtt Davyi's (by clicking the link) and when to repot tropical trees.
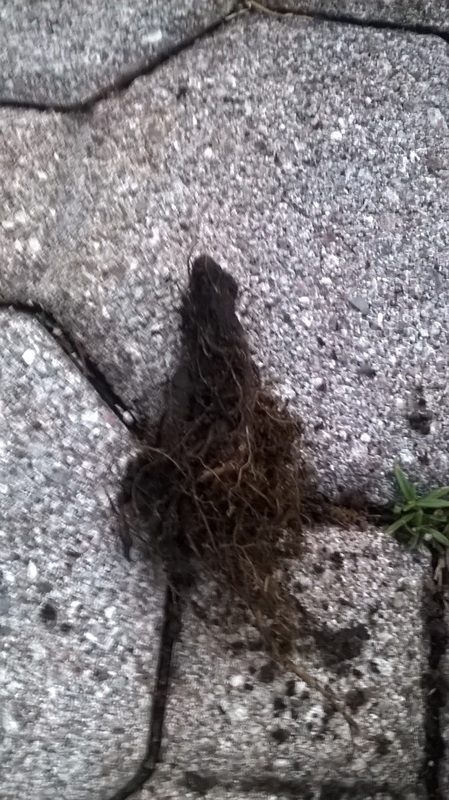
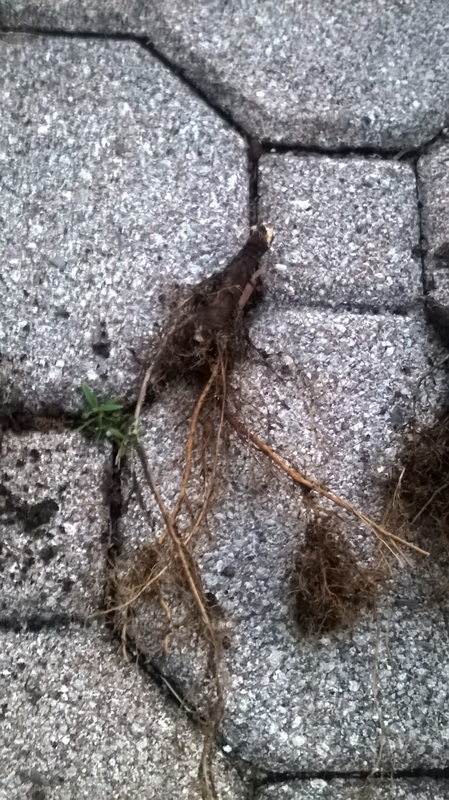
~Ben Jamin Warning: even though this is the middle of November, I want you to know I repotted this tree two and a half weeks ago. When I was looking in the garden, I saw this tree has some broken down soil and it appeared root-bound. Below is the tree: 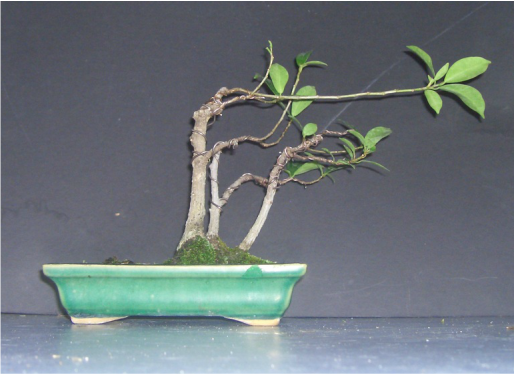 You may recognize this tree... Time to take the tree out of the pot. 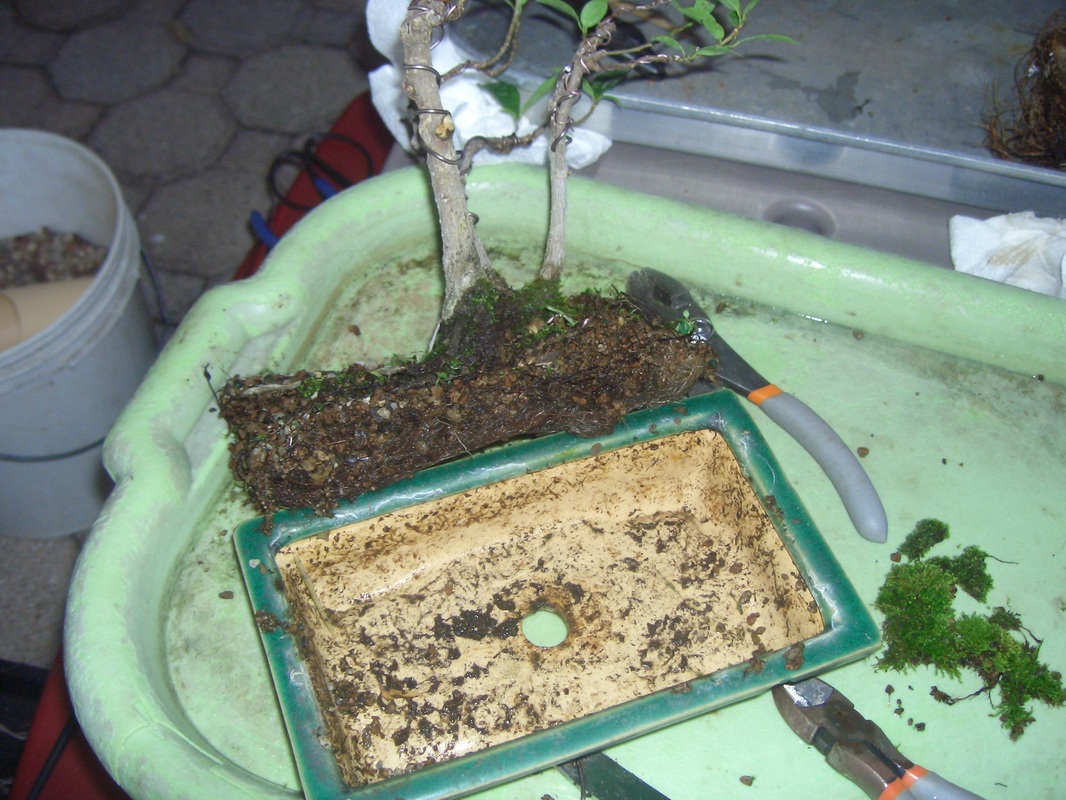 Time to wash the soil off. 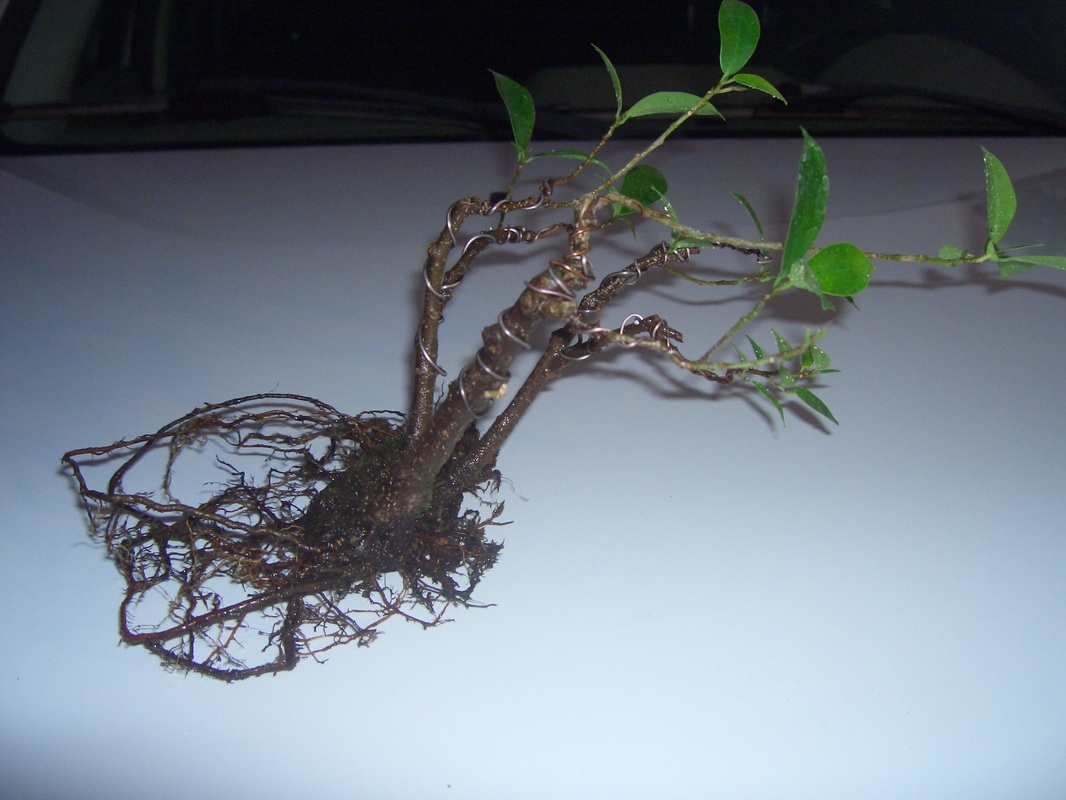 All of the soil is washed off. I expected more roots. Now I will do a little root trim: 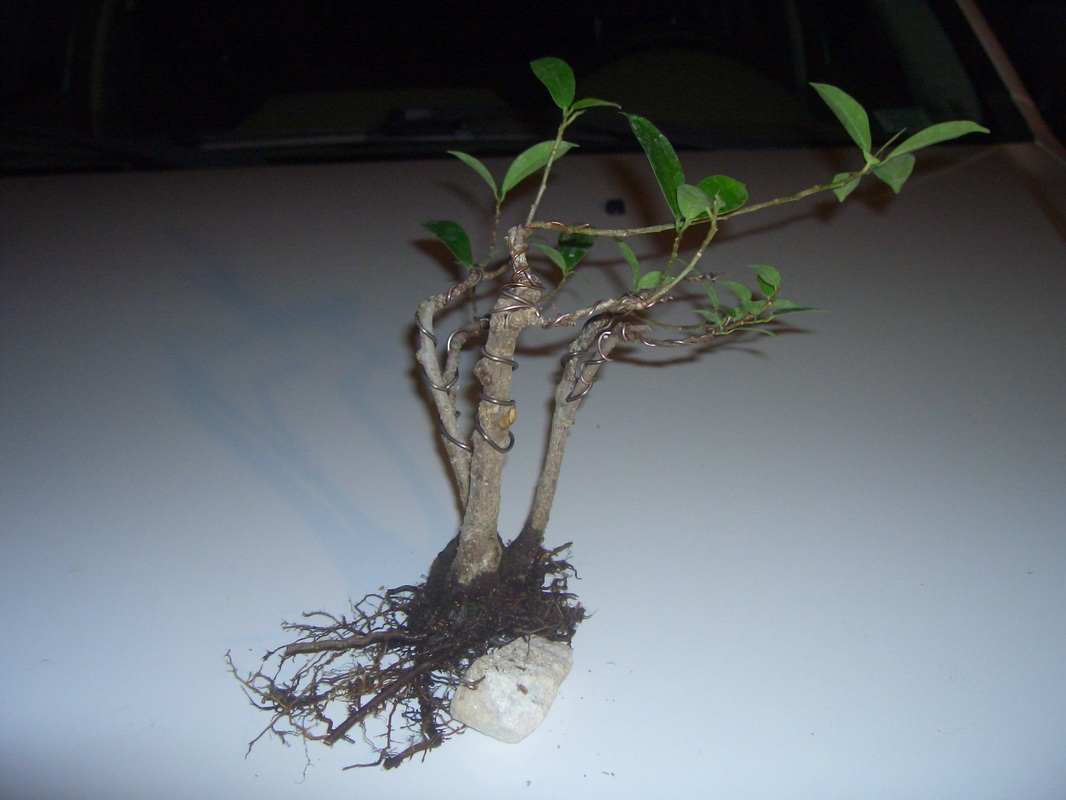 All trimmed, I picked out a nice blue pot. Here is the after picture:  Notice how I didn't wire out the whole tree. I didn't wire it out because I did cut some roots and when I repotted it, it was October. The nights will get cooler. I also didn't want to harm the tree or brake any week branches. I want the tree to flush out with growth.
The tree in November has new buds and is growing. I'll post an update soon. ~Ben Jamin Hello All, It's almost the end of October and it has rained, A LOT! Everything has grown, A LOT! All of the trees look like they have grown into one huge tree! Some trees where really being clingy to one another. We have an ilex next to a ficus and it's root's were wrapped around the pot!  Below is the root that was attached to the tree above.  Our Brazilian Rain Trees have been growing a ton! I got down to look at one of them that when looked up to, it looks like it could be a massive tree in the ground, but is really in a pot. Below is the picture.  Can you see the face in this tree? It really does look like a real tree! Maybe one day I will see a tree that looks just like this in the future! If you look hard enough, you may be able to see a face!
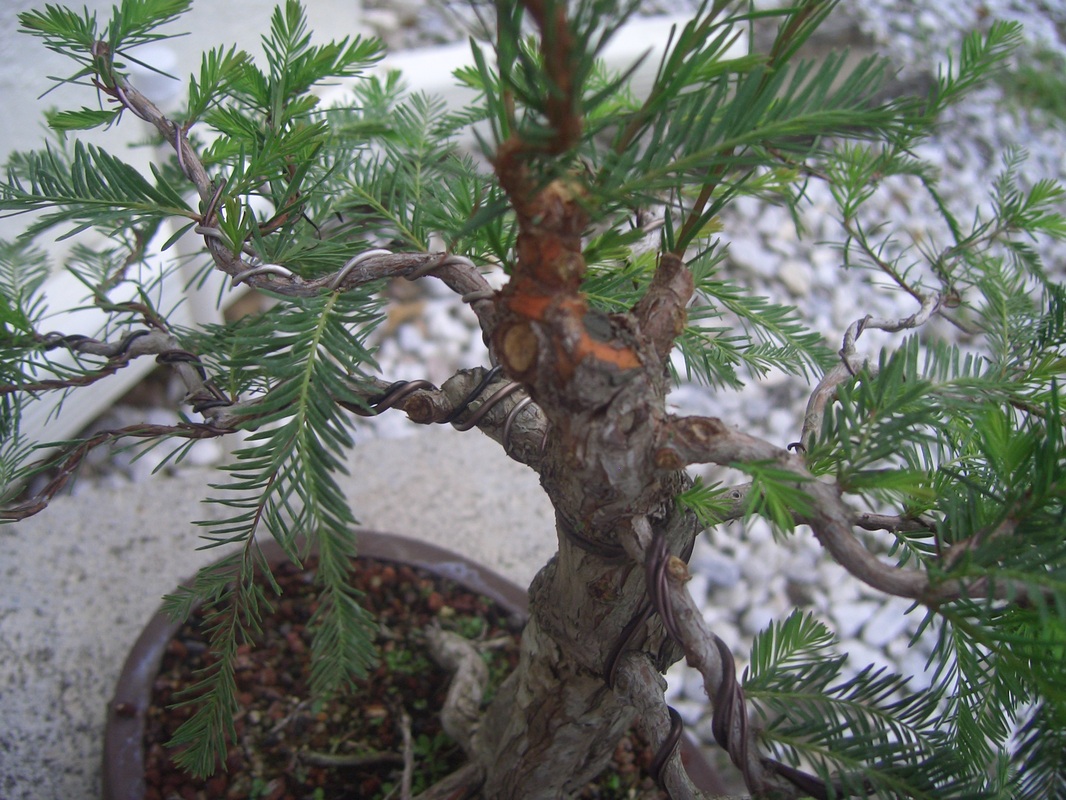
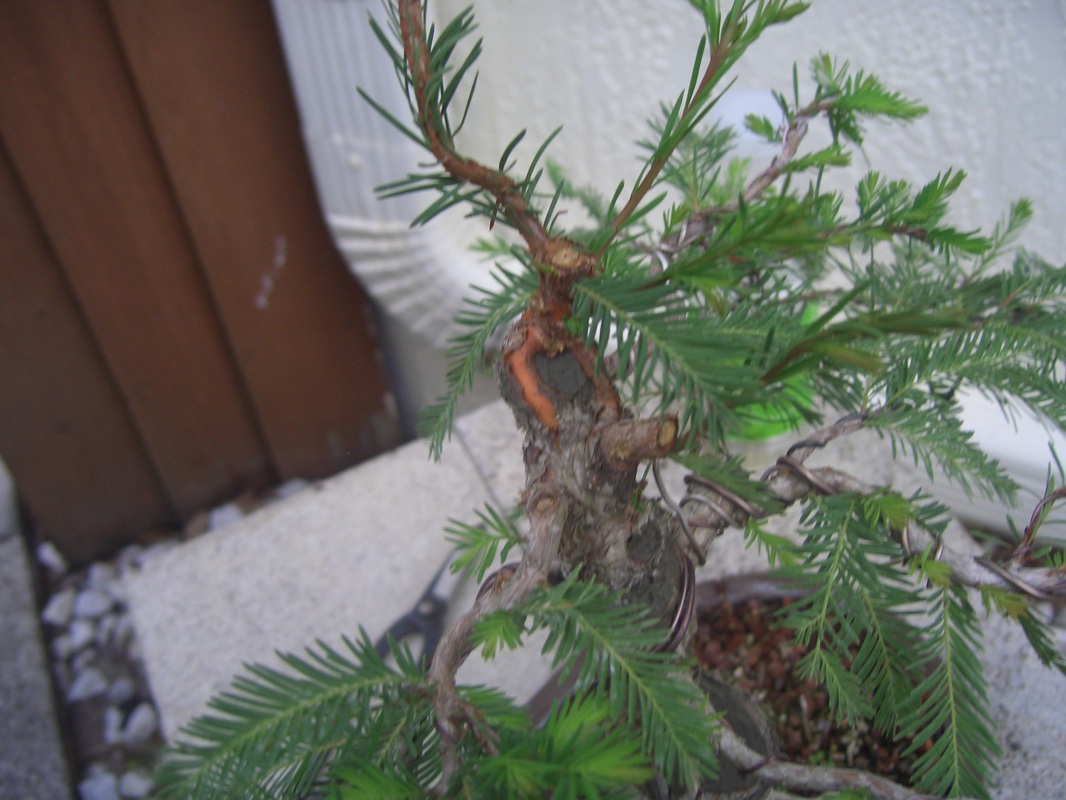
Hope you have enjoyed, ~Ben Jamin Lorber Hello Everyone, Happy August! I was out in the garden yesterday and saw an interesting orange-reddish color on the apex of a Mexican Cypress... The apex was cut a couple of weeks ago and it is now healing. Enjoy the pictures, Ben Jamin See the orange-reddish color on the apex. To find out more on Mexican Cypress, click here.
Hello All! Happy June! Since it's been a rainy June, I haven't had a chance to go outside and work on my trees... But last night, I went to my usual CFBC meeting and I got to work on some trees. One of them was my blog tree... The ficus microcarpa! This tree was given to me by a bonsai friend. When I showed it to him, he remembered the tree right away! You have seen this tree in the blog posts A FICUS MICROCARPA... and A FICUS MICROCARPA UPDATE... I decided to do some work on it and start to get it into shape... Here is the before picture:  I decided first it was time to defoliate because I am trying to get smaller leaves.   I finished defoliating the tree! Now it's time to cut these branches in so I can force back the growth.  I finished cutting back the branches! 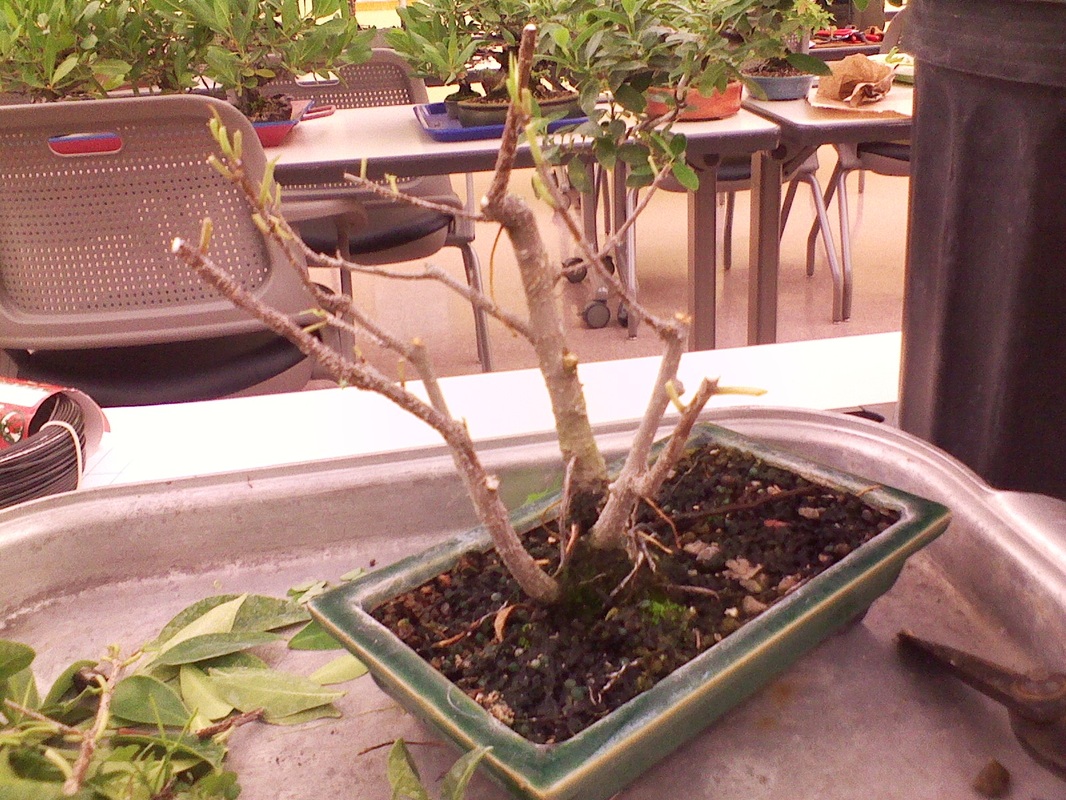 Now I have to add some wire... 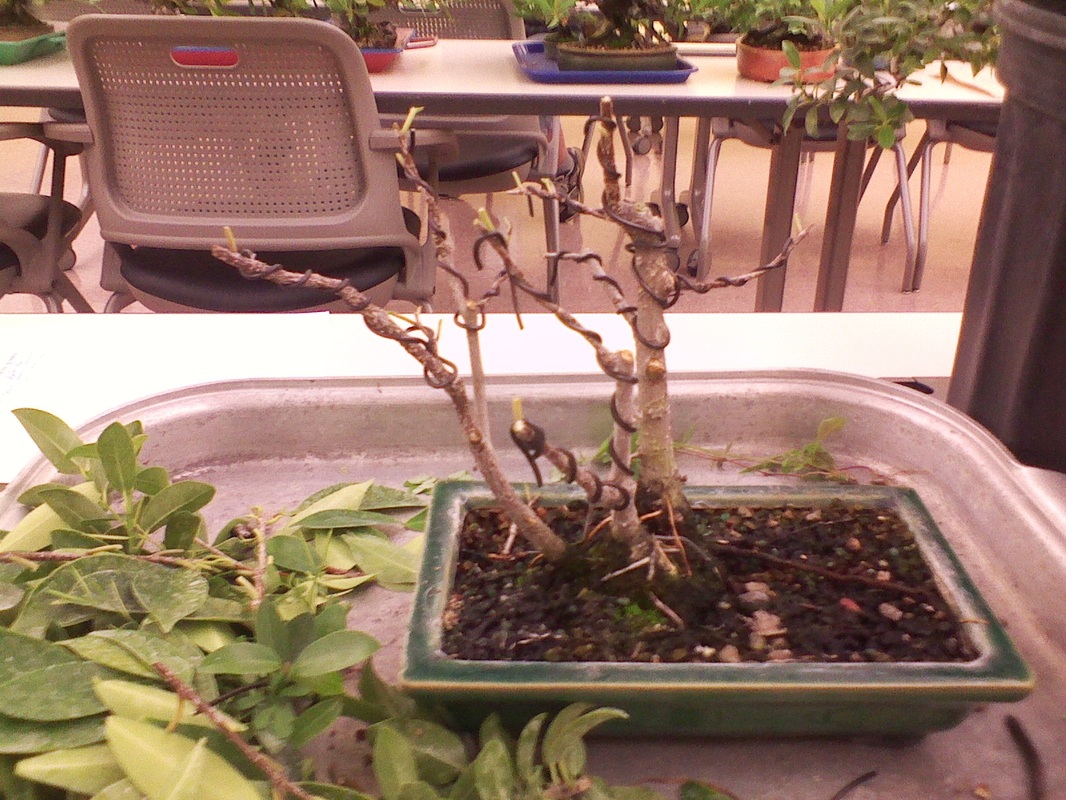 Now that I wired out the whole tree... I have to place the branches to where I want them. Before I show you the finished tree, the before:  The top of the finished tree: 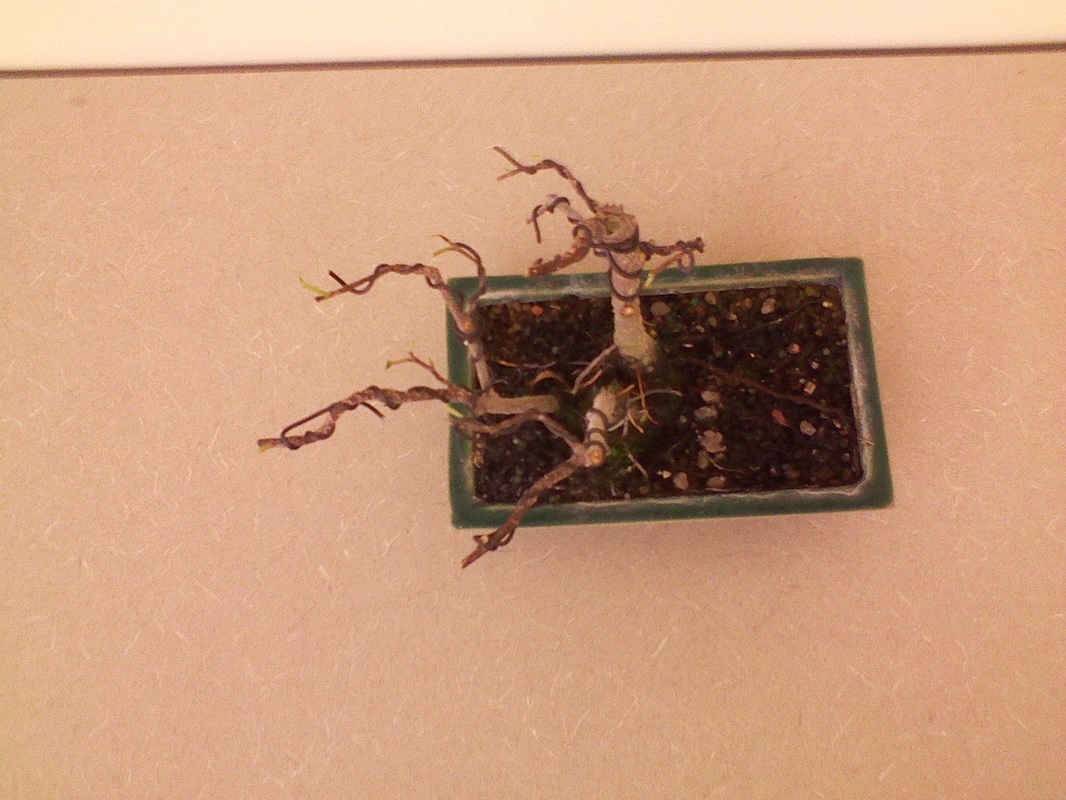 And the finished tree: 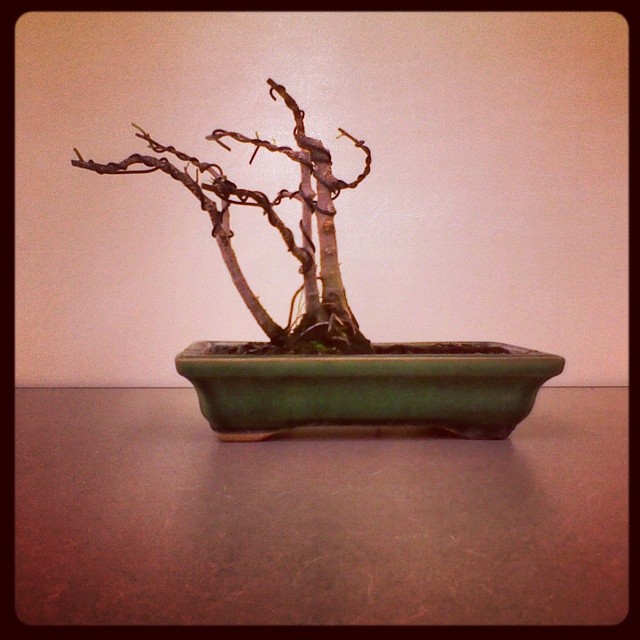 I hope you have enjoyed and learned! The next step is to let it grow out a little, and repeat the steps from this blog post. This tree is also very root bound (roots circling the pot), which means I need to repot it. But that's another blog post...
~Ben Jamin Hello Everyone! Recently, my neighbor got a new fence... But a big bougainvillea was in the way! So my Bonsai friend Adam (Facebook Account) (Blog) came to dig the big tree up! But when I say big, I mean BIG!! This tree has been growing in the ground for 19 years! When Adam was taking the bougainvillea out, I got a little piece that came off... Below is what it looks like: 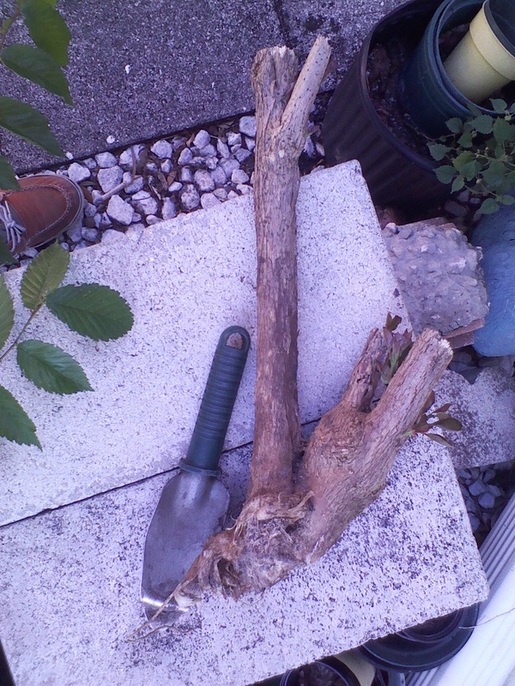 And here is the piece Adam got: (If you want to know Adam's Side of the Story, Click Here) In case you want to know more about a bougainvillea, you can click here. This particular bougainvillea has a pinkish purple flower. Although this tree has a pretty flower, it has a lot of thorns! Like I said above, this bougainvillea has been growing in the ground for 19 years! This tree also loves to grow wild! Below is this bougainvillea flowering: 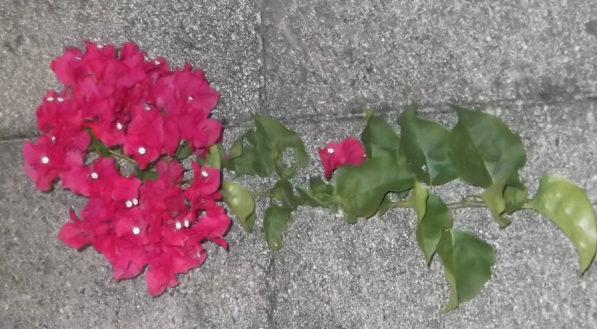 Back to my little piece, after getting it... I had to get this bougainvillea in water, it only had 1 root! It was hard finding a big enough container to fit this... Finally, I remembered I had a watering can a good size for this bougainvillea. Below is how I left it for the day... 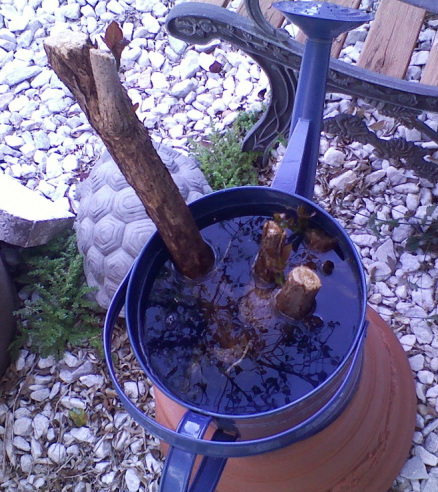 I will keep you updated on how this tree is doing!!
Enjoy, Ben Jamin Comment / Mobile! Hello All, Happy April!! I found out today there is word called Plantlet! Below is the definition... It's a baby plant!
Hope You Learned, ~Ben Jamin Mobile / Comment! Hello Everyone, (Juniper Info) (Re-potting a Juniper Info: 1, 2, 3) On Valentines day, I brought one of my junipers to Jason Schley (Bio) for placement of some branches. CFBC was putting on a Bring Your Own Tree Workshop (BYOT) for Junipers. Here is what the juniper looked like before branch placement:  Here is Jason working on my tree:  And here is what it looks like when it was done having the branches placed: 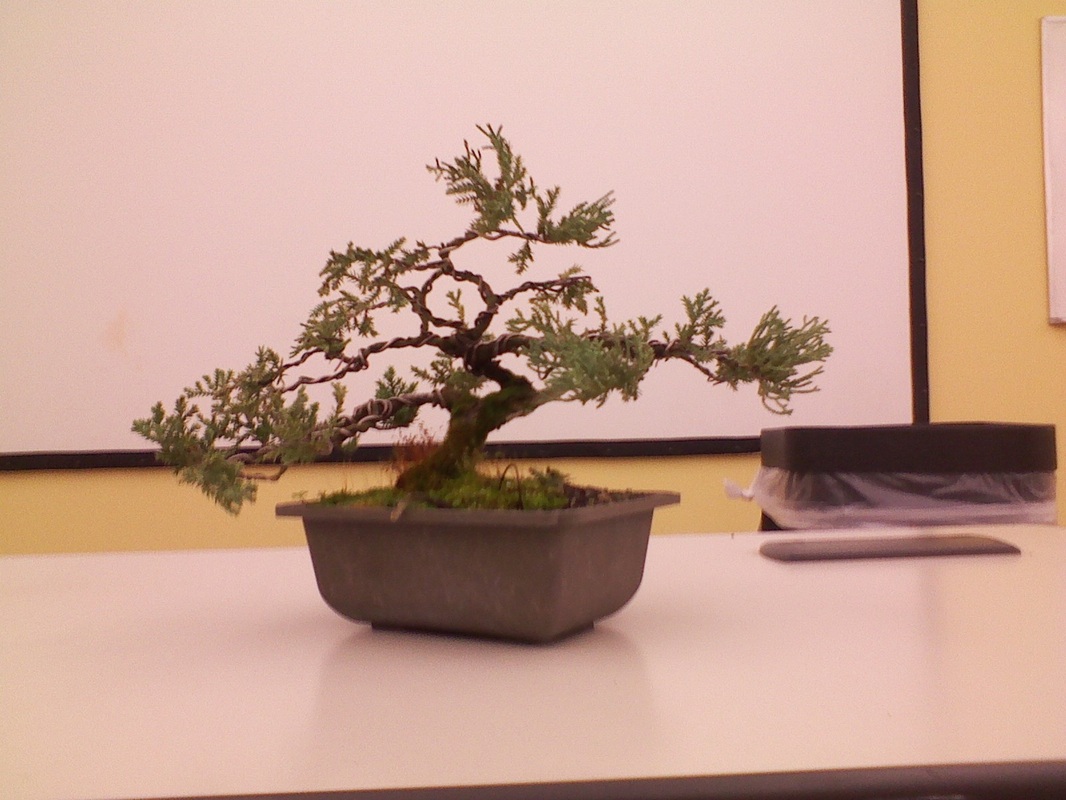 When Jason finished placing the branches, he told me to put it in a nice unglazed, oval pot and to get the moss off the trunk. He also told me not to reduce the length of the branches because it would stress out the tree. So in about a week after placing the branches, I picked out a pot and put it in there. 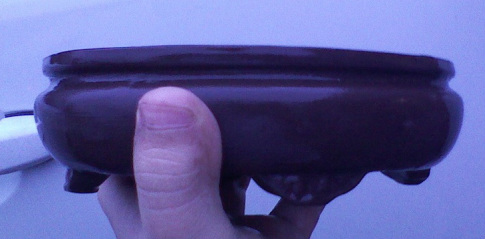 Here is the pot I will put the juniper in. In order to put the juniper in the pot above, I had to go through a couple steps. Here are the steps: 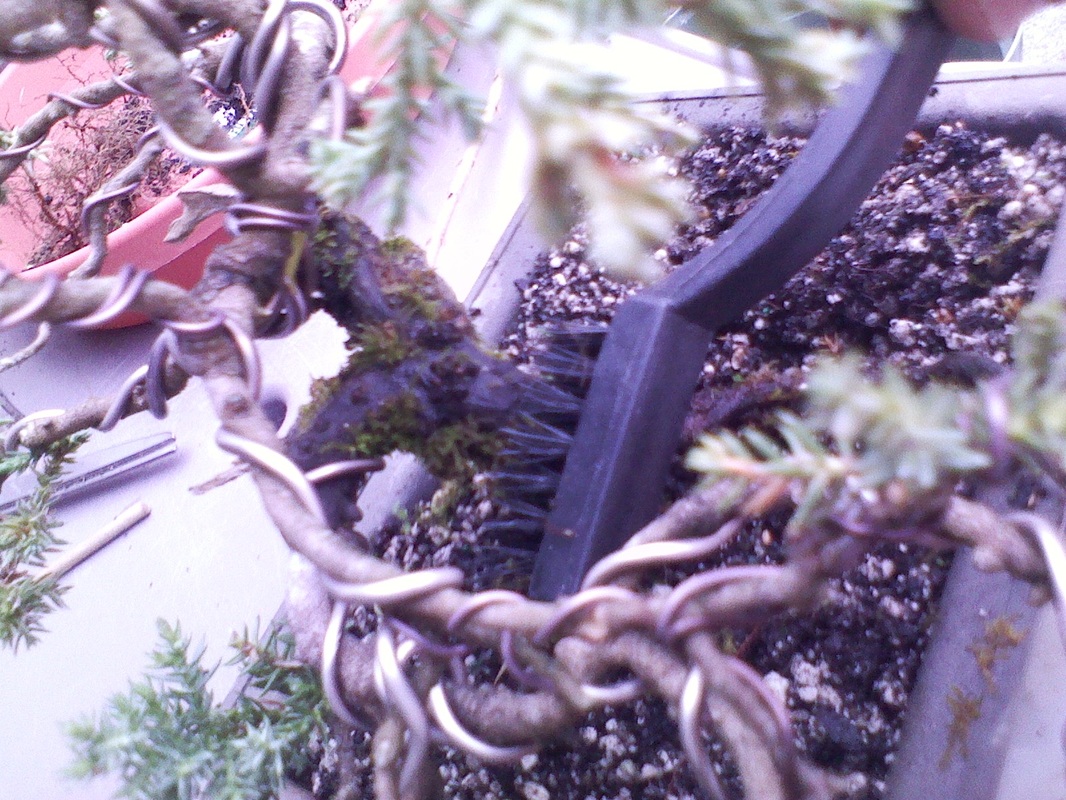 I had to get the moss off the trunk. If I kept it on, it would eventually rot the trunk away. 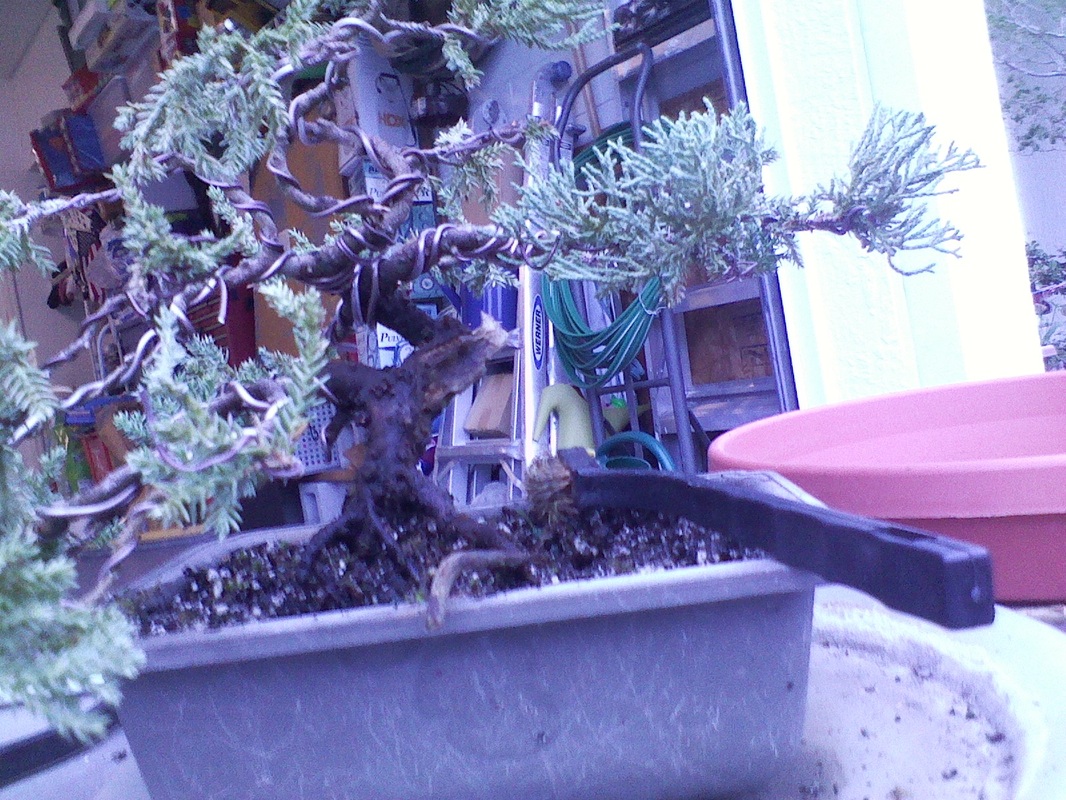 All off! Now I have to take it out of it's pot. One of the reasons I have to repot the tree is because it isn't stable in it's pot. It has fallen out of it pot before, squirrels have dug in the pot, and the tree's roots weren't supporting it. The soil was also broken down muck. 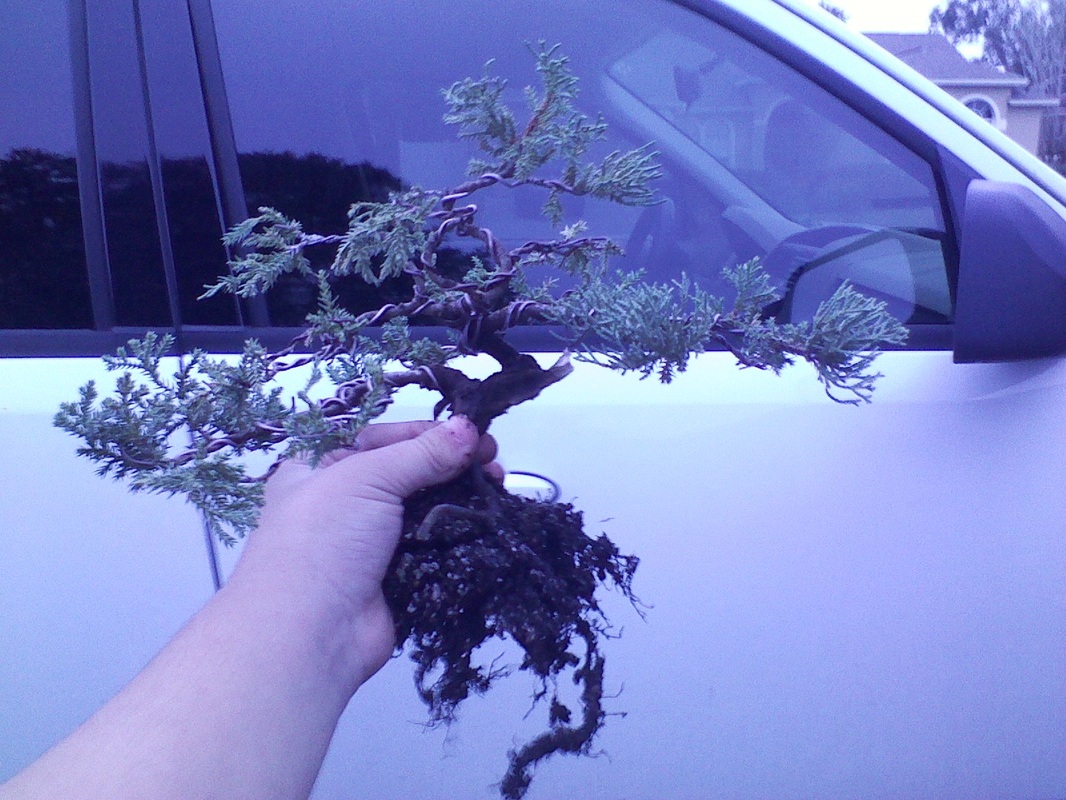 The juniper just got taken out of the pot, no wonder why the roots couldn't support the tree! There really wasn't any!! Now I have to prepare the pot. I have to put in two screens to hold in the soil, two small pieces of wire to hold in the screens, and two big pieces of wire to hold the tree in the pot. 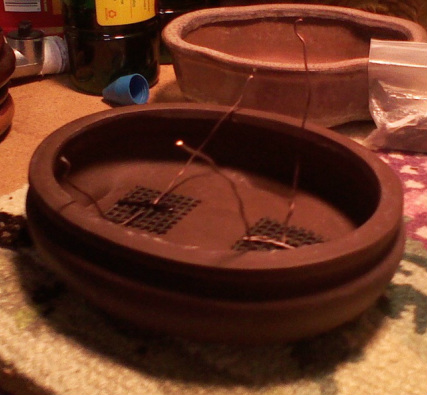 All prepared! Now for some soil and chop-sticking! Chop-sticking helps get rid of the extra air space. 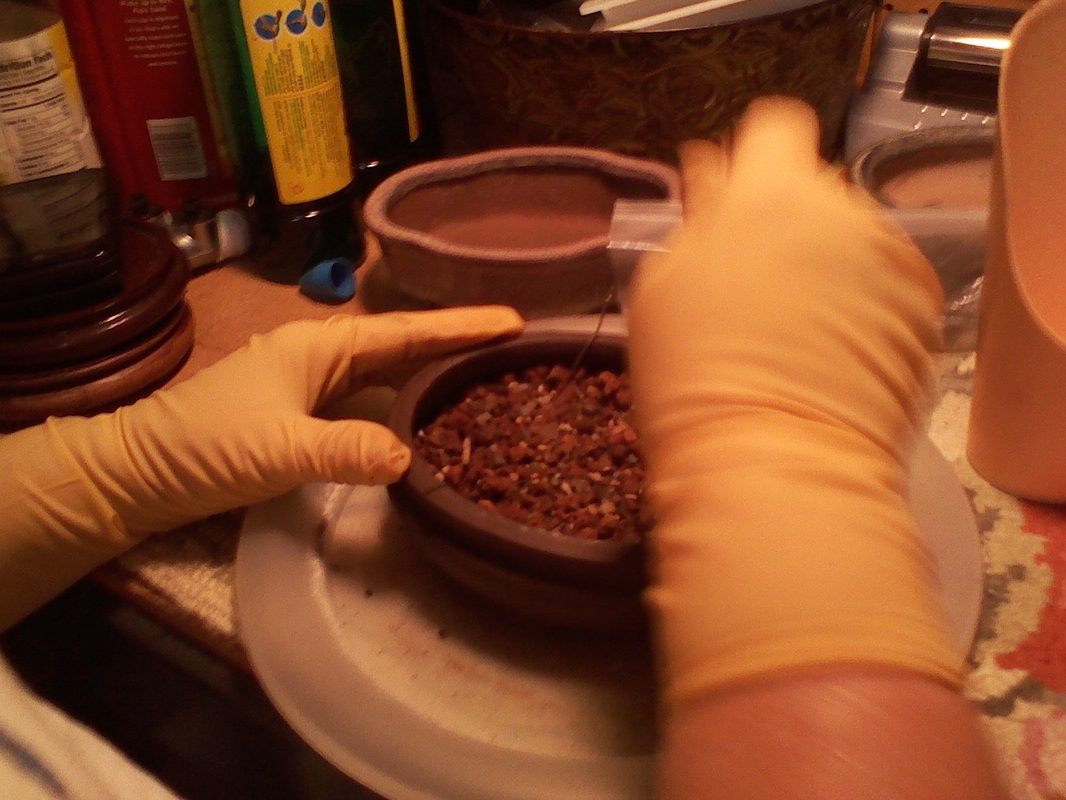 The bottom half of the soil is all chop-sticked! Now to fit the tree in the pot. 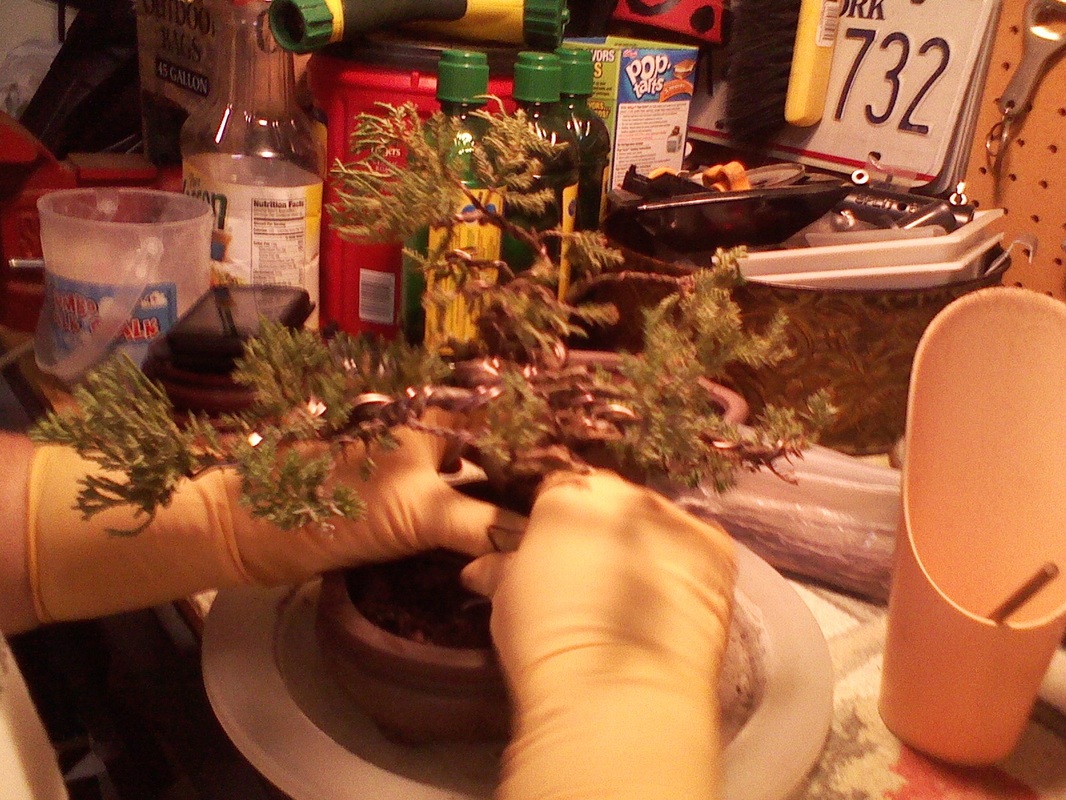 The tree fits and it's placed in the pot. Now to fill it with soil, and finish chop-sticking. Here is the before picture so you don't have to scroll to the top of this post: 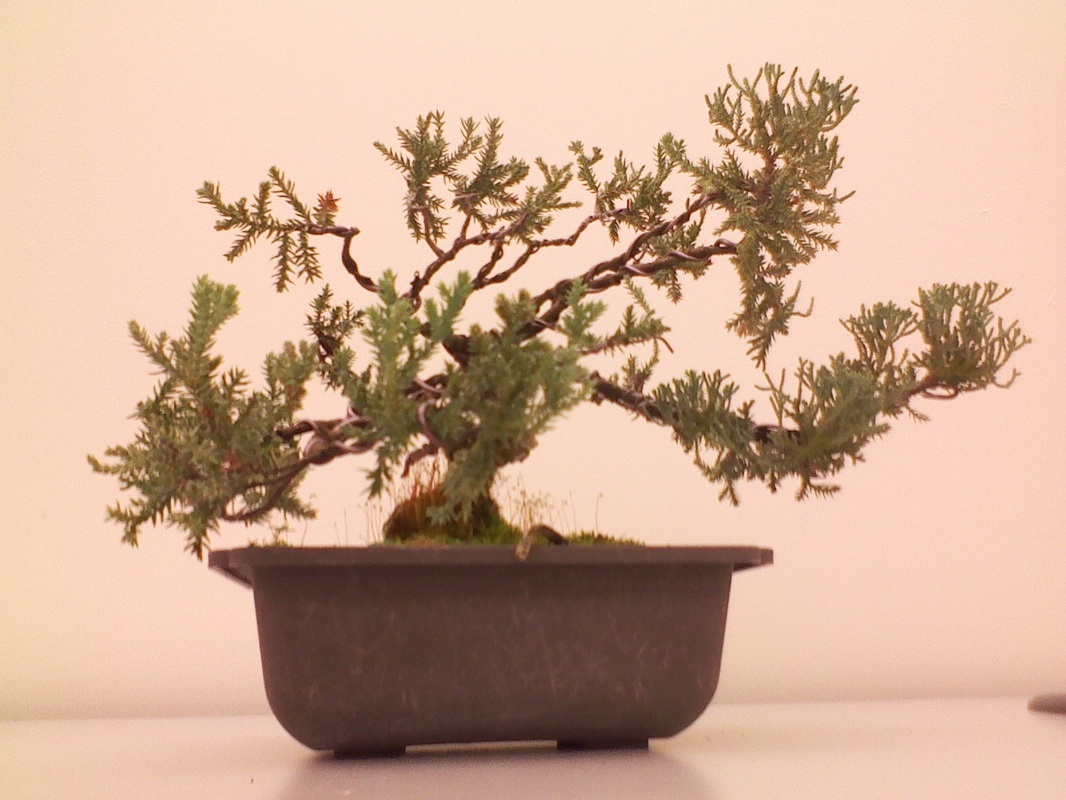 And here is the after: (Instagram filter on it) 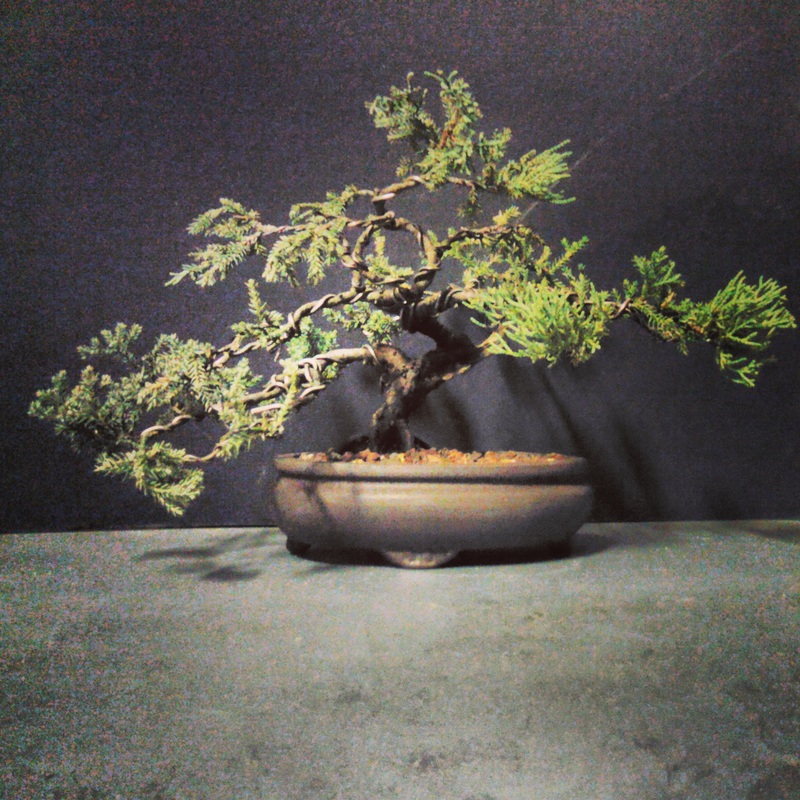 I hope you have learned about repotting a tree and about junipers. Thank you to all who helped!
~Ben Jamin (Comment! this post is mobile) |
Ben jamin LorberI LOVE Bonsai!! I have participated in many styling competitions and have even won! I have also displayed many trees in many exhibits! Archive
June 2017
My Bonsai FlickrCategories
All
If you aren't getting email updates from the blog... Contact me by either commenting or going to the contact page...

|


 RSS Feed
