|
I was over at my new Bonsai friend Ben's house exploring his growing collection of trees. I was there to help him with some trees, teach him some Bonsai technique, and have some laughs. We were walking through his trees and this Burtt davyii nana was a tree that caught my eye. 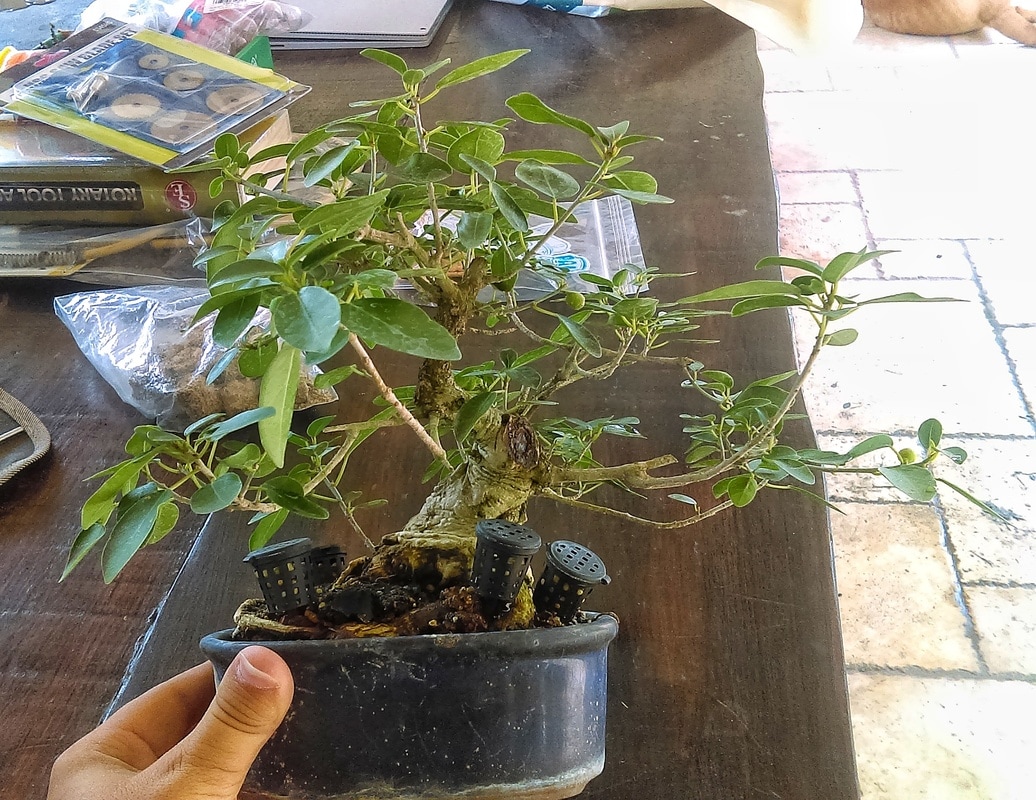 This tree was bought from my good friend Mike Rogers. It was bought because it's a ficus and hard to kill. This tree was begging for some love so I told Ben this tree would be a great way to start the day and teach him a few things. So we got to defoliating and trimming 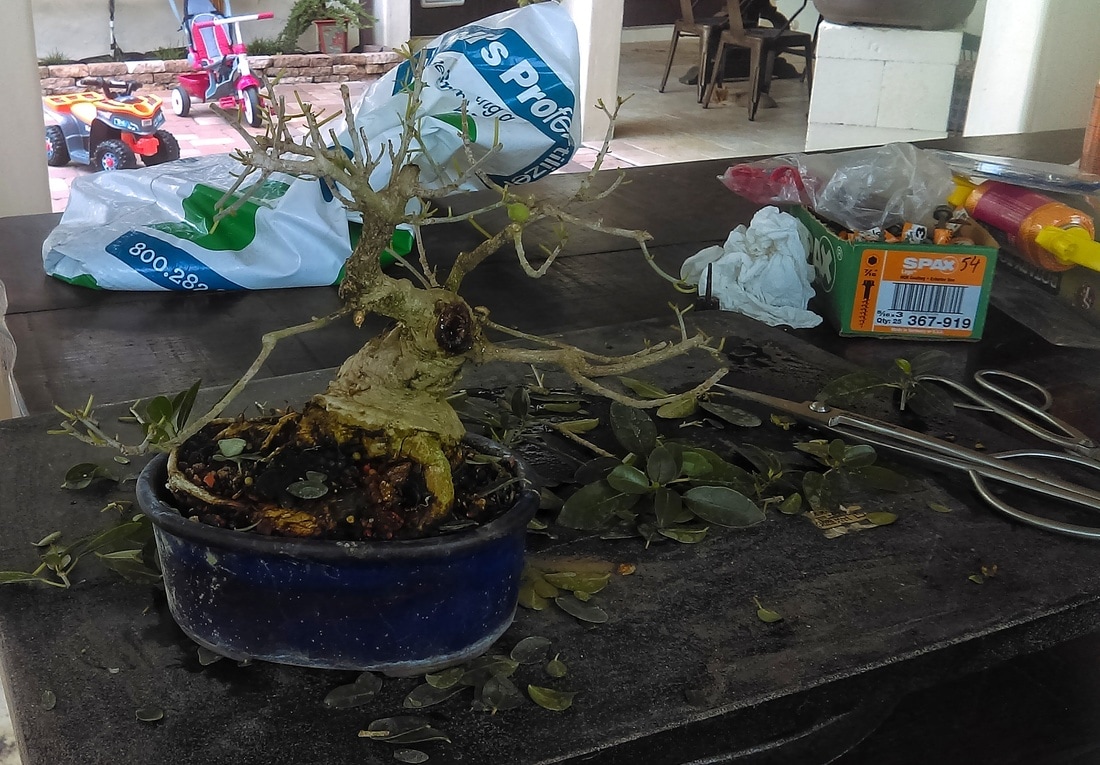 Some ask why defoliate trees. The reason is to be able to see into the tree and make it easier to wire, but to also reduce the size of the leaf. Now it is time for wire and placing branches. 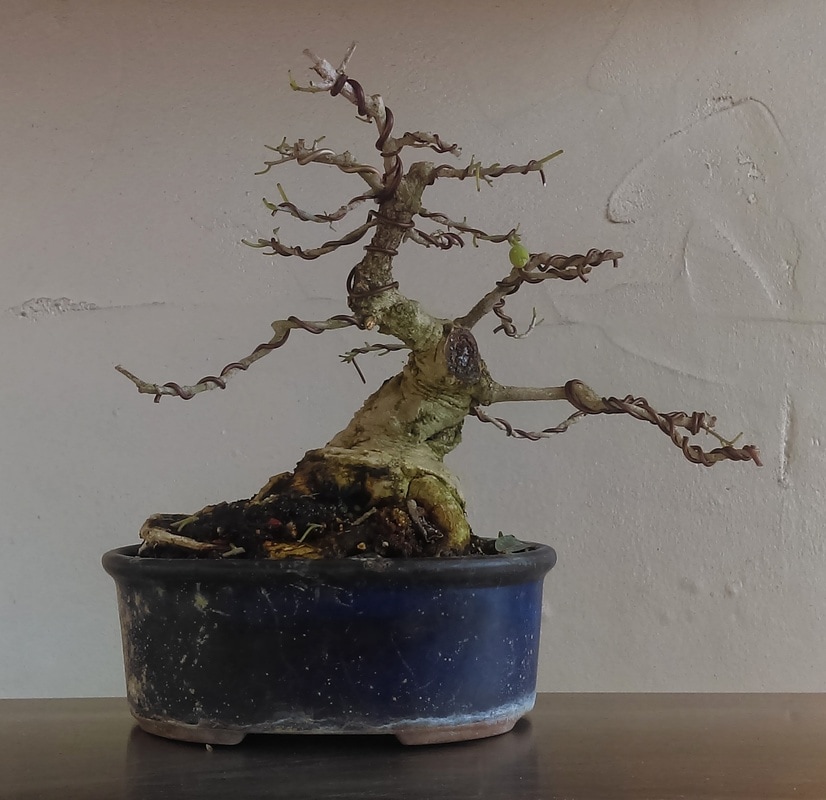 Something I was always taught and I told Ben this, is to do all the tree work in the current pot because if you take the tree out and put it in a new pot then try to move branches... The tree isn't secure in the pot so you will be shaking the tree which isn't good for the tree's roots. Now that all of the tree work is done, lets take the tree out and look at the roots.
This tree looks like it hasn't been repotted in a few years. The soil is very broken down and is in need of new soil. Lets go to the hose to see what roots we really do have. 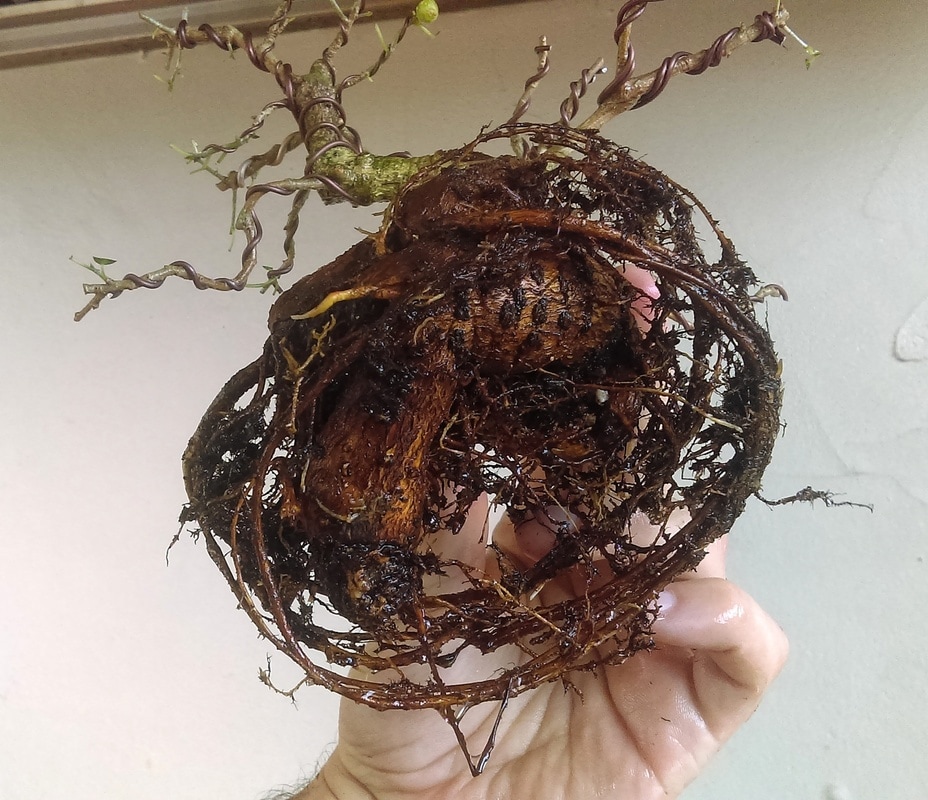 That big tap root needs to go! Then those circling roots. Lets get to cutting! Here is the result 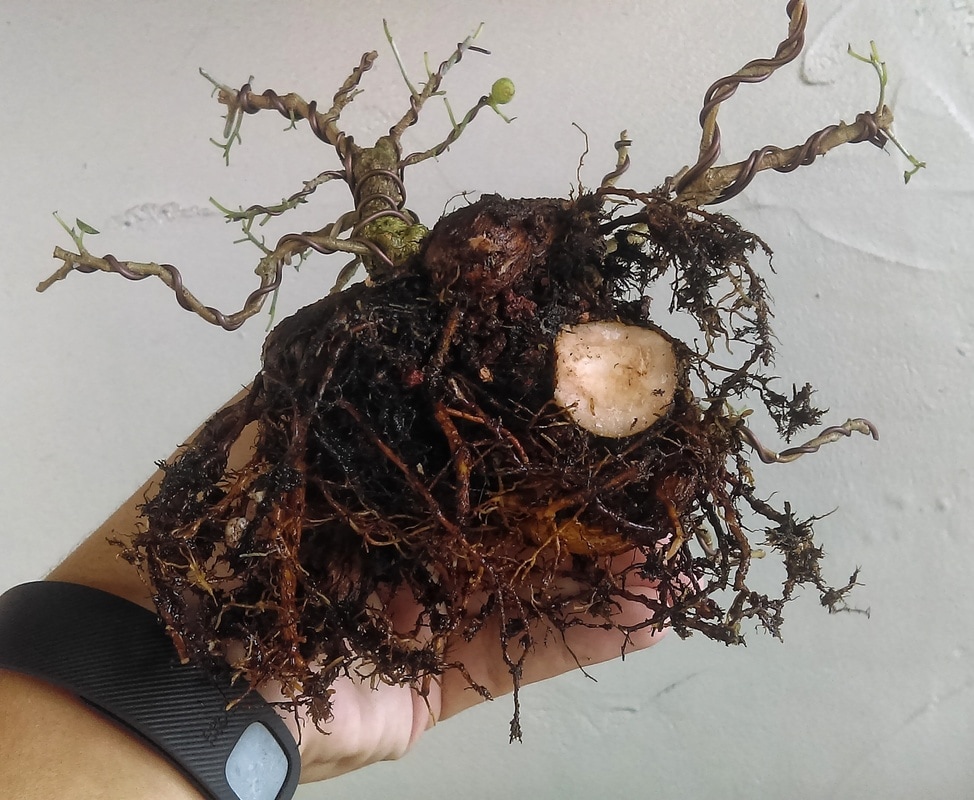 Now it is time to choose a pot. I found this pot. Ben said the pot is by Tani Ranzan and we both agreed that the tree would look great in the pot! Here is the pot. So then I showed him how to tie the tree into this cool pot. Here is how the tree turned out. 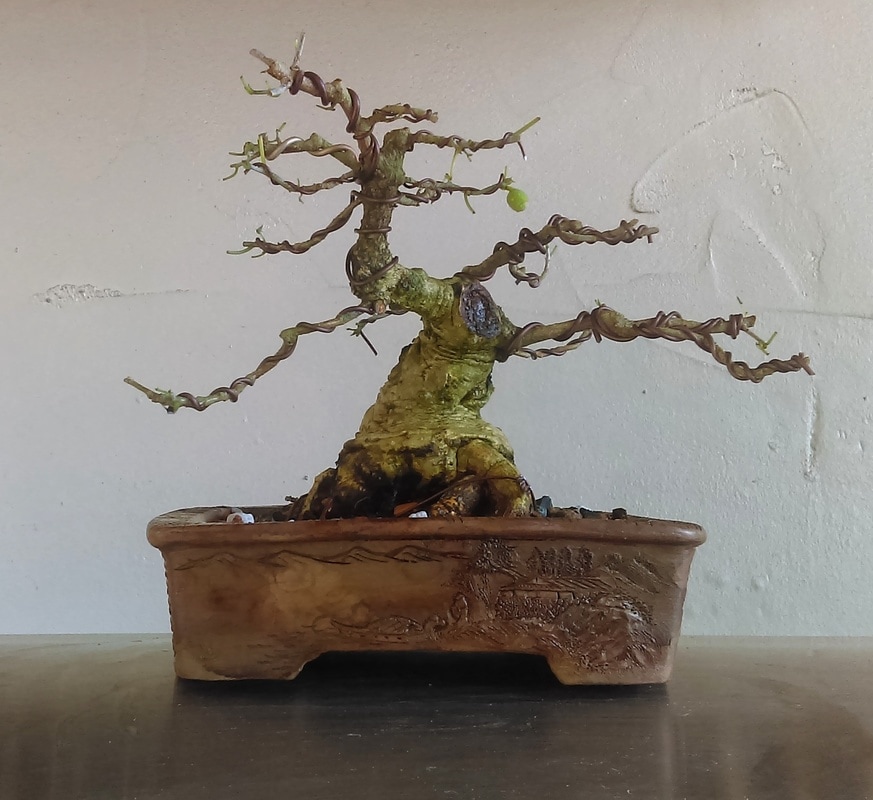 The top of the tree needs to be moved right but I didn't because the tree was cracking. This would give me nice movement. Mike the original owner thought the tree came out nice. Ben and I both were very happy with the result and can't wait to see what it looks like in a few years!
2 Comments
Happy 2017!! Lets make this a great year! A few weeks ago my local Bonsai club had it's annual winter picnic. At this winter picnic, there was a new species of tree I had never tried to grow before. At first I thought it was a different kind of cypress but after asking around the club I found out it was a Dawn Redwood. 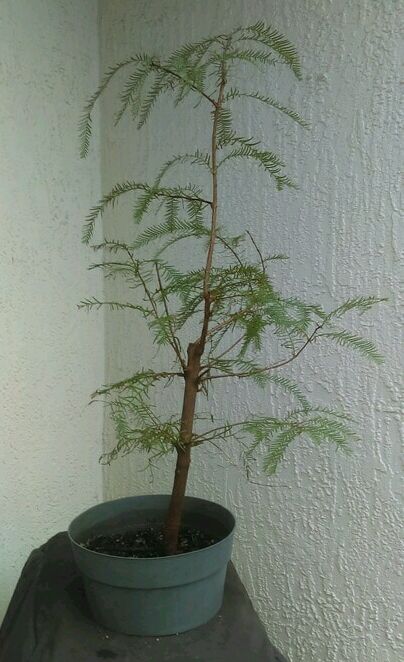 I found out this tree was donated by Adam of AdamAskWhy.com and has been growing it for a few years. As you will see later in the post it looks airlayered but Adam informed me it isn't. He told me his friend Nick Alpin got the seeds online and planted them. At the time Nick was playing around with a bunch of seeds and became too successful with them so he ended up giving a bunch to Adam. 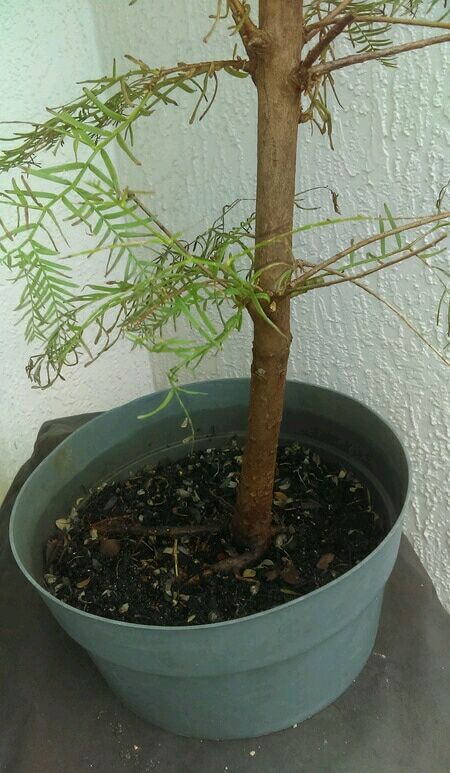 Here is some info about the Dawn Redwood. This species of tree is deciduous, meaning it goes to sleep for the winter. This is one of 3 kinds of Redwoods. This particular one (Dawn) is native to China. Dawn Redwoods are fast growing trees. First things first, time to defoliate the tree to make it go to sleep for the winter so I can successfully repot it without it dying. 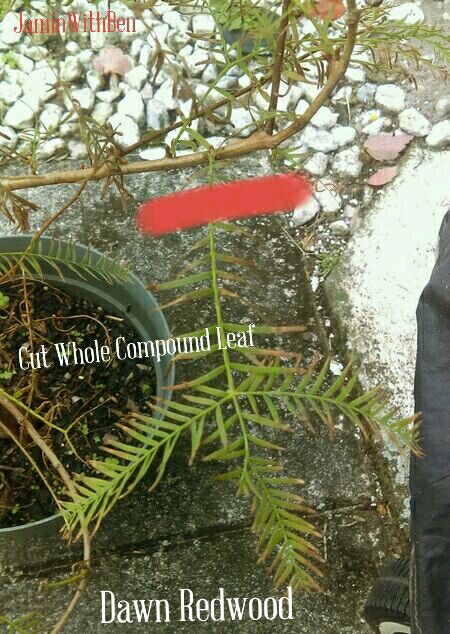 When repotting a Dawn Redwood and it hasn't dropped it's leaves yet, you have to cut the whole compound leaf off. Here is the bare tree without any leaves 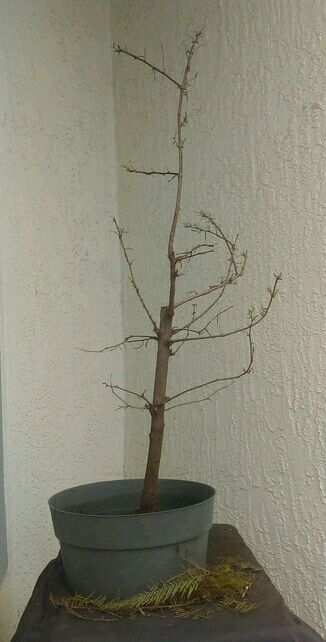 Now it's time to take the tree out of the pot. 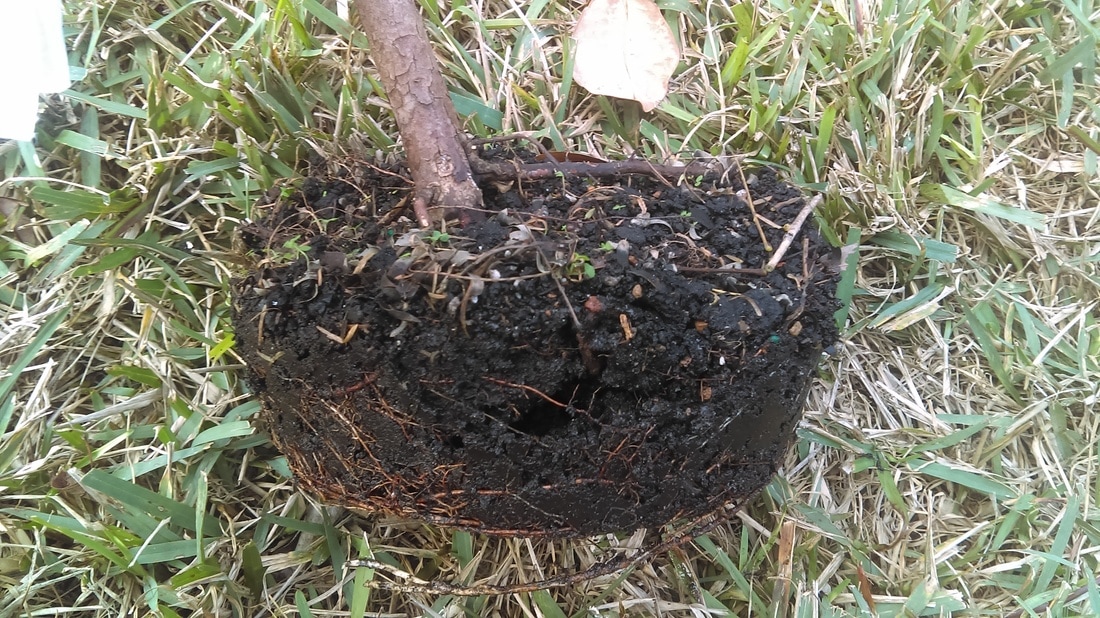 The soil is so bad I have to hose it all off. 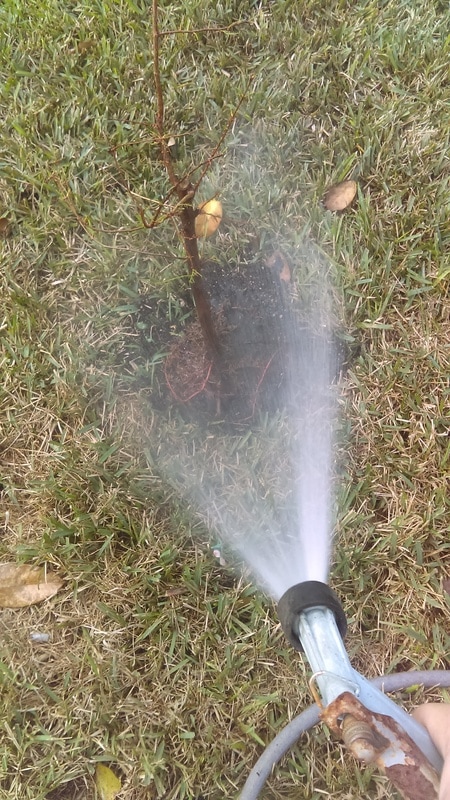 Now lets see what those roots look like 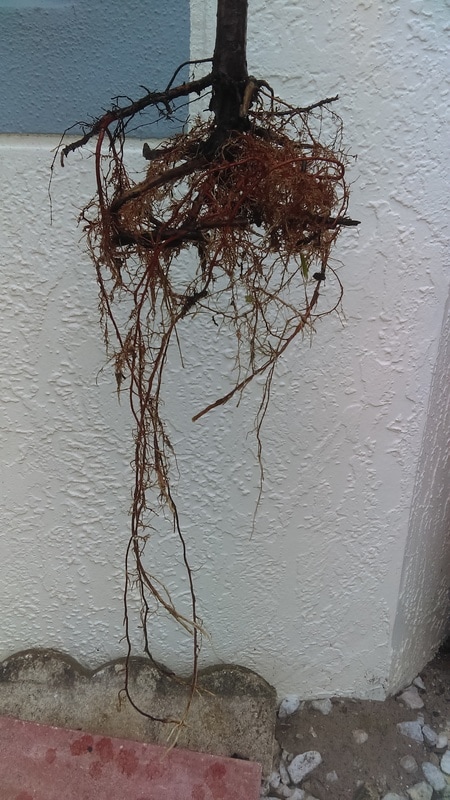 Wow! Look at those roots! Remember at the beginning when I said it looked like an airlayer and we would talk about it later? Well here is the later. If you can see, there is 2 sections of roots. From the inbetween area to the bottom is where there could have been the airlayer materials. The tree doesn't appear to have a tap root either. Now I'll clean up the roots 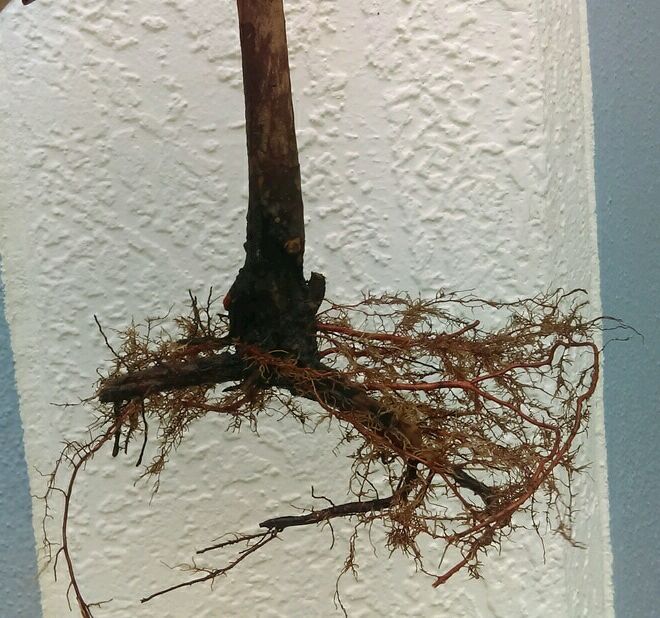 Ahhh, a lot better. But what is that I see? An interesting base? 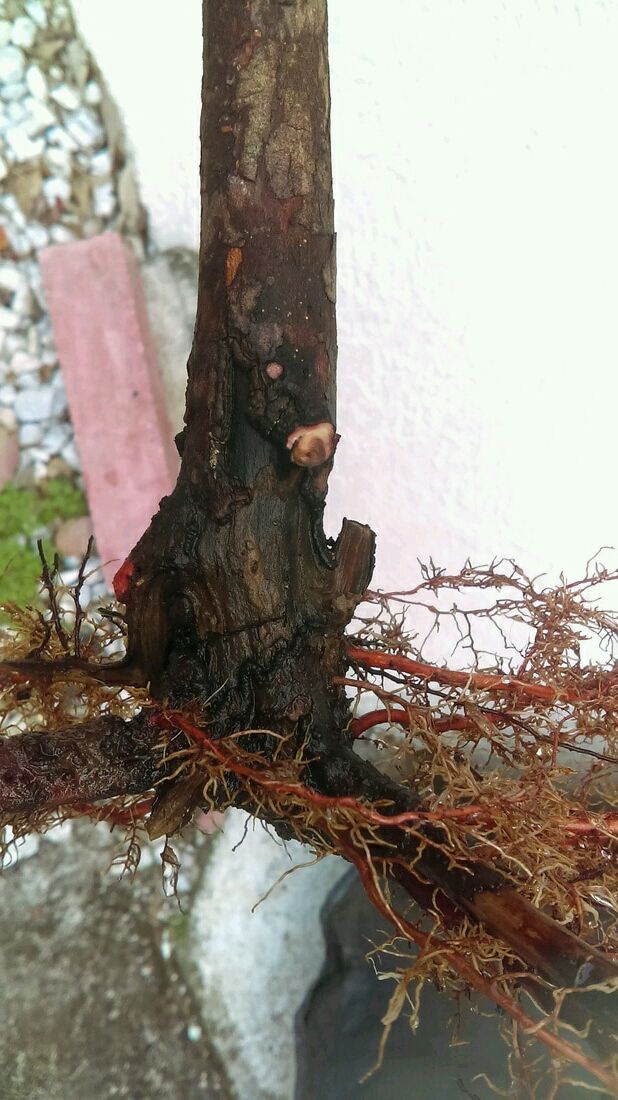 Look at that! That makes a straight trunk more interesting! Time to pot it! 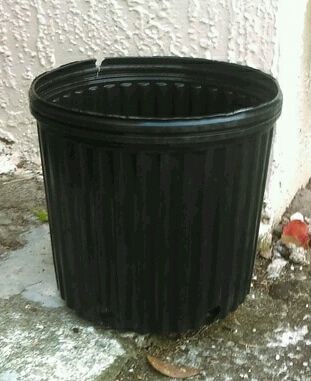 I am going to put it in an even bigger pot to really let it grow wild. I will put it in a 3 gallon pot. 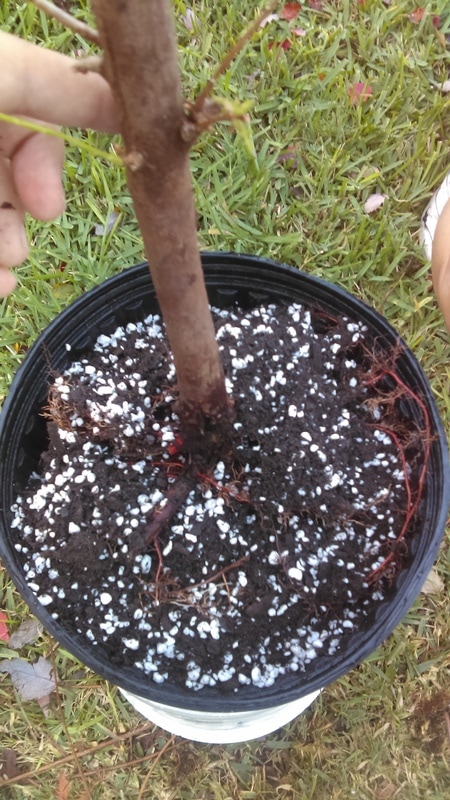 I put it in the pot with 50/50 potting soil and perlite mix. Here is the final tree 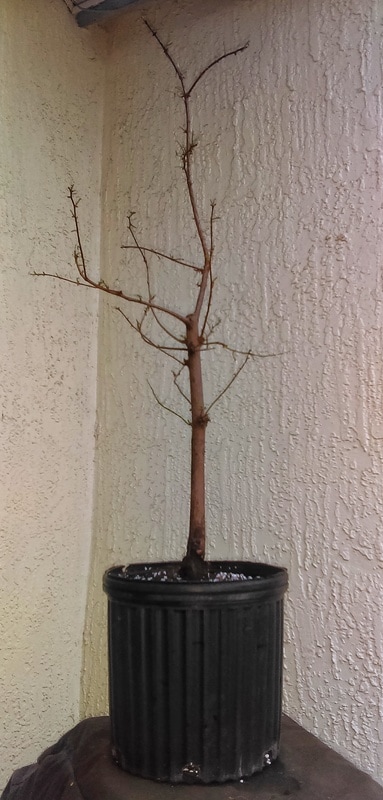 I left it tall for it to grow and I straightened it in the pot because of the nice base. I will watch this tree in the coming weeks to see when it pops out and post an update when that happens.
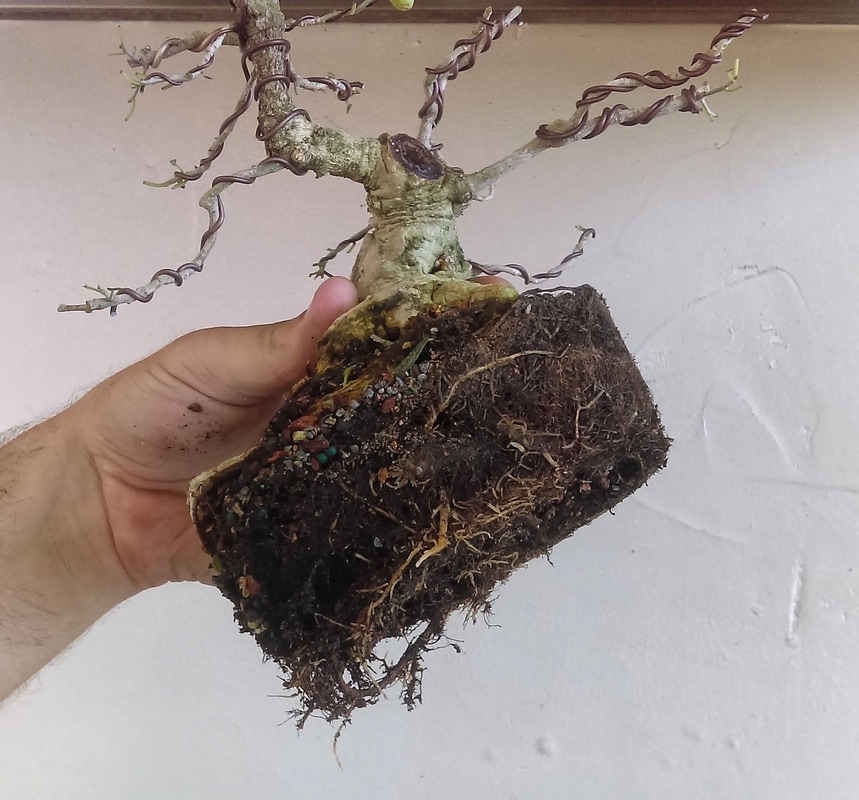
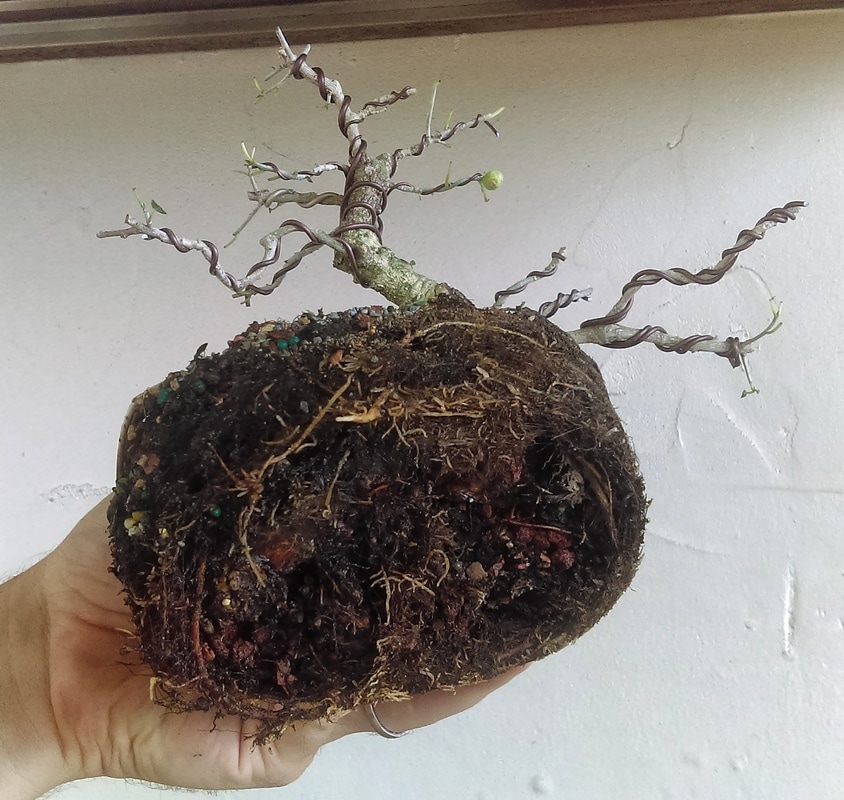
See everyone next time! Hello All! Happy June! Since it's been a rainy June, I haven't had a chance to go outside and work on my trees... But last night, I went to my usual CFBC meeting and I got to work on some trees. One of them was my blog tree... The ficus microcarpa! This tree was given to me by a bonsai friend. When I showed it to him, he remembered the tree right away! You have seen this tree in the blog posts A FICUS MICROCARPA... and A FICUS MICROCARPA UPDATE... I decided to do some work on it and start to get it into shape... Here is the before picture: 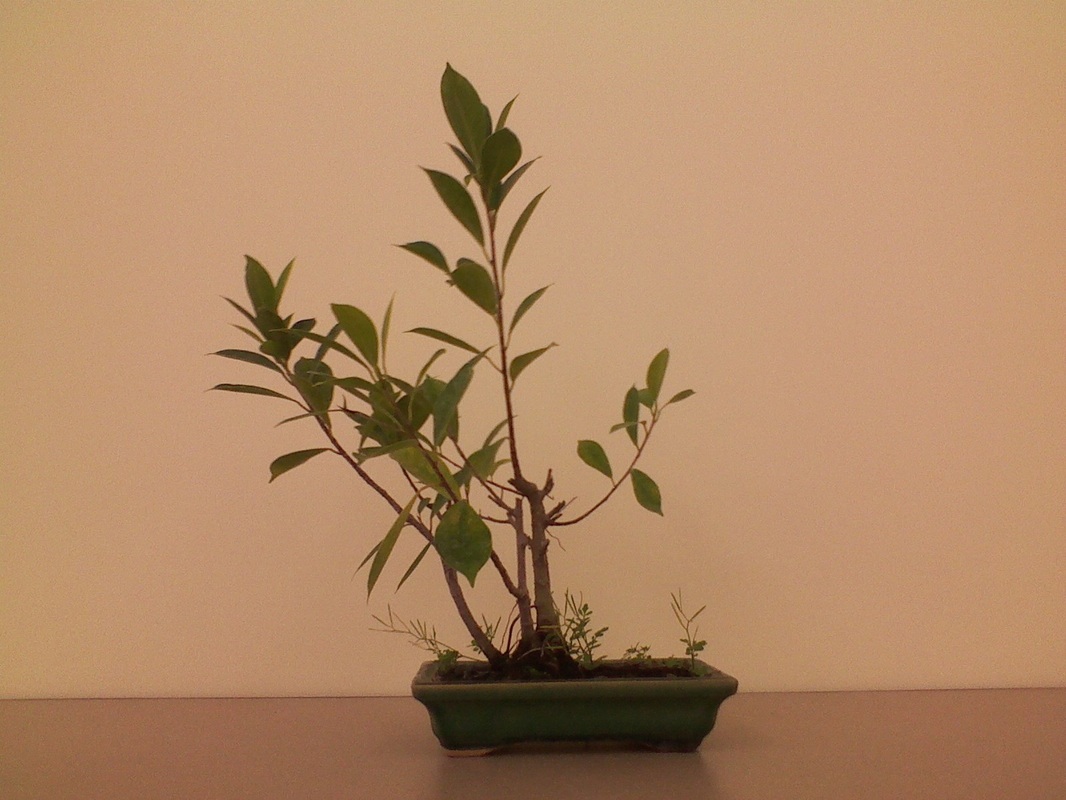 I decided first it was time to defoliate because I am trying to get smaller leaves. 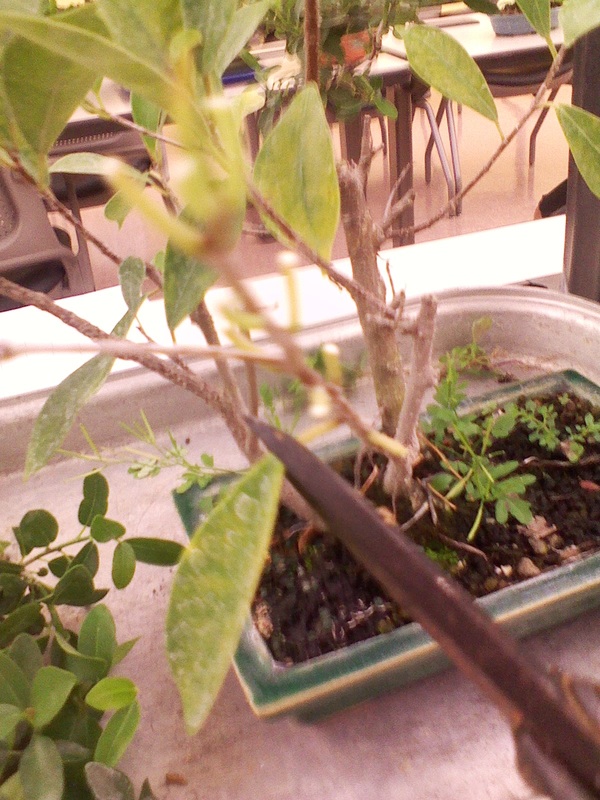 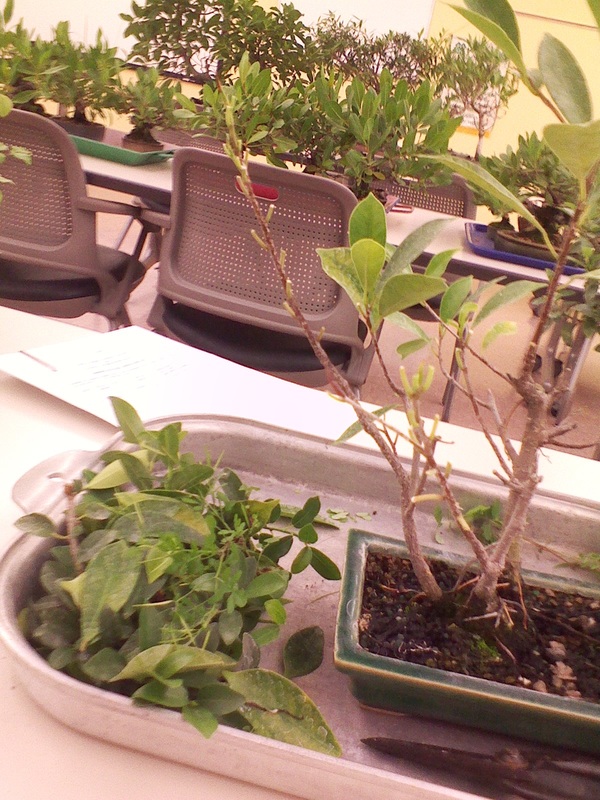 I finished defoliating the tree! Now it's time to cut these branches in so I can force back the growth. 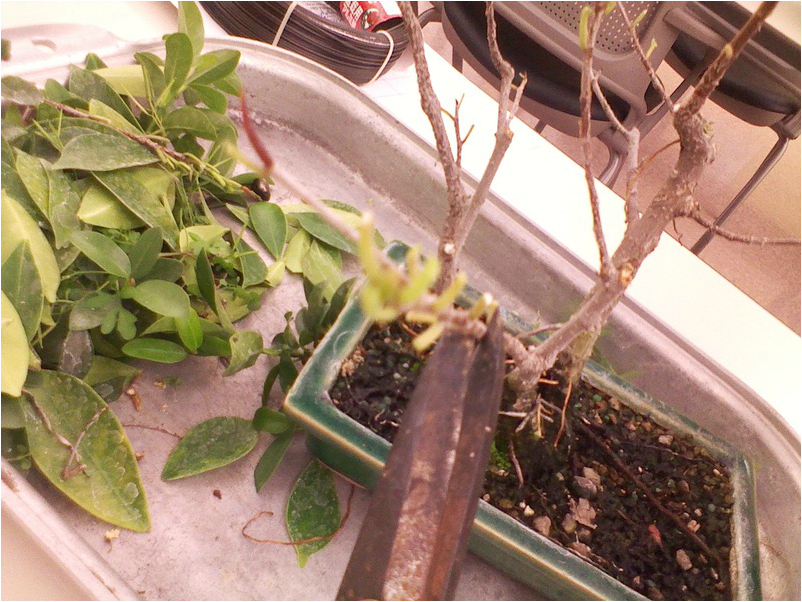 I finished cutting back the branches! 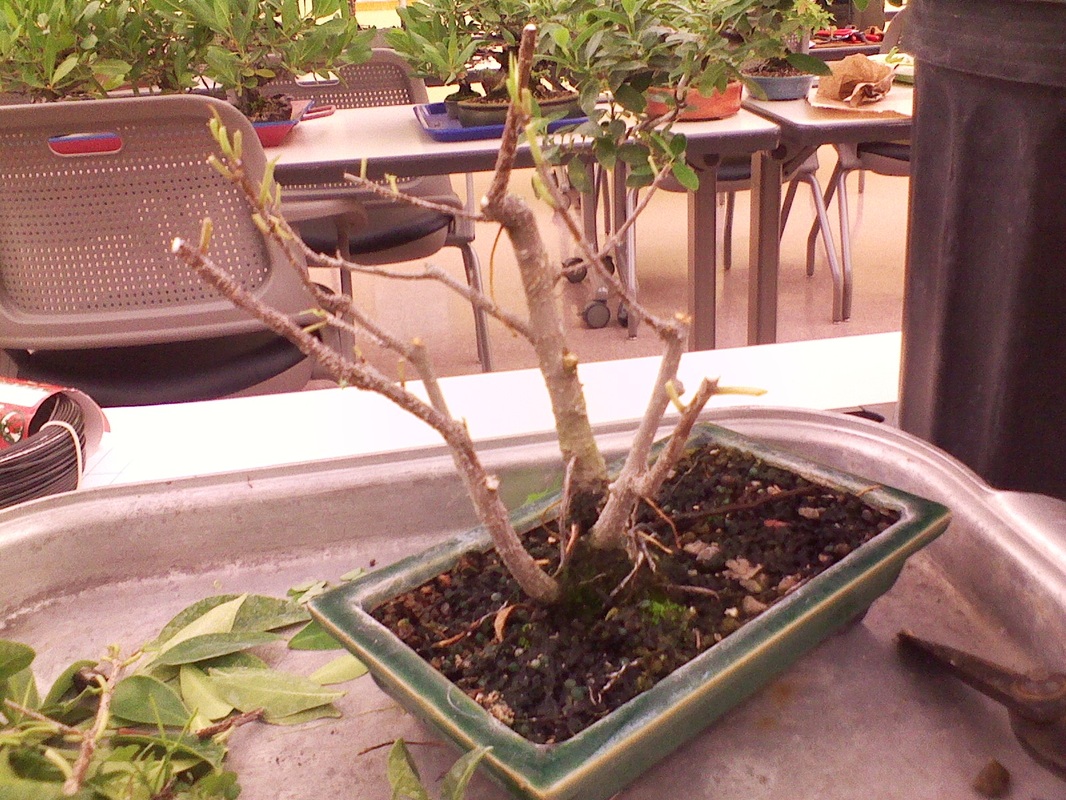 Now I have to add some wire... 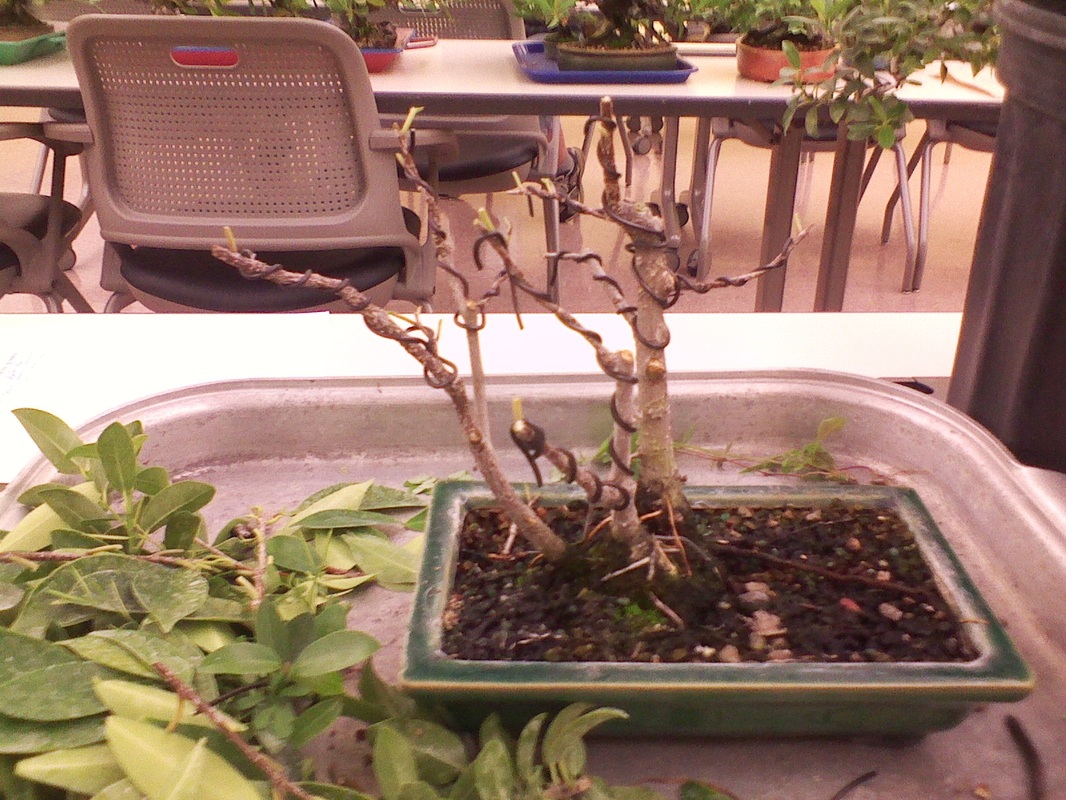 Now that I wired out the whole tree... I have to place the branches to where I want them. Before I show you the finished tree, the before:  The top of the finished tree: 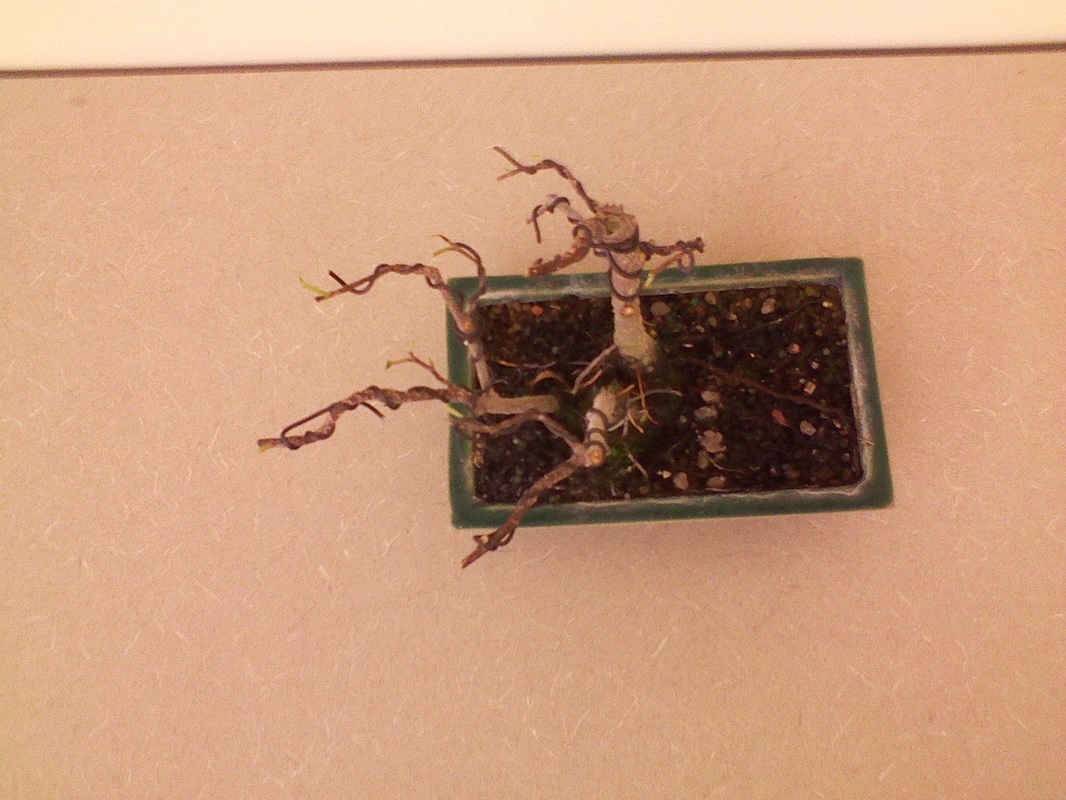 And the finished tree: 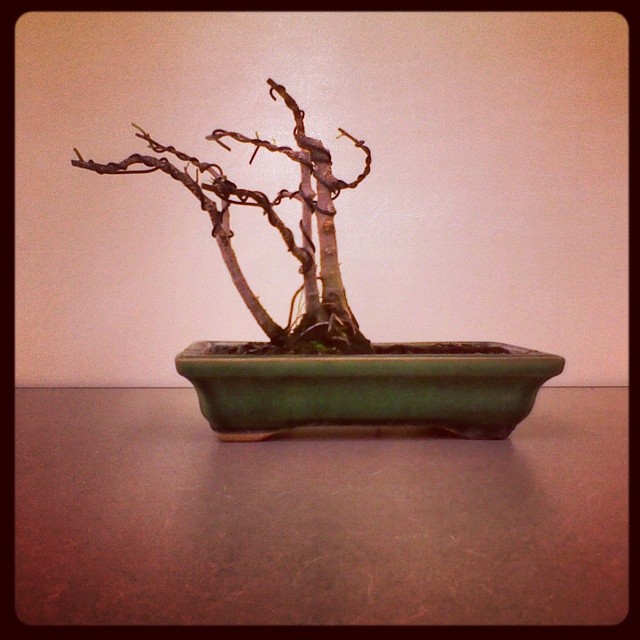 I hope you have enjoyed and learned! The next step is to let it grow out a little, and repeat the steps from this blog post. This tree is also very root bound (roots circling the pot), which means I need to repot it. But that's another blog post...
~Ben Jamin Hello All, It's 2014!! (Have a happy and healthy one!) Plus it's Winter!!! The weather here is still HOT and the leaves are still on the deciduous trees. (IE: Maple, Elm) If you want to repot a deciduous tree, you are probably wondering if it has gone dormant! I got help with this same problem from Mike Rogers. He told me to take off all the leaves. Then you are fine to repot like any other tree. When you take off the leaves, leave the little stem or bottom of the leave. An Example of a Maple is Below: 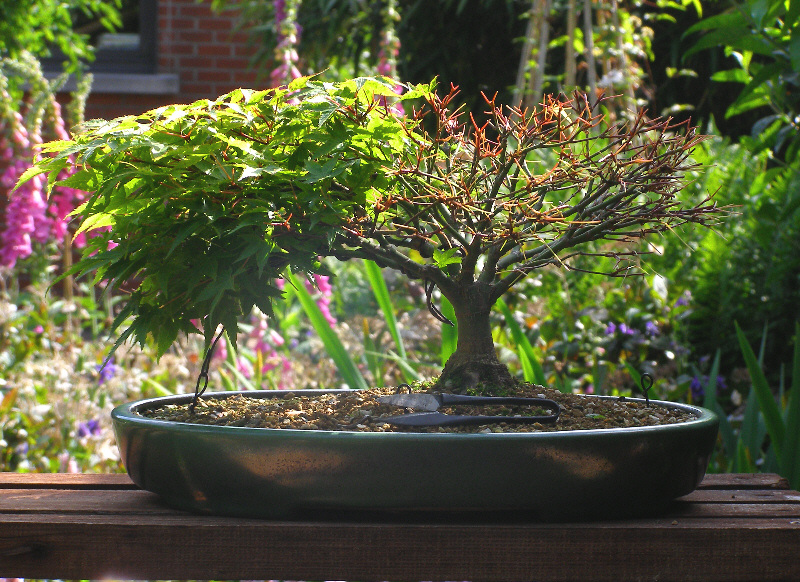 This is a Maple Bonsai tree. (Still in Training) This Bonsai is not mine... See how the right half still has the little stems from the leaves and the other half of course hasn't been defoliated yet. That is what you want to be left with. But of course the whole tree should be defoliated! Below is a Couple of Diagrams About Defoliating. 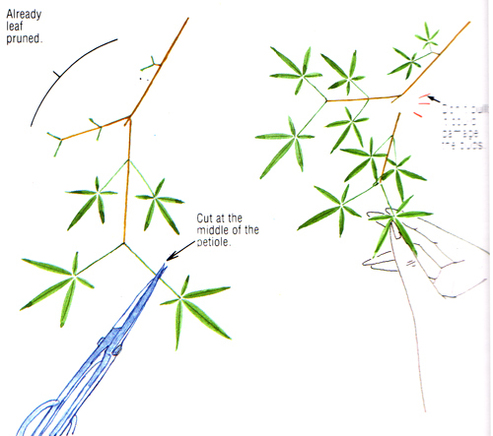  Here is the Bonsai Website Where I Got the Diagrams From: http://bonsaibark.com/ (HERE is the Post the Diagrams are From)
Hope You Have Learned, ~Ben Jamin Mobile / Comment! Hello to All Bonsai Lovers, Here is the Bonsai Part of My Blog. And this is My First Report on Bonsai. SO... Lets Begin... This is a Ficus Microcarpa. I was at the CFBC Summer Picnic and One of My Bonsai Friends Gave this tree to Me because it didn't sell. He was selling it for another one of My Bonsai Friends, he didn't wan't to bring it back to him and He Knew I would like it, SO I got the tree !! Now Normally, I Don't Like to Put Trees in Bonsai Pots too Early, But this is what It Came in. 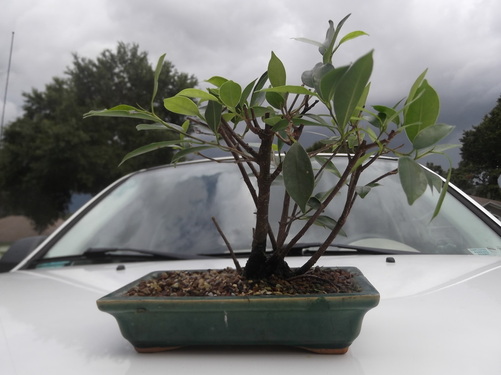 SO Here is the Tree. Lets Get to work !! (Sorry I Don't Have Pictures Doing Each Step, Next Time) 1.) I Removed the Leaves to make them smaller (Defoliated) 2.) I Took Unnecessary Branches/Trunks Off. 3.) I Made Some of the Branches Shorter. Now I Had an Idea to Kind of Make this Forrest, Windswept. So I Cut the Branches Accordingly. Here is the Finished Product... 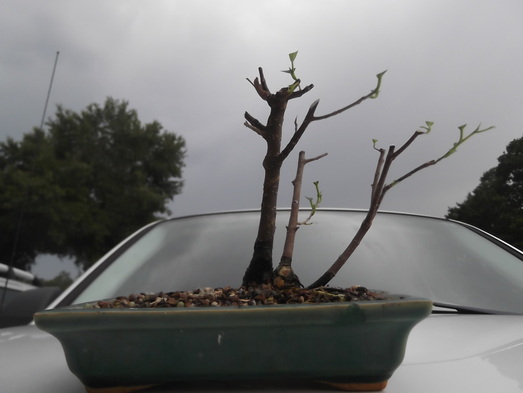 And Here is What I Have in Mind for What I Want it to look like after next styling...  Alright, That was Post Number One Under the Bonsai Section of www.JaminWithBen.weebly.com. I Hope You Enjoyed and Learned about how the tree was styled and some of the techniques to Bonsai. See You Next Post... ~Ben Jamin Lorber |
Ben jamin LorberI LOVE Bonsai!! I have participated in many styling competitions and have even won! I have also displayed many trees in many exhibits! Archive
June 2017
My Bonsai FlickrCategories
All
If you aren't getting email updates from the blog... Contact me by either commenting or going to the contact page...

|
 RSS Feed
