|
After reading the title, you are wondering a pine!? I've never done a post on a pine. This pine is from one of my great bonsai friends Mike Rogers. We were going through his nursery and I found this little guy.  I had the idea to put a piece of wire on it and put some movement into it. I asked Mike to help me since I did not want to break the tree in half 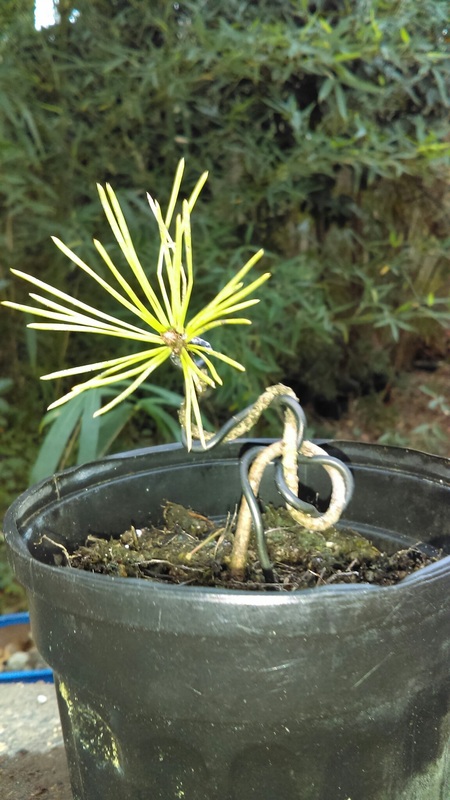 So when I did this, it was February 16. I took the pine home and it has been living on my bench for a few weeks. After taking it home, I wanted to find out why it was called a Mikawa Black Pine and not just a regular Black Pine. I found out that Mikawa is a place in Japan where these pines are found. I found this out from Peter Tea's website. This particular Pine was grown from a seed. So on February 28, I repotted the Pine into a colander. The reason you repot into a colander is on this website. So now it's time to take the tree out of the pot. 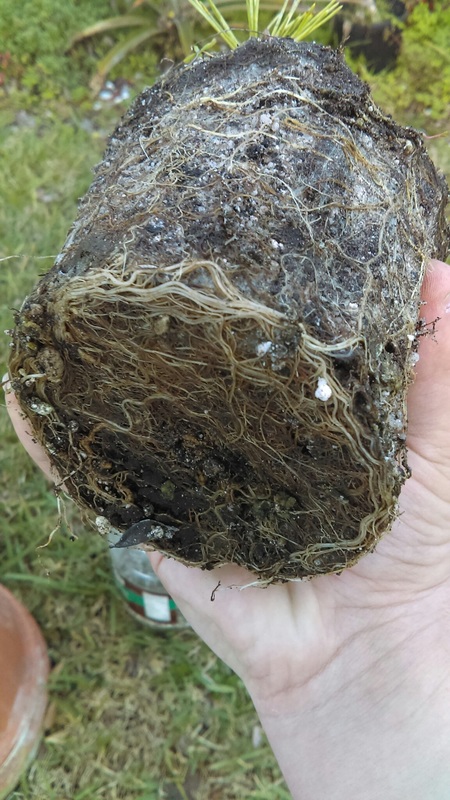 Wow! Look at those roots!! I did not expect that many roots!! Now if you notice the white stuff, many may think it is a bad thing to have in the soil. But it is actually very good for the tree. Some plants rely on this stuff for survival. The white stuff is called Mycorrhiza which is very good for the roots and the tree! Mycorrhiza is a symbiotic relationship between the roots of a plant and a fungus. According to Wikipedia, at least 80% of the land plant species have mycorrhiza. Now it's time to rake the soil off the tree. I usually bare-root the tree with the hose but you should really try not to bare-root conifers. So for this tree, I will use my trusty root rake. 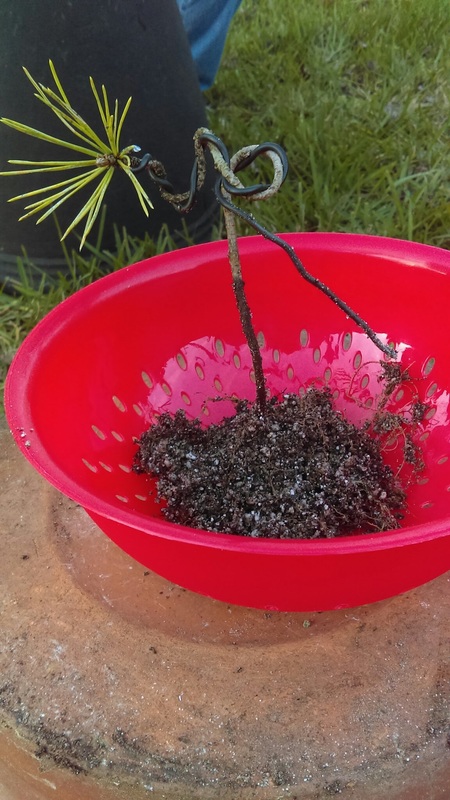 The soil came off a lot easier than I expected! After getting rid of the soil, it seems there is more trunk then originally thought. This will make it an even better tree! If you notice in the picture there is luckily some extra wire that was used for the original styling that can be used. Now, time to make this tree even more interesting! Before I show you the finished tree, here is the before picture. 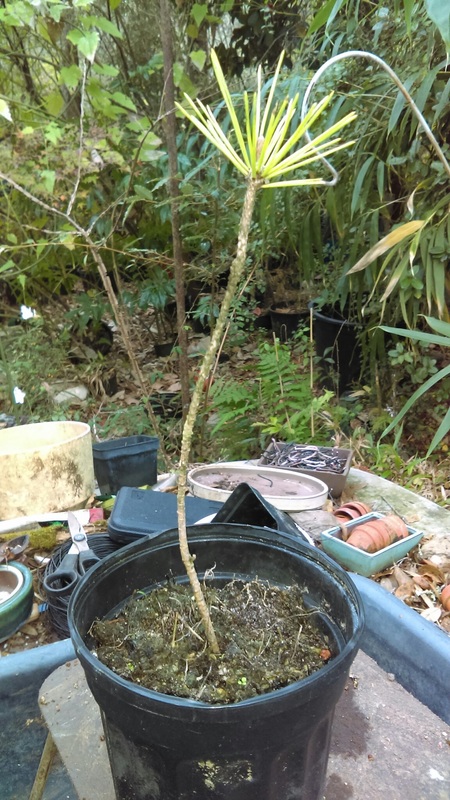 And the after 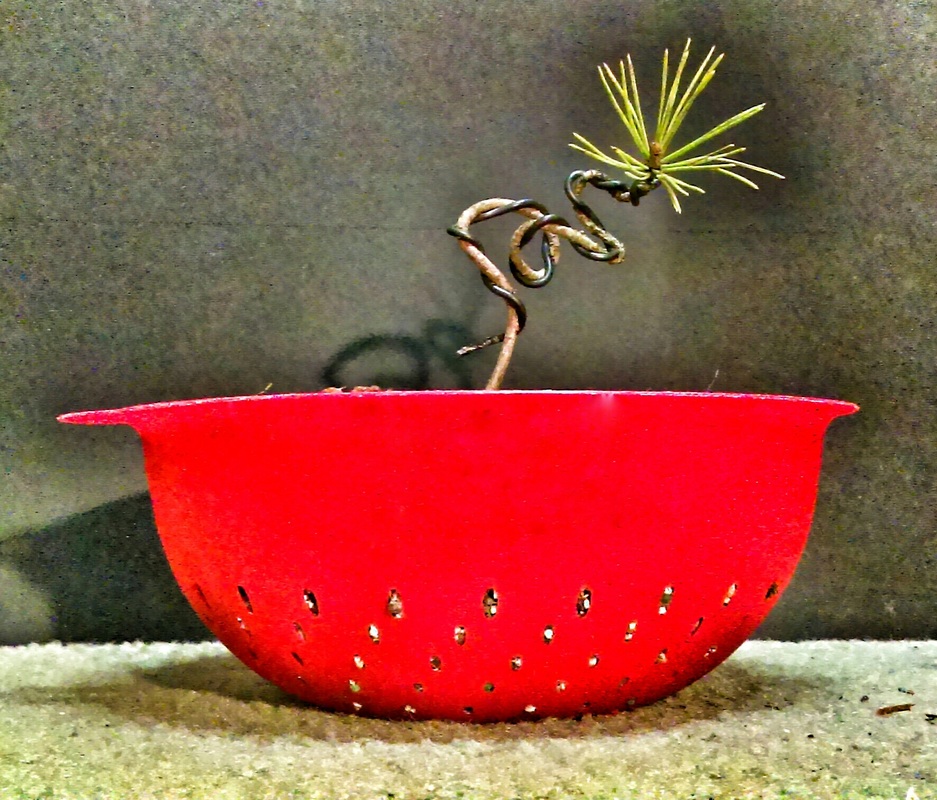 Wow, what a transformation!! I can not wait to see what this tree looks like in a few years!!
Hope you learned a lot about pines and will see you next time!!
0 Comments
Hello Everyone! Recently, my neighbor got a new fence... But a big bougainvillea was in the way! So my Bonsai friend Adam (Facebook Account) (Blog) came to dig the big tree up! But when I say big, I mean BIG!! This tree has been growing in the ground for 19 years! When Adam was taking the bougainvillea out, I got a little piece that came off... Below is what it looks like: 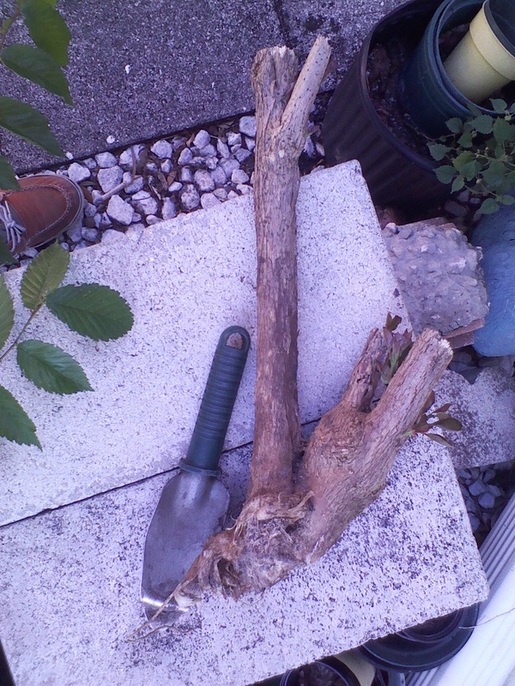 And here is the piece Adam got: (If you want to know Adam's Side of the Story, Click Here) In case you want to know more about a bougainvillea, you can click here. This particular bougainvillea has a pinkish purple flower. Although this tree has a pretty flower, it has a lot of thorns! Like I said above, this bougainvillea has been growing in the ground for 19 years! This tree also loves to grow wild! Below is this bougainvillea flowering: 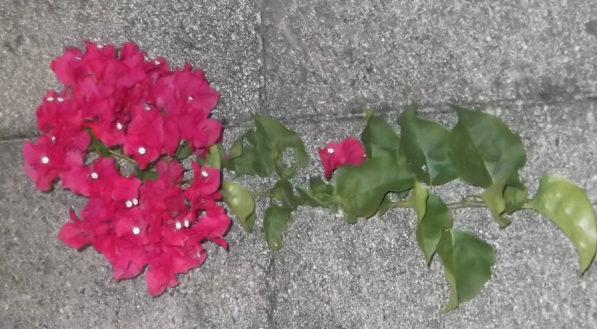 Back to my little piece, after getting it... I had to get this bougainvillea in water, it only had 1 root! It was hard finding a big enough container to fit this... Finally, I remembered I had a watering can a good size for this bougainvillea. Below is how I left it for the day... 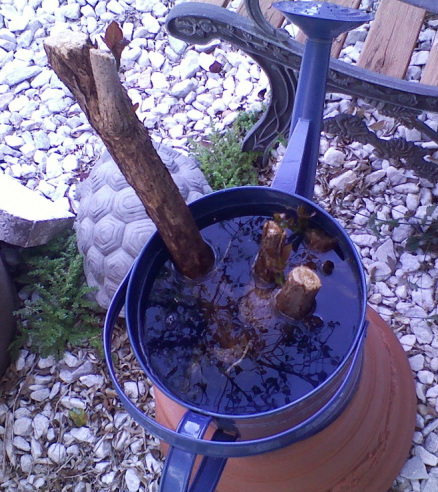 I will keep you updated on how this tree is doing!!
Enjoy, Ben Jamin Comment / Mobile! Hello Everyone, (Juniper Info) (Re-potting a Juniper Info: 1, 2, 3) On Valentines day, I brought one of my junipers to Jason Schley (Bio) for placement of some branches. CFBC was putting on a Bring Your Own Tree Workshop (BYOT) for Junipers. Here is what the juniper looked like before branch placement:  Here is Jason working on my tree: 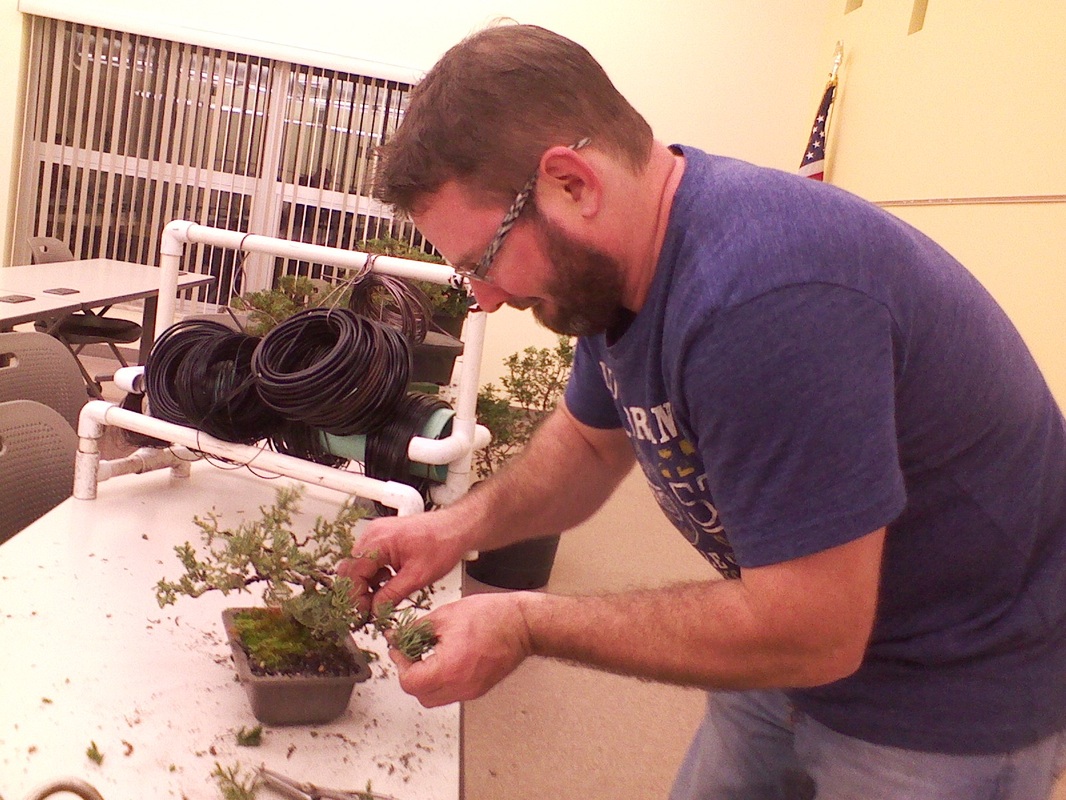 And here is what it looks like when it was done having the branches placed: 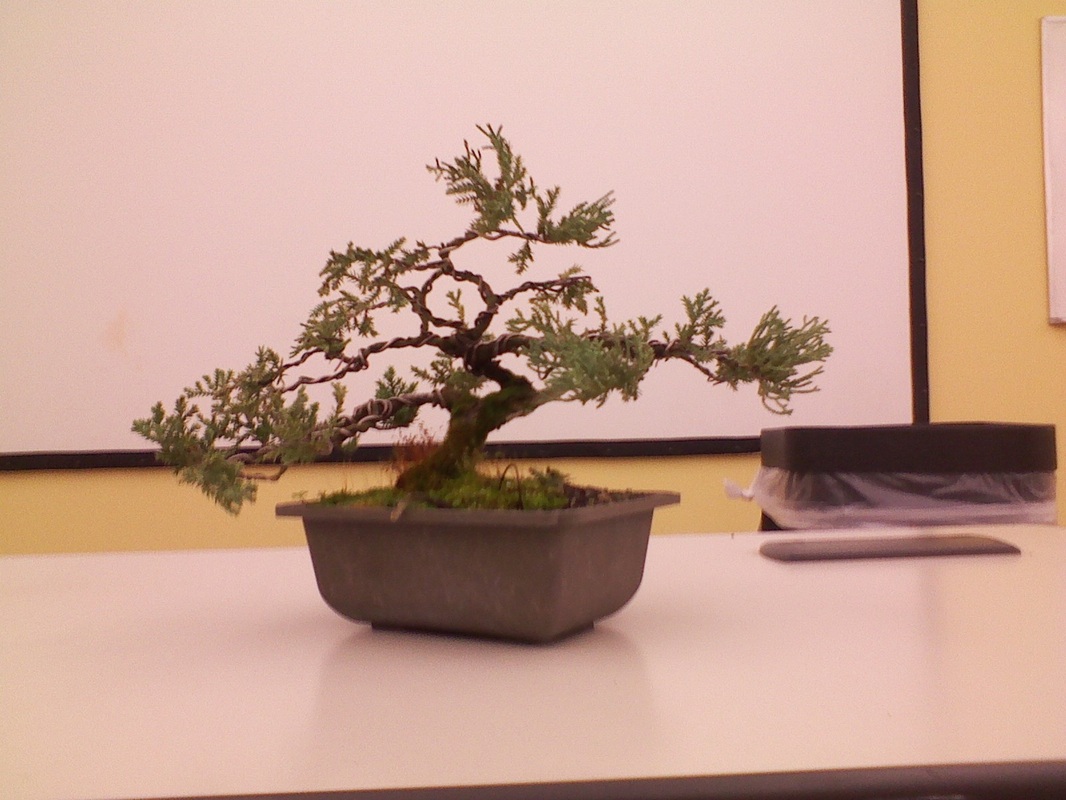 When Jason finished placing the branches, he told me to put it in a nice unglazed, oval pot and to get the moss off the trunk. He also told me not to reduce the length of the branches because it would stress out the tree. So in about a week after placing the branches, I picked out a pot and put it in there. 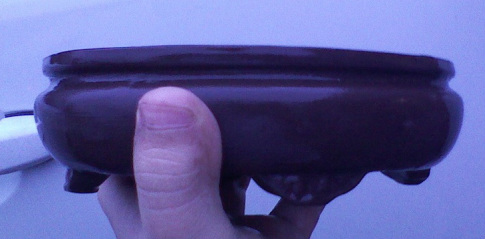 Here is the pot I will put the juniper in. In order to put the juniper in the pot above, I had to go through a couple steps. Here are the steps: 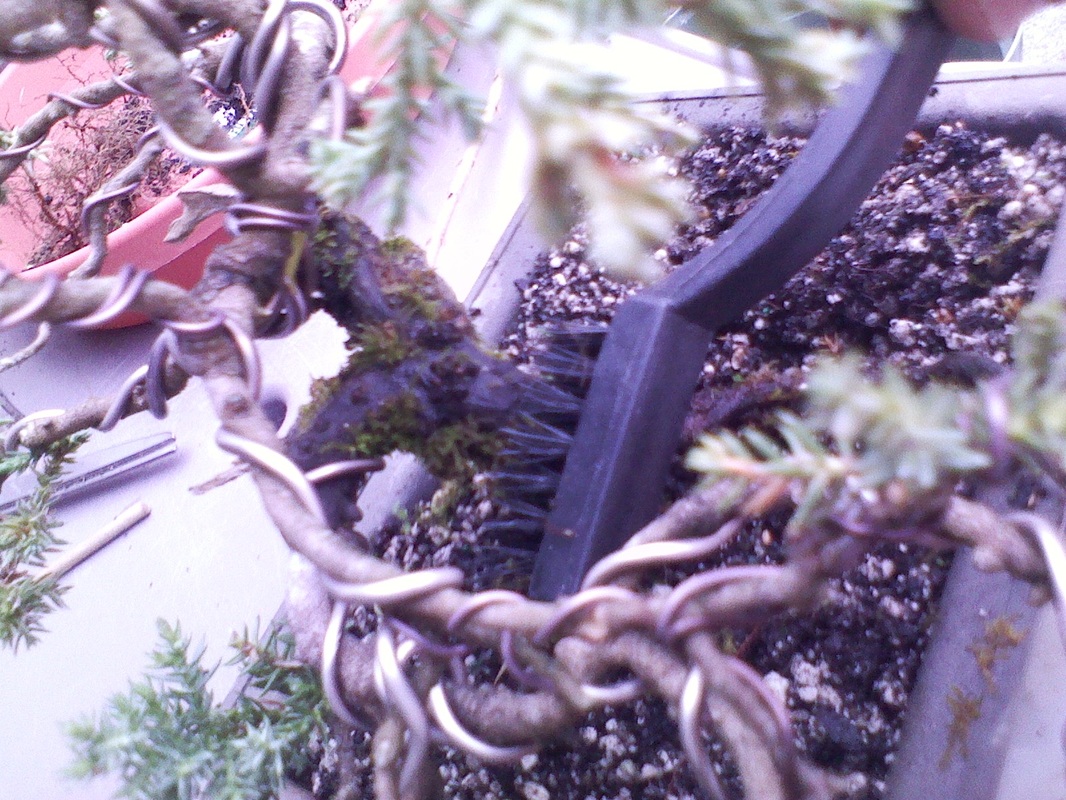 I had to get the moss off the trunk. If I kept it on, it would eventually rot the trunk away. 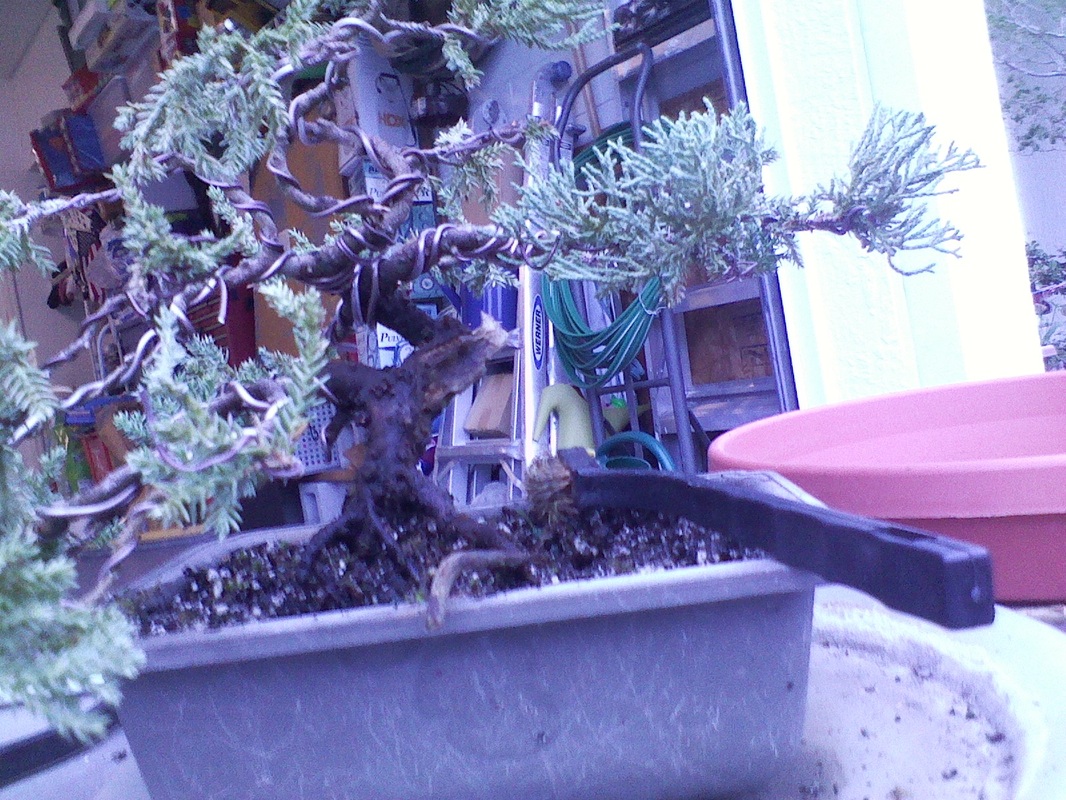 All off! Now I have to take it out of it's pot. One of the reasons I have to repot the tree is because it isn't stable in it's pot. It has fallen out of it pot before, squirrels have dug in the pot, and the tree's roots weren't supporting it. The soil was also broken down muck. 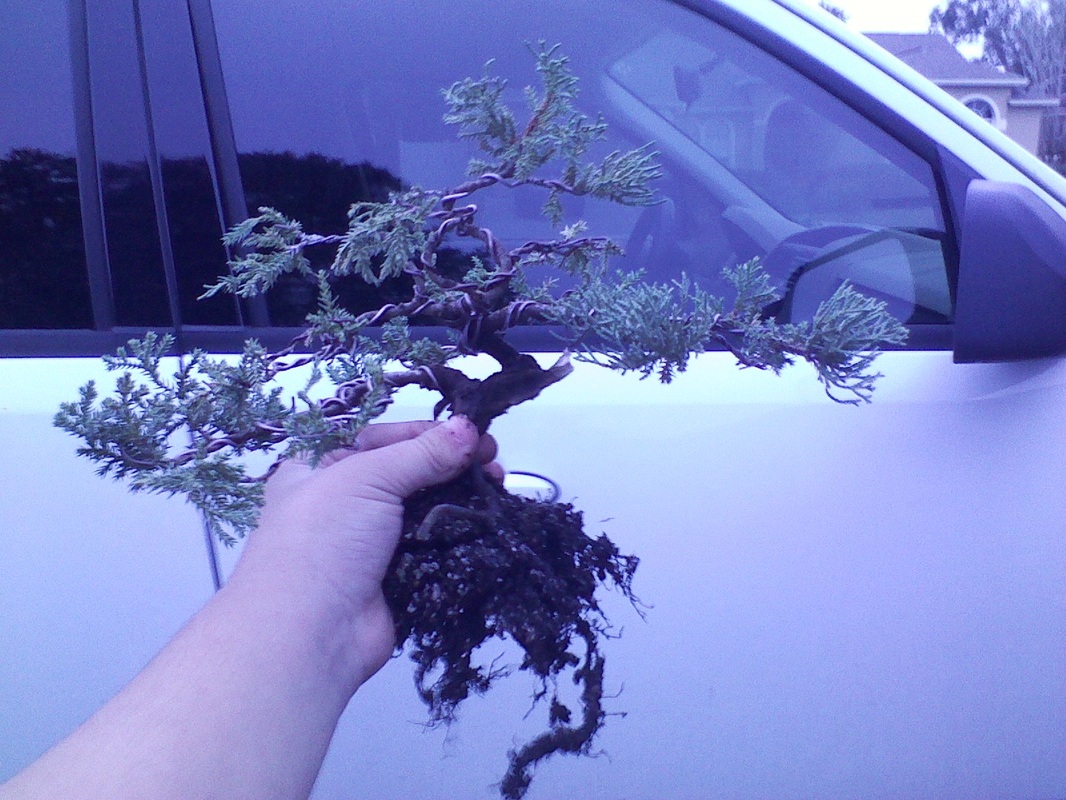 The juniper just got taken out of the pot, no wonder why the roots couldn't support the tree! There really wasn't any!! Now I have to prepare the pot. I have to put in two screens to hold in the soil, two small pieces of wire to hold in the screens, and two big pieces of wire to hold the tree in the pot. 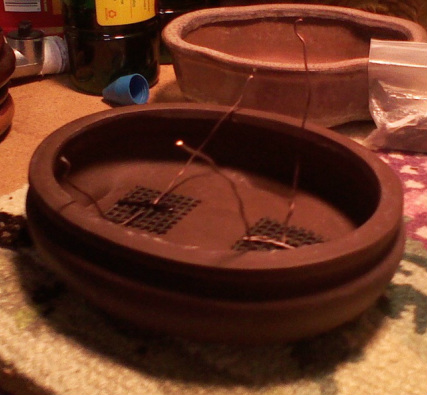 All prepared! Now for some soil and chop-sticking! Chop-sticking helps get rid of the extra air space. 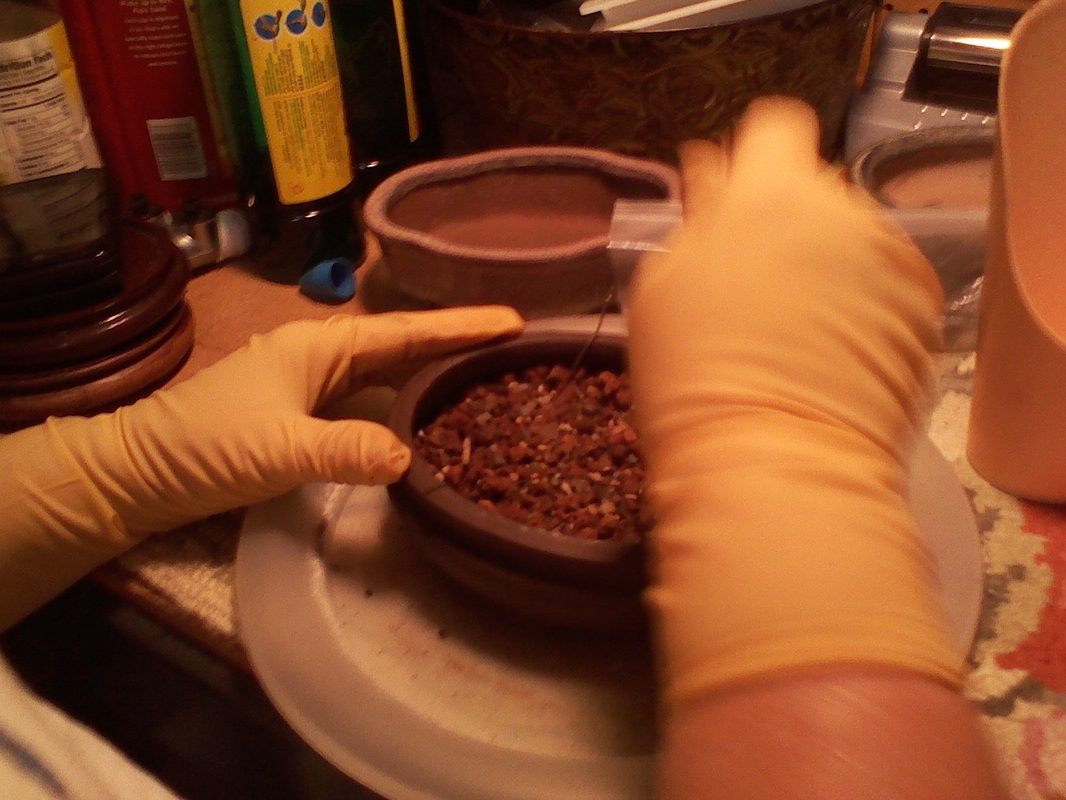 The bottom half of the soil is all chop-sticked! Now to fit the tree in the pot. 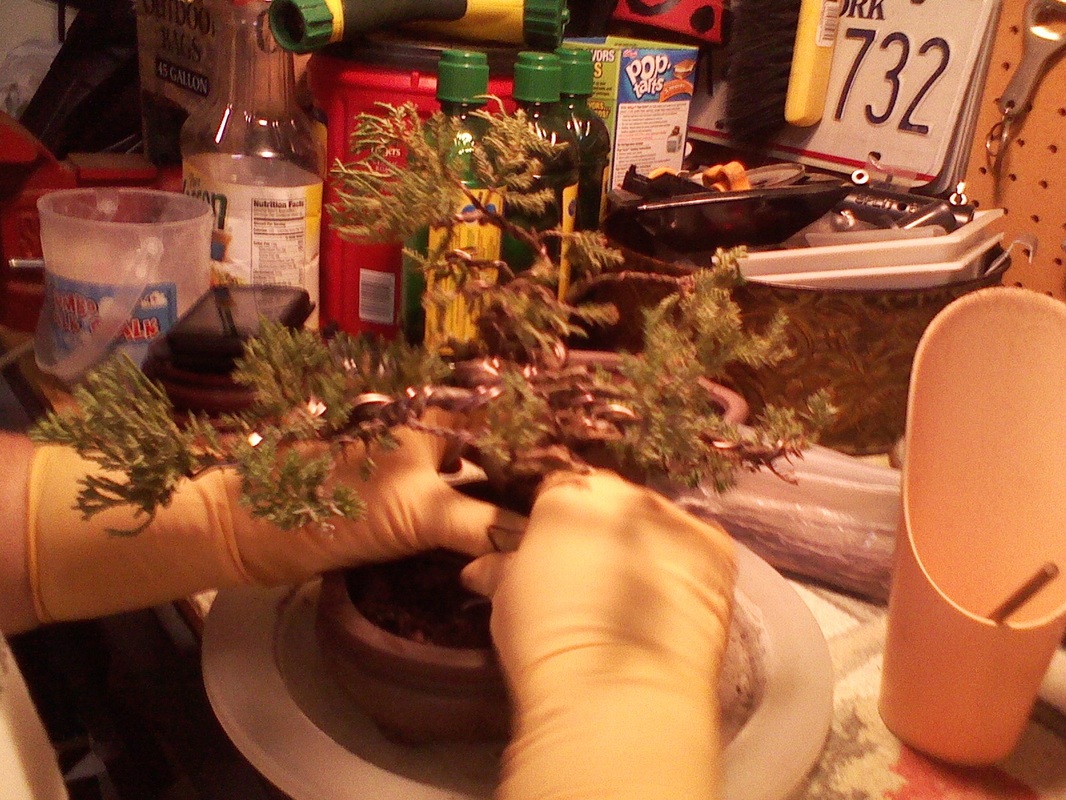 The tree fits and it's placed in the pot. Now to fill it with soil, and finish chop-sticking. Here is the before picture so you don't have to scroll to the top of this post: 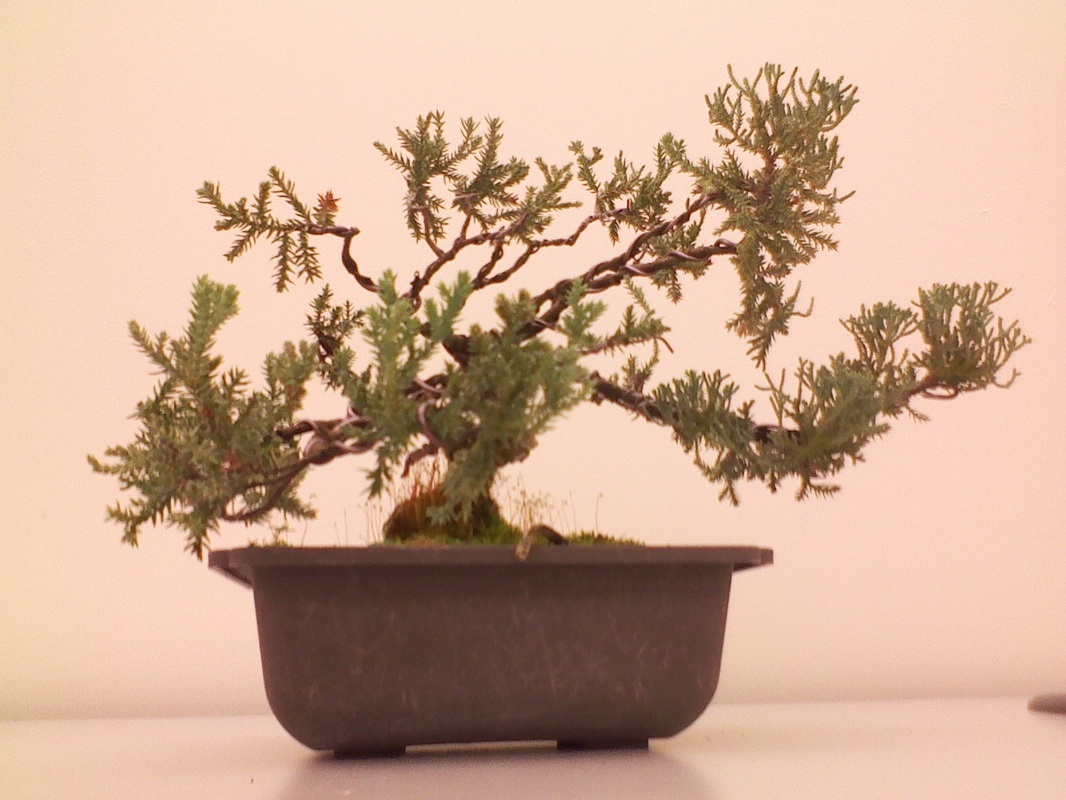 And here is the after: (Instagram filter on it) 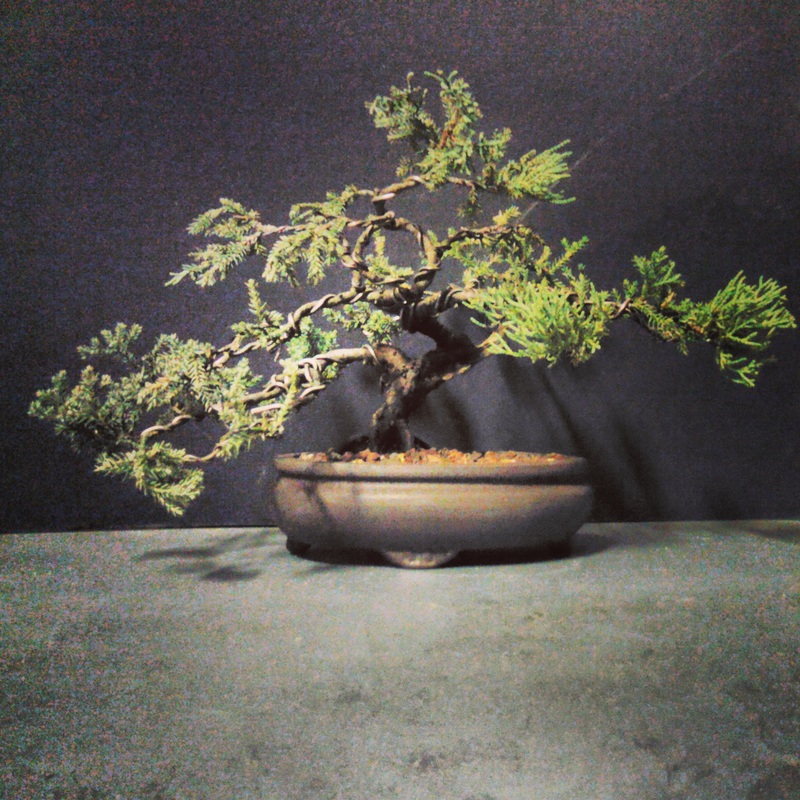 I hope you have learned about repotting a tree and about junipers. Thank you to all who helped!
~Ben Jamin (Comment! this post is mobile) Hello All! Recently I participated in a show that displayed some of my trees! The show was put on by Kawa Bonsai Society (WEBSITE) called Joy of Bonsai. They had the following guest artists: Sean Smith, Mike Rogers, Randy Clark (2), Mike Cartrett (2), and Mike Sullivan. I wanted to share a video, pictures, and a newspaper article I'm in with my lovely followers!!! Here is the Video I Made: I put the pictures on my Flickr page, if you click here --> http://flic.kr/s/aHsjQYvNyX It will bring you to the pictures I took at Joy of Bonsai. The Friday night of Joy of Bonsai 2014, I had a guy take a picture of me helping Sean Smith on a Demo. I was helping put a guide wire on a juniper during Sean’s 3 ring demo… It turned out that the guy was from the newspaper and he asked for my name, then I told him that I had a display of trees here. Right before he had to leave, we went over to my display, and he interviewed me! He said it would be in the paper this Saturday (1/25/14), Click HERE to read the article.
Enjoy, ~Ben Jamin Mobile / Comment Hello All, It's 2014!! (Have a happy and healthy one!) Plus it's Winter!!! The weather here is still HOT and the leaves are still on the deciduous trees. (IE: Maple, Elm) If you want to repot a deciduous tree, you are probably wondering if it has gone dormant! I got help with this same problem from Mike Rogers. He told me to take off all the leaves. Then you are fine to repot like any other tree. When you take off the leaves, leave the little stem or bottom of the leave. An Example of a Maple is Below: 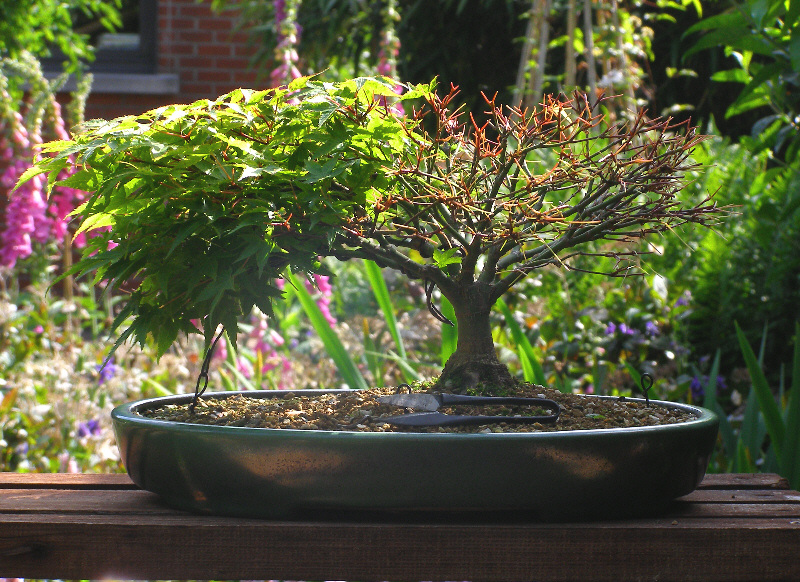 This is a Maple Bonsai tree. (Still in Training) This Bonsai is not mine... See how the right half still has the little stems from the leaves and the other half of course hasn't been defoliated yet. That is what you want to be left with. But of course the whole tree should be defoliated! Below is a Couple of Diagrams About Defoliating. 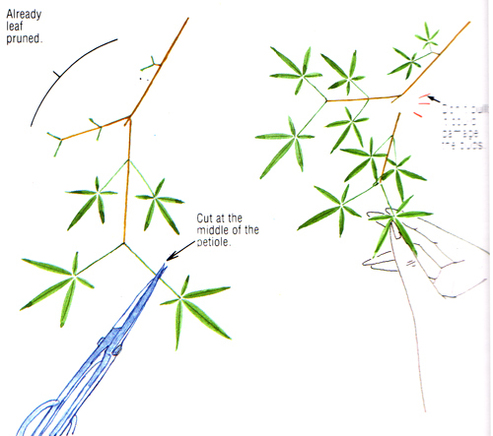  Here is the Bonsai Website Where I Got the Diagrams From: http://bonsaibark.com/ (HERE is the Post the Diagrams are From)
Hope You Have Learned, ~Ben Jamin Mobile / Comment! Hello All, Last time you saw this Ficus was when I defoliated it! 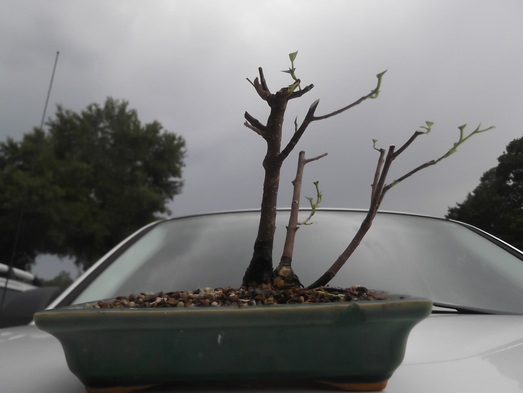
But NOW... It has GROWN!! 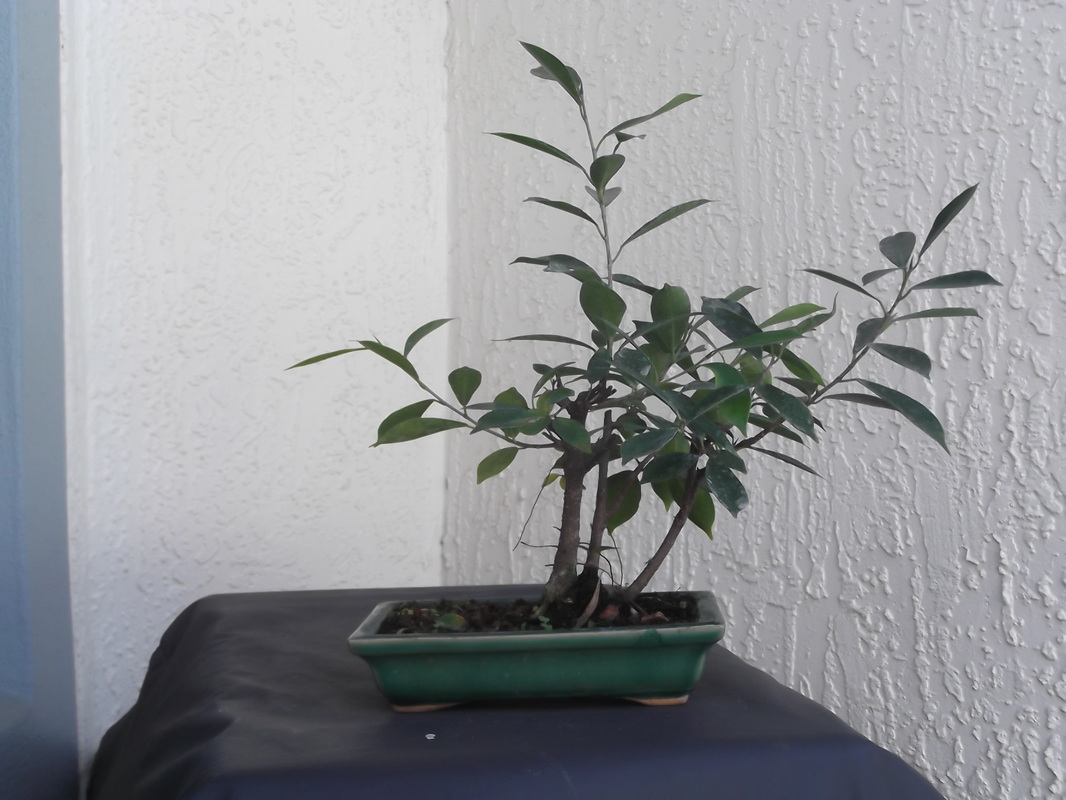
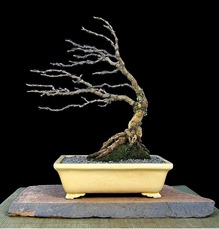 This is a windswept style tree. This isn't my tree... This is a windswept style tree. This isn't my tree... This Ficus has been growing nicely!! I cant do anything to it right now because of the weather (40 Degrees) but I wanted to show an update for my loyal people (Followers)!! Maybe it will become a windswept style... We'll have to see!! In a couple of years, maybe you'll even see it at a display!! ~Ben Jamin Lorber (Comments Welcomed) (This Post is Mobile) 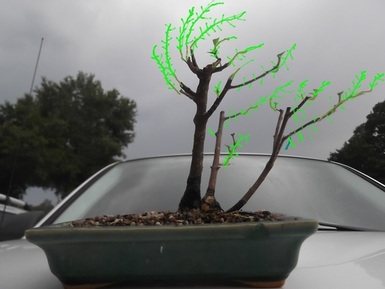
Maybe what the tree will look like... We'll just have to wait and see!!
|
Ben jamin LorberI LOVE Bonsai!! I have participated in many styling competitions and have even won! I have also displayed many trees in many exhibits! Archive
June 2017
My Bonsai FlickrCategories
All
If you aren't getting email updates from the blog... Contact me by either commenting or going to the contact page...

|
 RSS Feed
