|
On World Bonsai Day Weekend (May 13-15), I was at my friend Randy Clarks house. We went to a World Bonsai Day celebration at a local nursery and the day after he let me work on some trees. I told Randy that later in may at the Bonsai Convention I am attending, I am doing a styling competition. The species I was going to style is a Procumbens nana Juniper. Since I don't have any juniper I can practice on at home, I asked if I could work on one of his. He picked this one out: 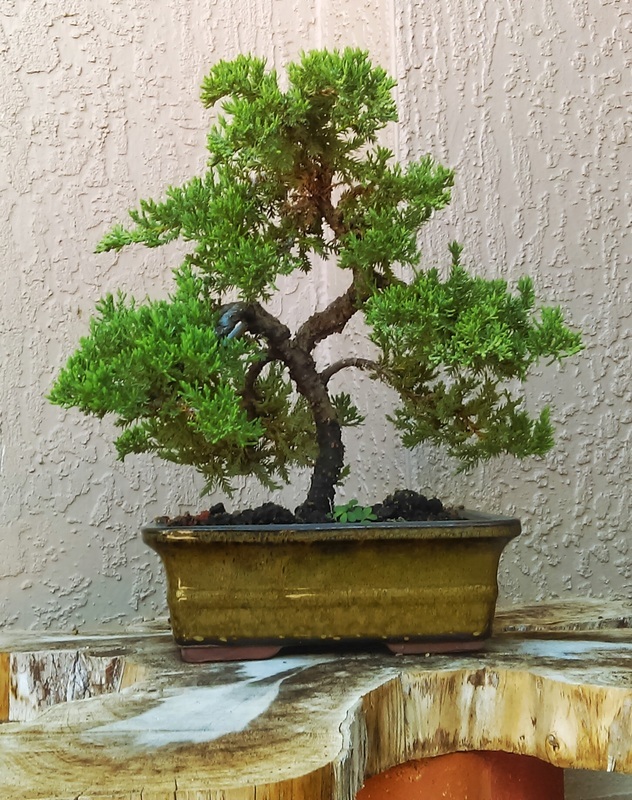 Randy said trim the juniper. So we brought it inside to his studio and I started to trim. 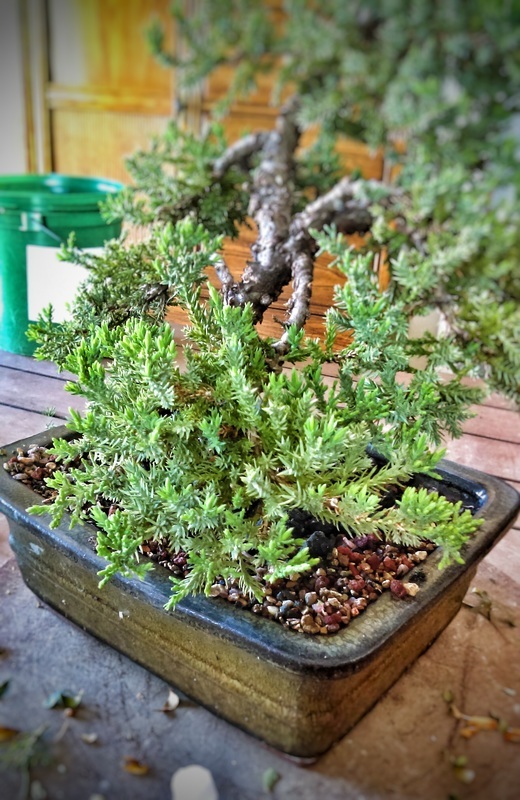 He said start at this pad. He showed me how to trim a juniper since I wasn't 100% sure. He said cut between the little needles shown below. Notice I did not say pinch. Always cut the junipers 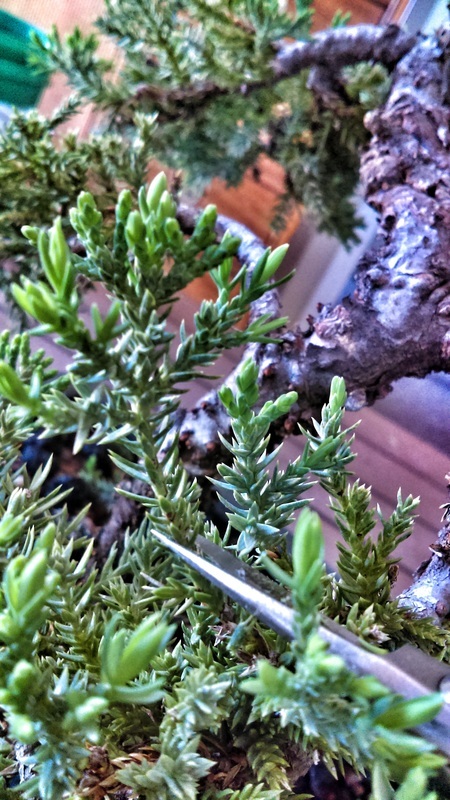 So I trimmed the pad this way also cutting off everything growing straight down. This is how the pad turned out: 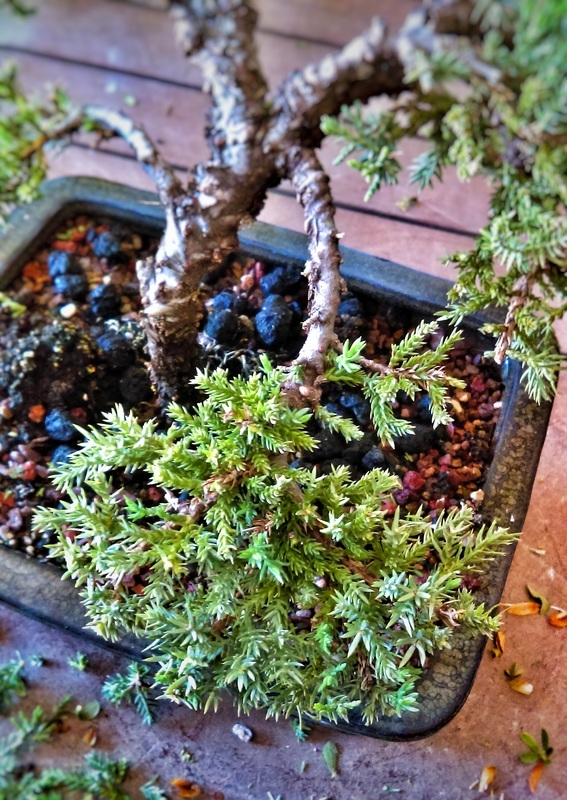 So I trimmed the rest of the tree defining each pad and here is the after: 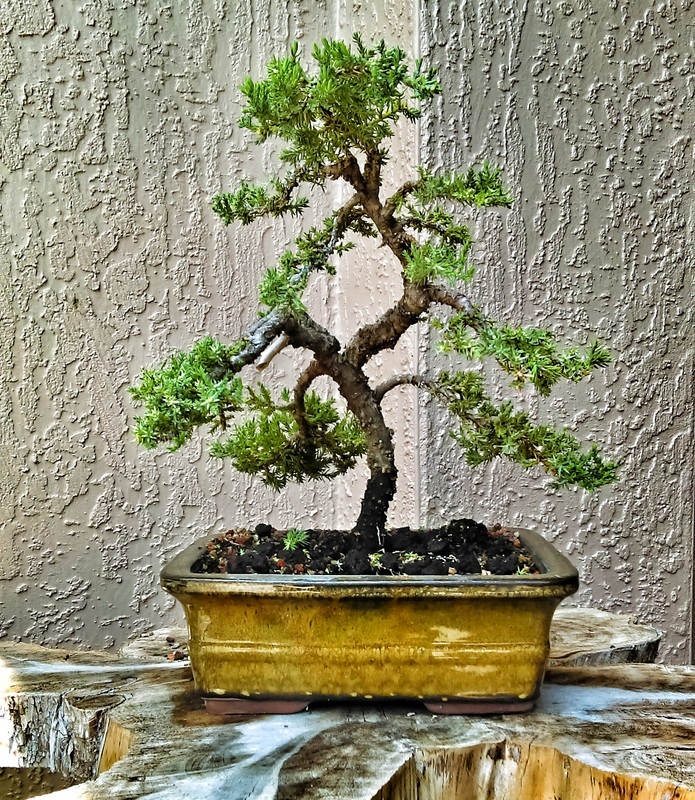 Working on this tree did prepare me for the styling competition later in May. Here is what was given to me to style for the competition: 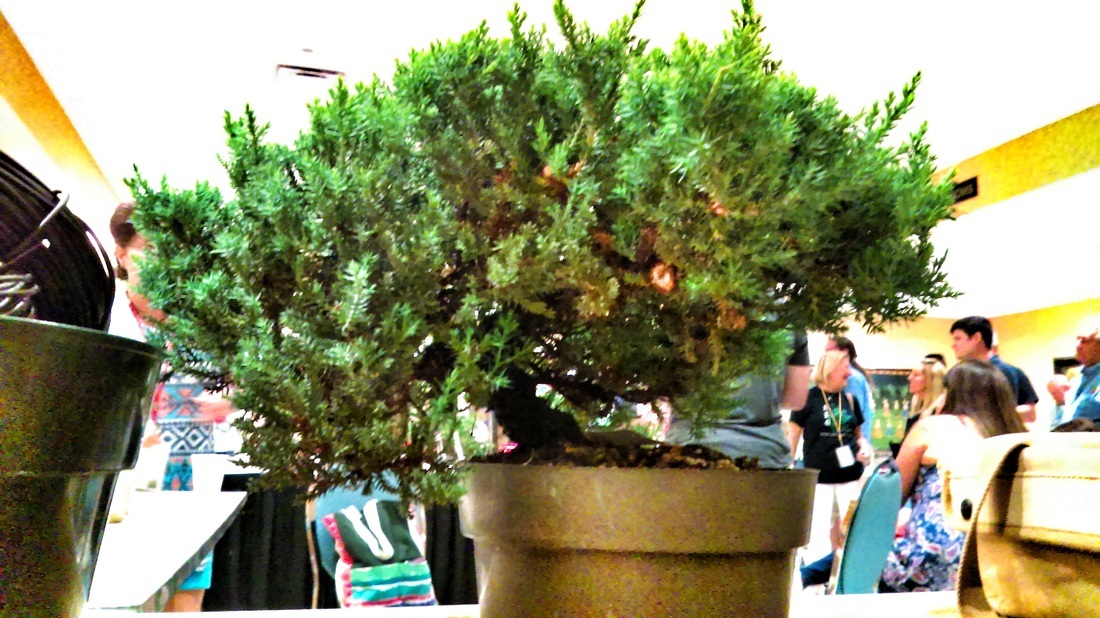 It is always hard figuring out which branches to use when the tree is super full and never been styled before but I think I picked the right branches and padded the tree out nicely. Here is the after:  I feel like I did a really good job on the tree. I even used a friends dremel and took a shot at carving for the first time. Here is a close up of both dead wood features: 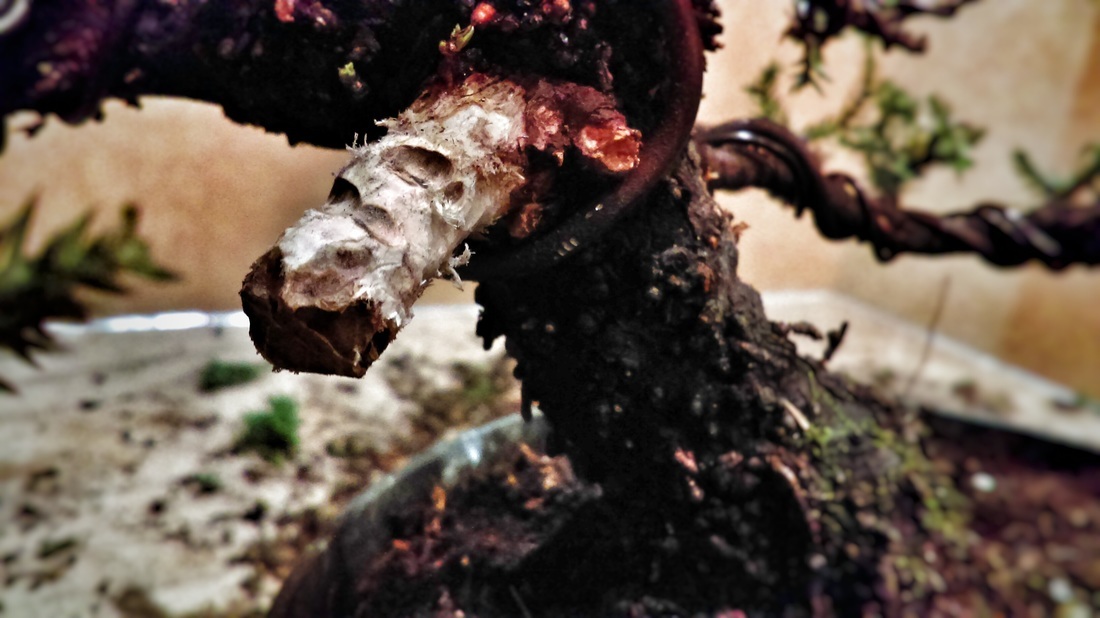 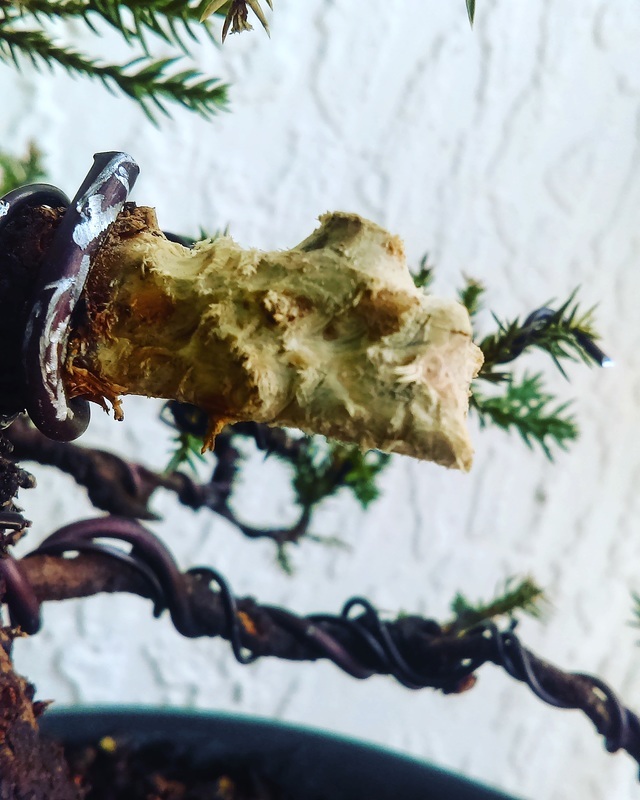 I asked Bjorn Bjorholm to critique the tree and he said I did a very good job. He said I should have left a little more foliage on the tree but otherwise I did very good! Bjorn said my wiring skills are at a B- level, which to me is a big complement! In case you dont know who Bjorn is, here is Bjorn working on a hackberry. 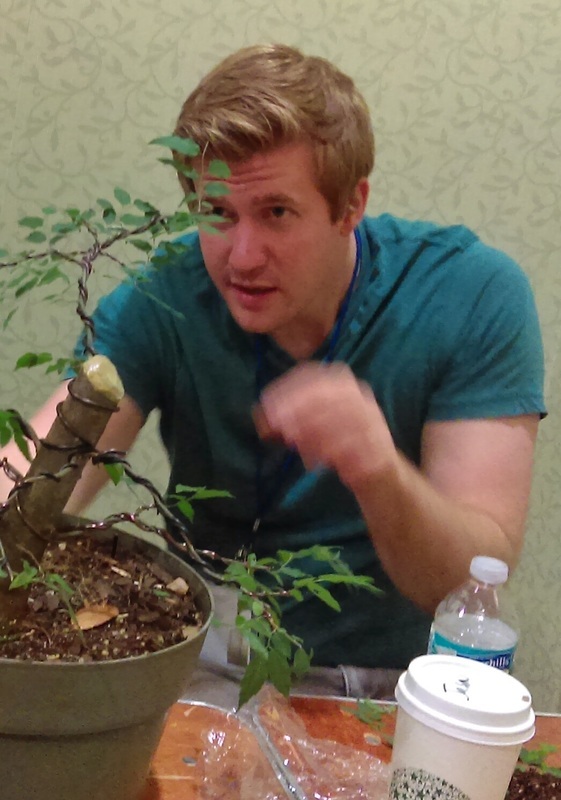 Here is the afters of both Procumbens nana Junipers I worked on in the month of May:  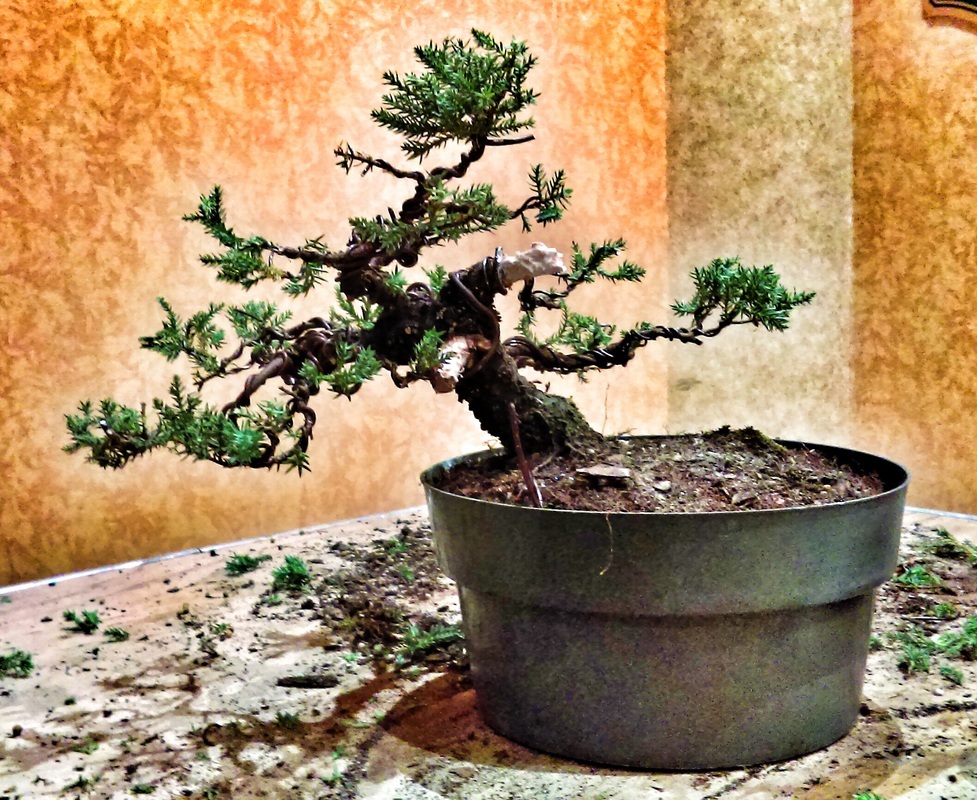 See you next time!
0 Comments
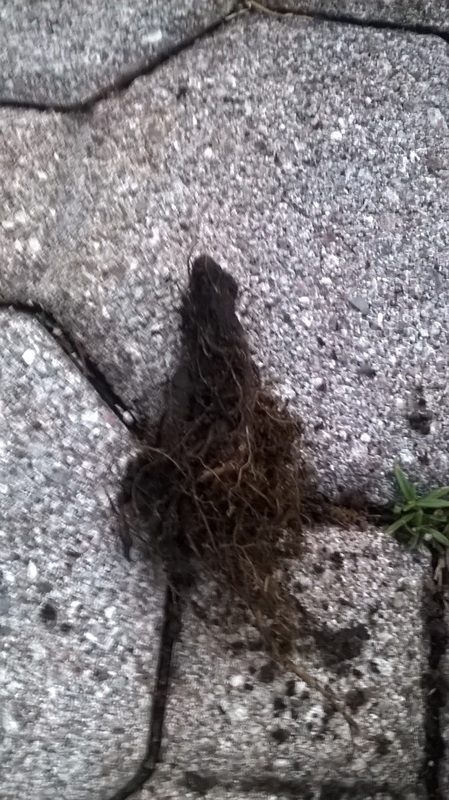
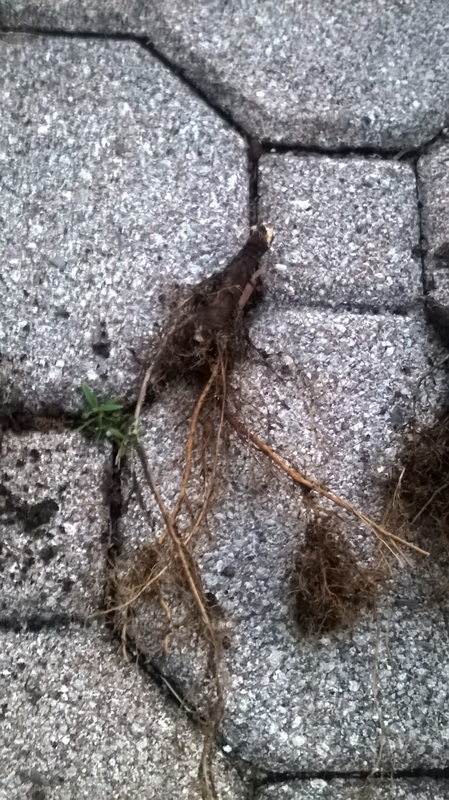
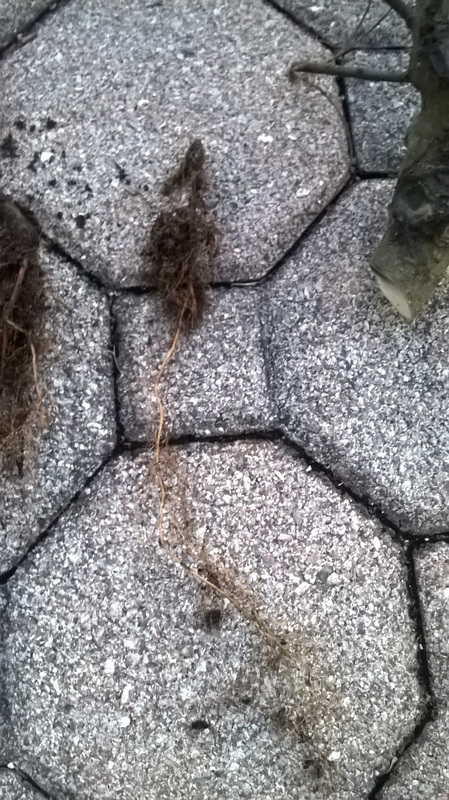
Who remembers this Hackberry root? 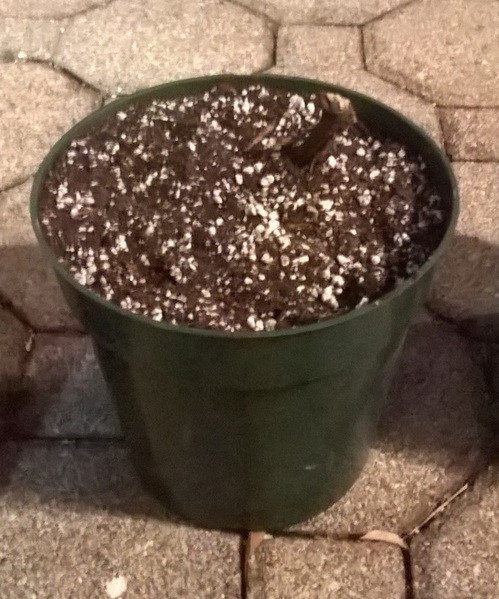 If you don't remember this Hackberry root, take a look at this post. This was one of the Hackberry roots my friend Adam gave me from his big Hackberry tree. Below is the big Hackberry my root came from. Check out his post on his tree here. 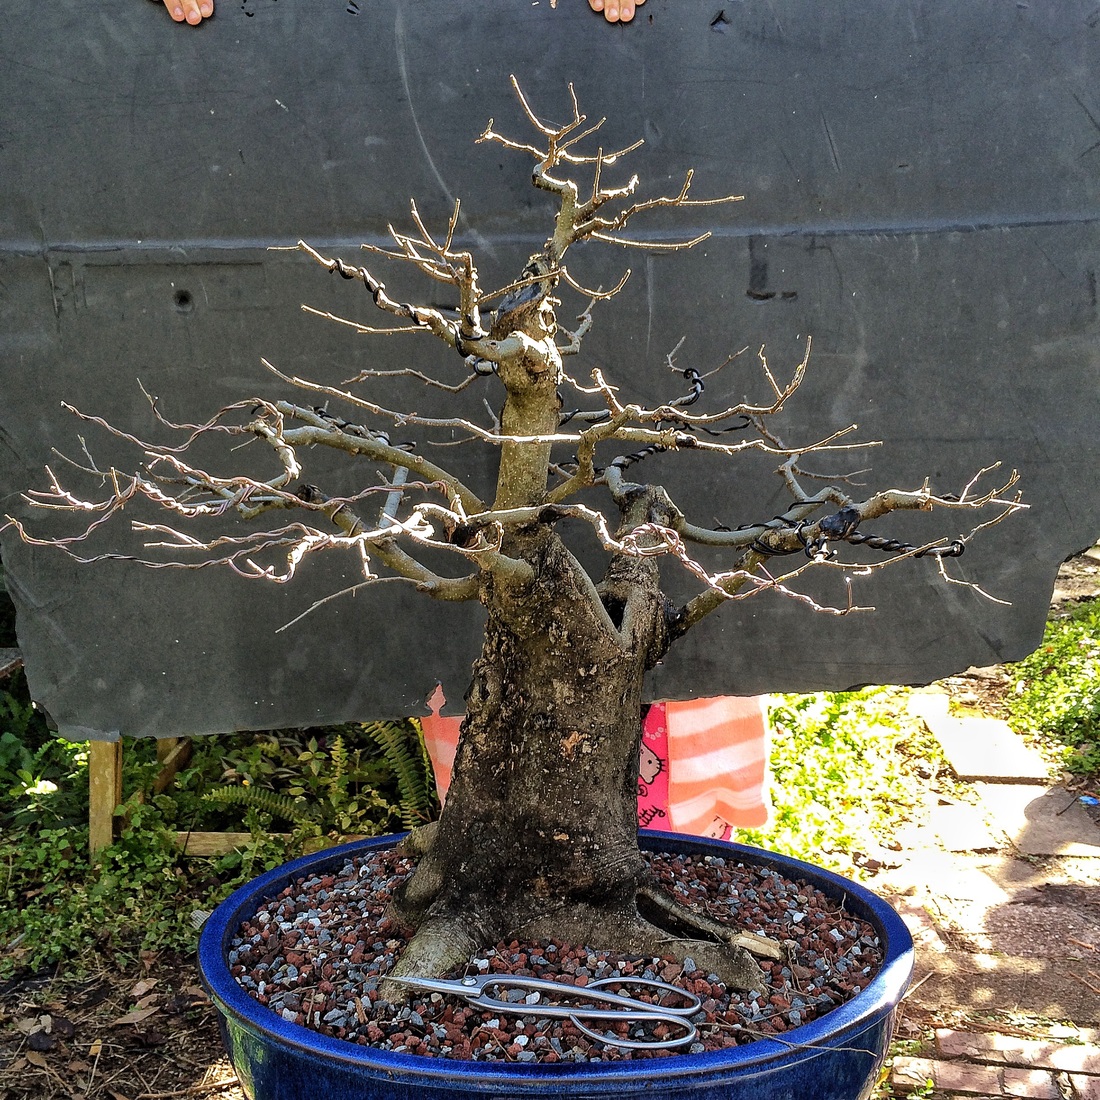 The tree turned out great!! I gave Adam my opinion in the post, you will have to check the post out! I bet it is growing wild right now just like mine are! Alright, to my Hackberry... This Hackberry was one of the survivors of what I got from Adam. It is growing great... Want to see? 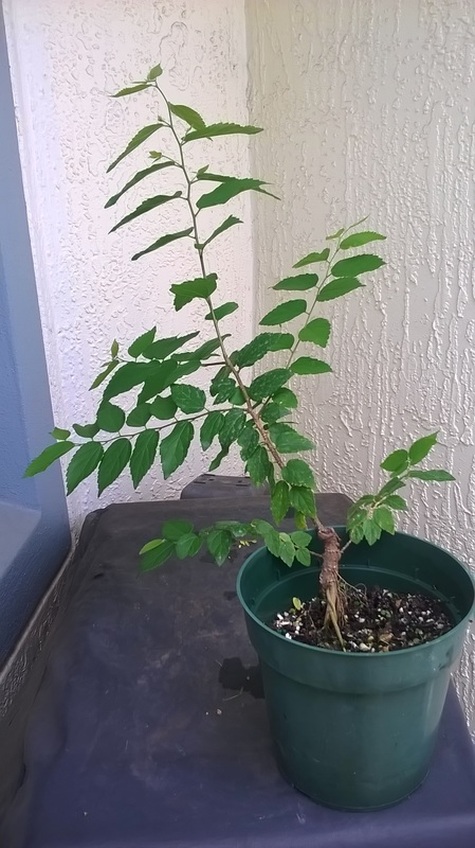 It's grown a lot since January! I have not trimmed on it at all, it has just been left to grow. The trunk is going to be really nice one day... 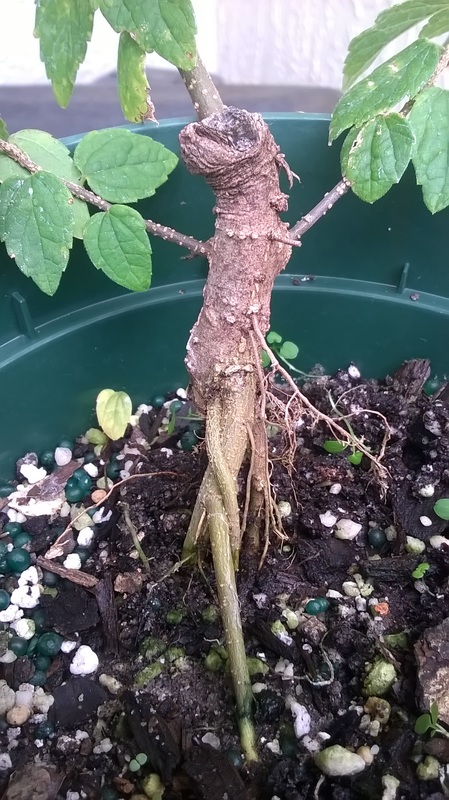 Look at those roots!! Most of those are new since I have put it in it's current pot in January. This Hackberry looks great right now!! I am not going to work on it for a while because I do want the trunk to thicken and I want more branches to pop and grow. The other Hackberry roots are alive but the cutting unfortunately did not make it... I recently pulled the cutting out of the pot and it had no roots. It had dropped it's leaves about a month earlier. The other Hackberry trees are growing a lot but have not grown like this one. That's why I choose this Hackberry to update on. In the future I will update on the others. 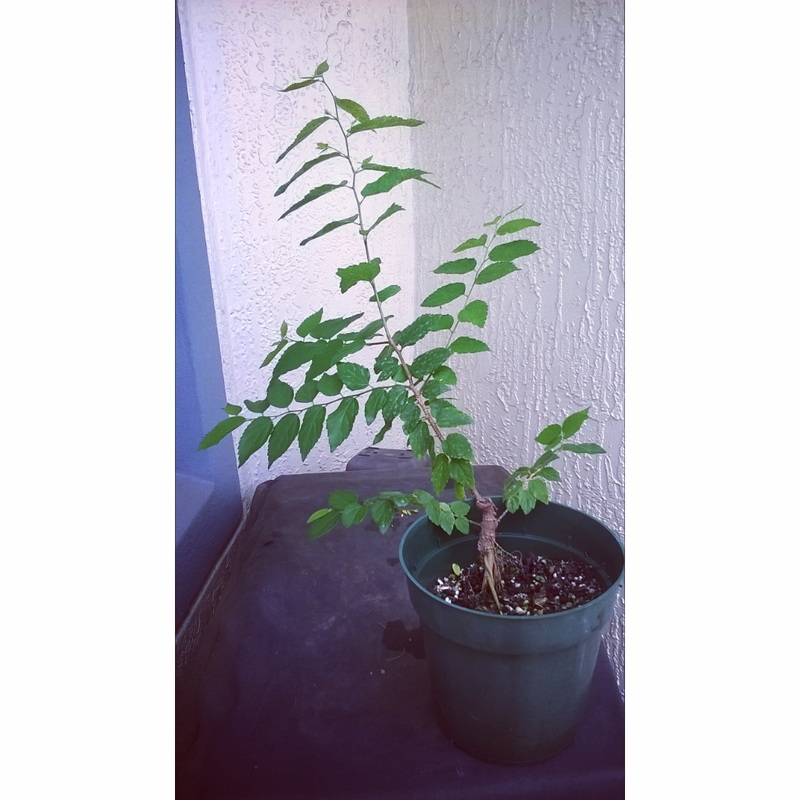 Until next time...
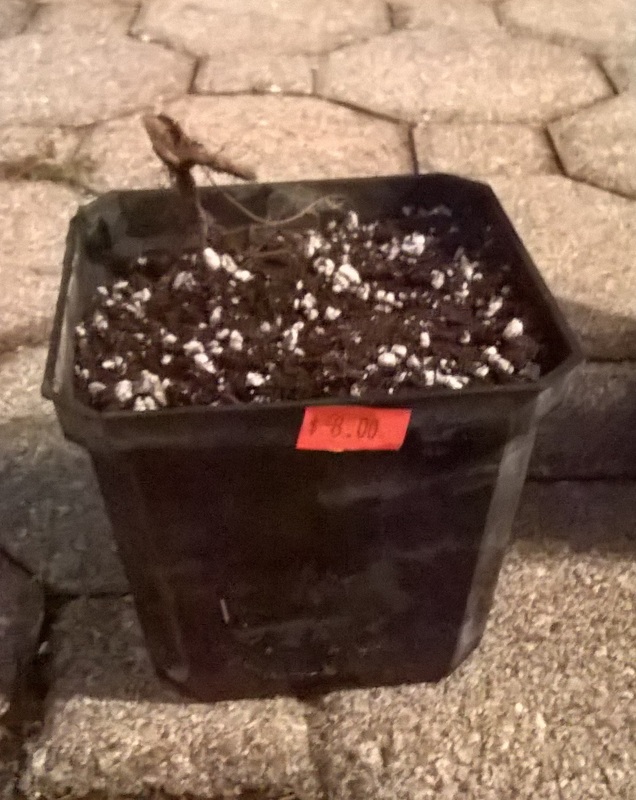
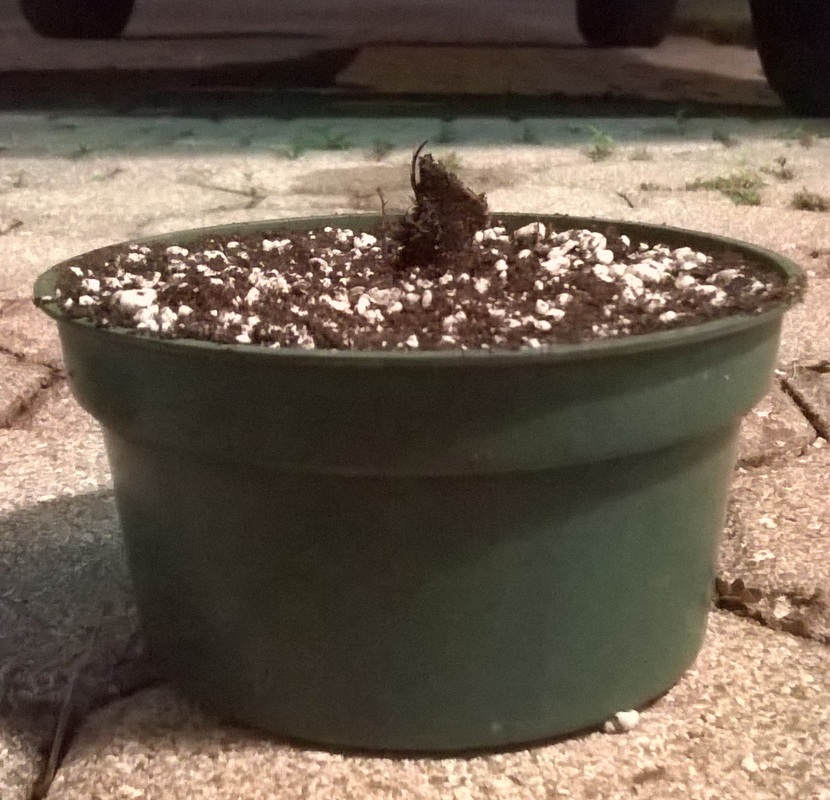
I haven't decided what tree to post next, so you will have to check back and see! Hello Everyone! Yesterday, I was with my friend Adam and he was working on a big Hackberry. Click here to read about his big Hackberry. 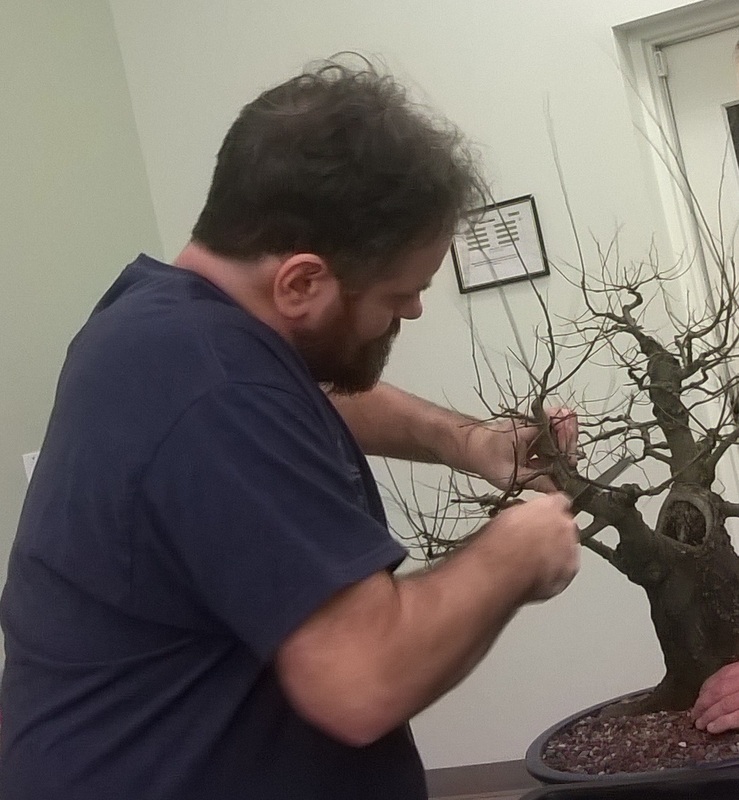 When I was with him, he repotted the big Hackberry. He also took off a thick branch (shown in the picture above) that I ended up getting. When he repotted the tree, Adam of course cut roots off because it was pot-bound. I ended up taking home some roots and the thick branch Adam cut off. The next day, I got ready to put the trees in pots. The branch had no roots, but some buds that were getting ready to pop. The roots had no growth, but a ton of little roots. Below is what I took home from that tree. 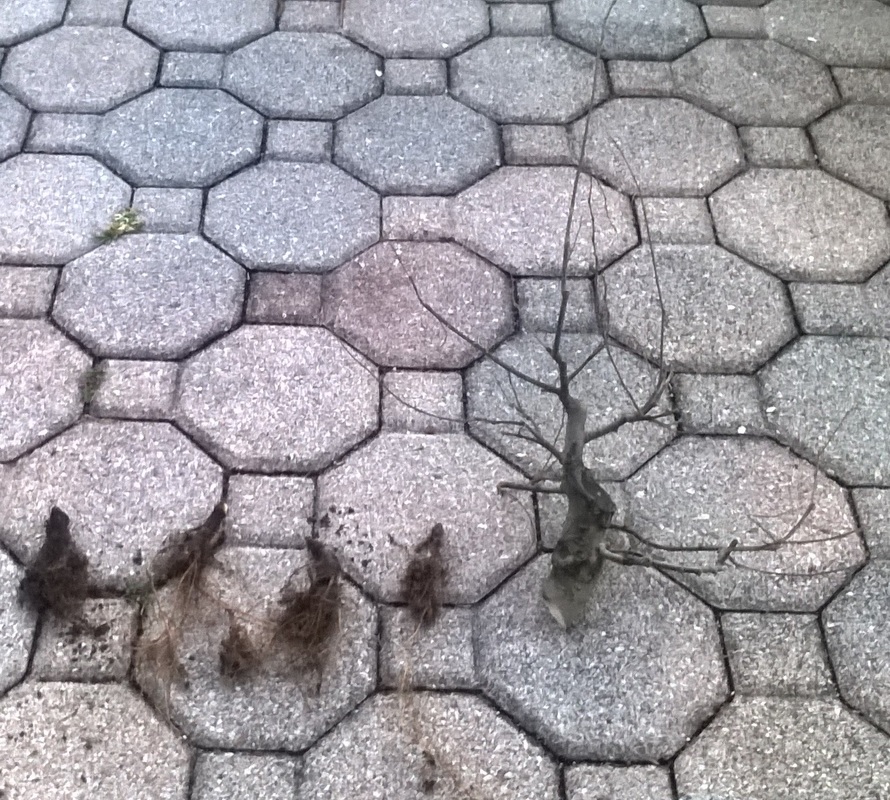 Below are closeups:
I had to do some work on the Cutting to fit it in the pot. 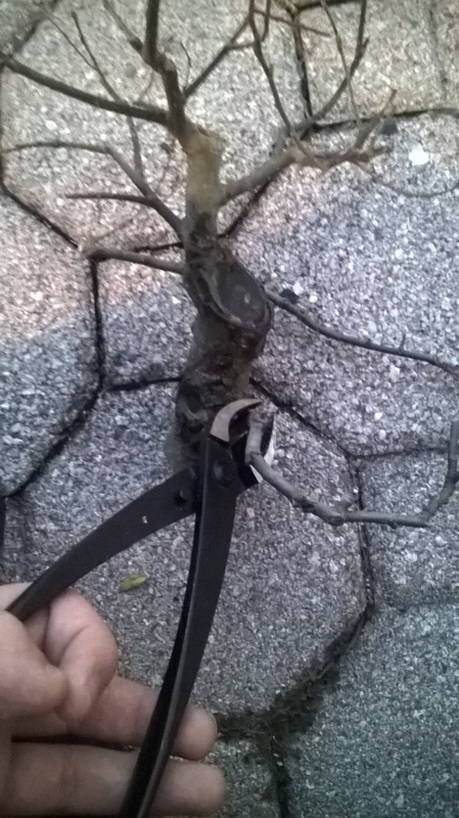 I pulled out my handy-dandy concaves to do the job! The cutting is all done. Below is what I did 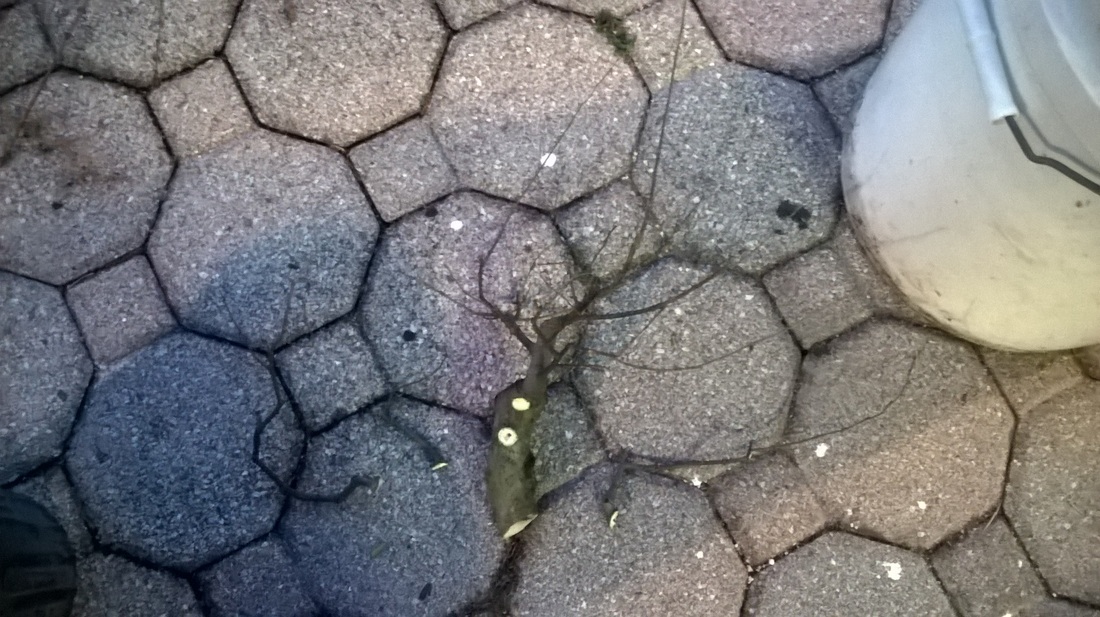 I only cut towards the bottom so it would fit in the pot good. Now it's time for potting!
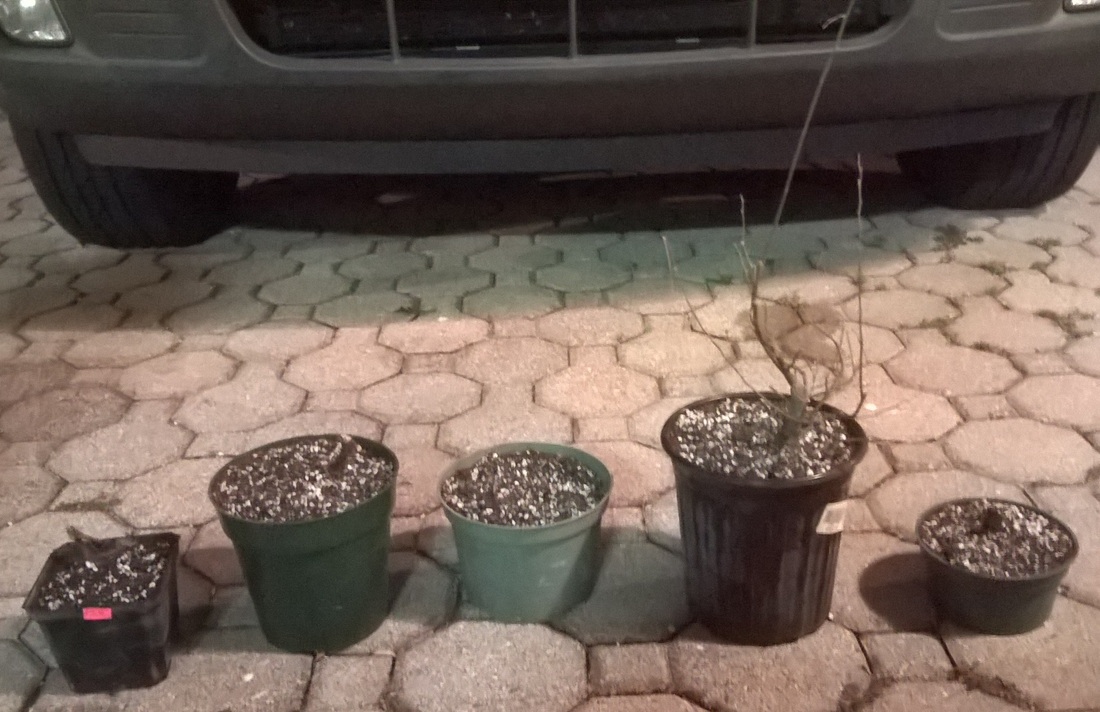
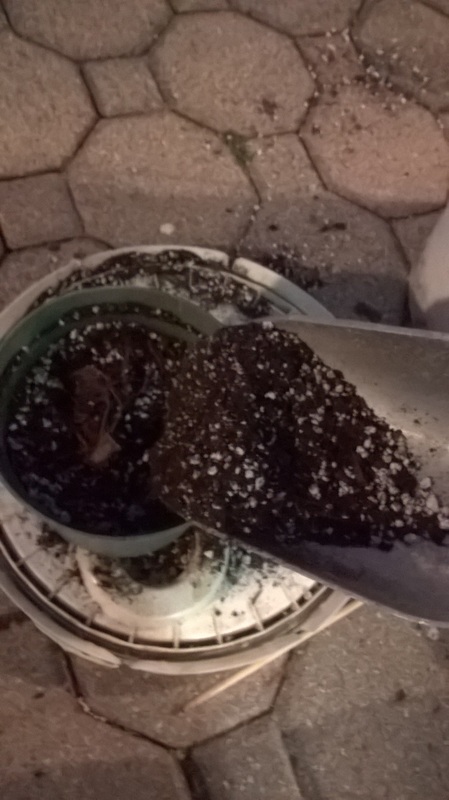
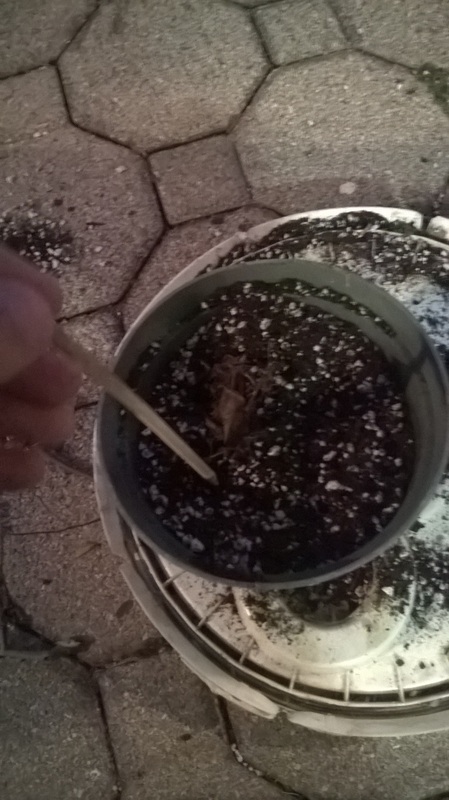
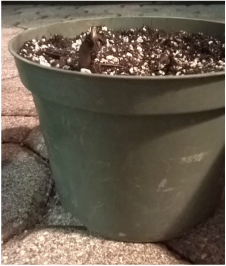
I filled each pot with soil, put the tree in it, and chopsticked the soil to airate the soil. Each tree got potted! Below is the closeups, then all together.
 If you would like to learn more about Hackberries, click here. If you don't want to click the link, here is some of the information: Hackberry is a common name for this species of tree. Celtis, is a Genus of about 60-70 species of deciduous trees widespread in warm temperature regions of the Northern hemisphere. The tree goes dormant in the winter and drops all of it’s leaves. It was previously included either in the elm family (Ulmaceae) or a separate family, Celtidaceae, the APG III system places Celtis in an expanded hemp family. ^I did not write all of that above. Credits to Wiki. Hope you have learned a lot about the Hackberry species of the tree and make sure you check out Adam’s post on the big Hackberry tree that is the mama to my trees. (His post is currently being written) Ben Jamin Lorber UPDATE: 2-2-15: The Hackberry Cuttings I’m trying to root ALL have green buds all over them. The root cuttings from Adam have not done anything on top of the soil, but I don’t know what is going on under the soil. I as well do not know what is going on under the soil for the cuttings I’m trying to root. 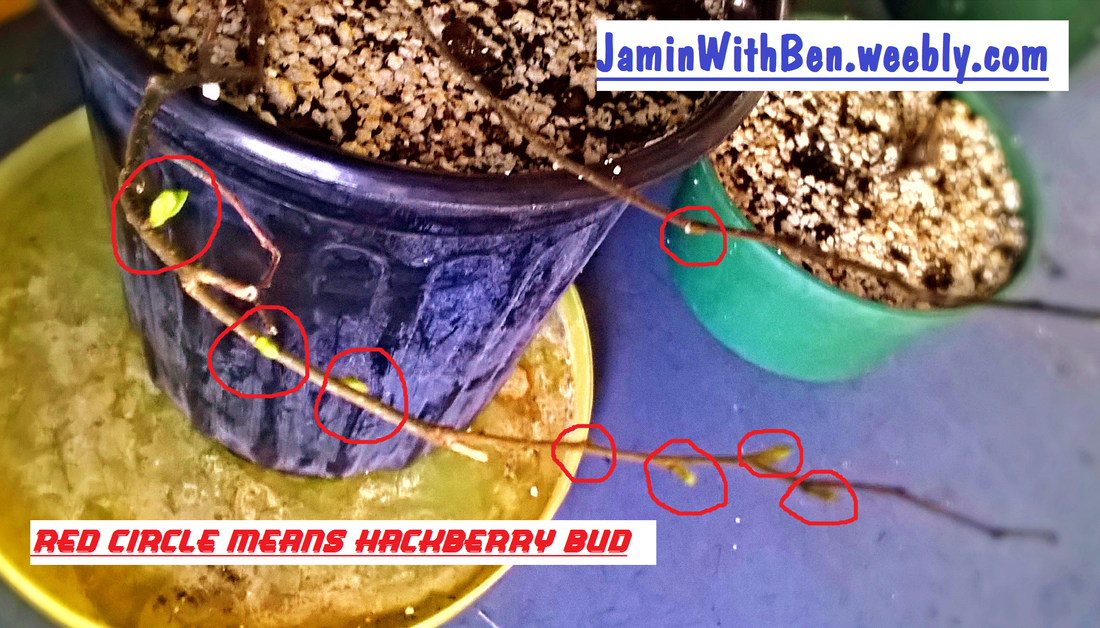 |
Ben jamin LorberI LOVE Bonsai!! I have participated in many styling competitions and have even won! I have also displayed many trees in many exhibits! Archive
June 2017
My Bonsai FlickrCategories
All
If you aren't getting email updates from the blog... Contact me by either commenting or going to the contact page...

|


 RSS Feed
